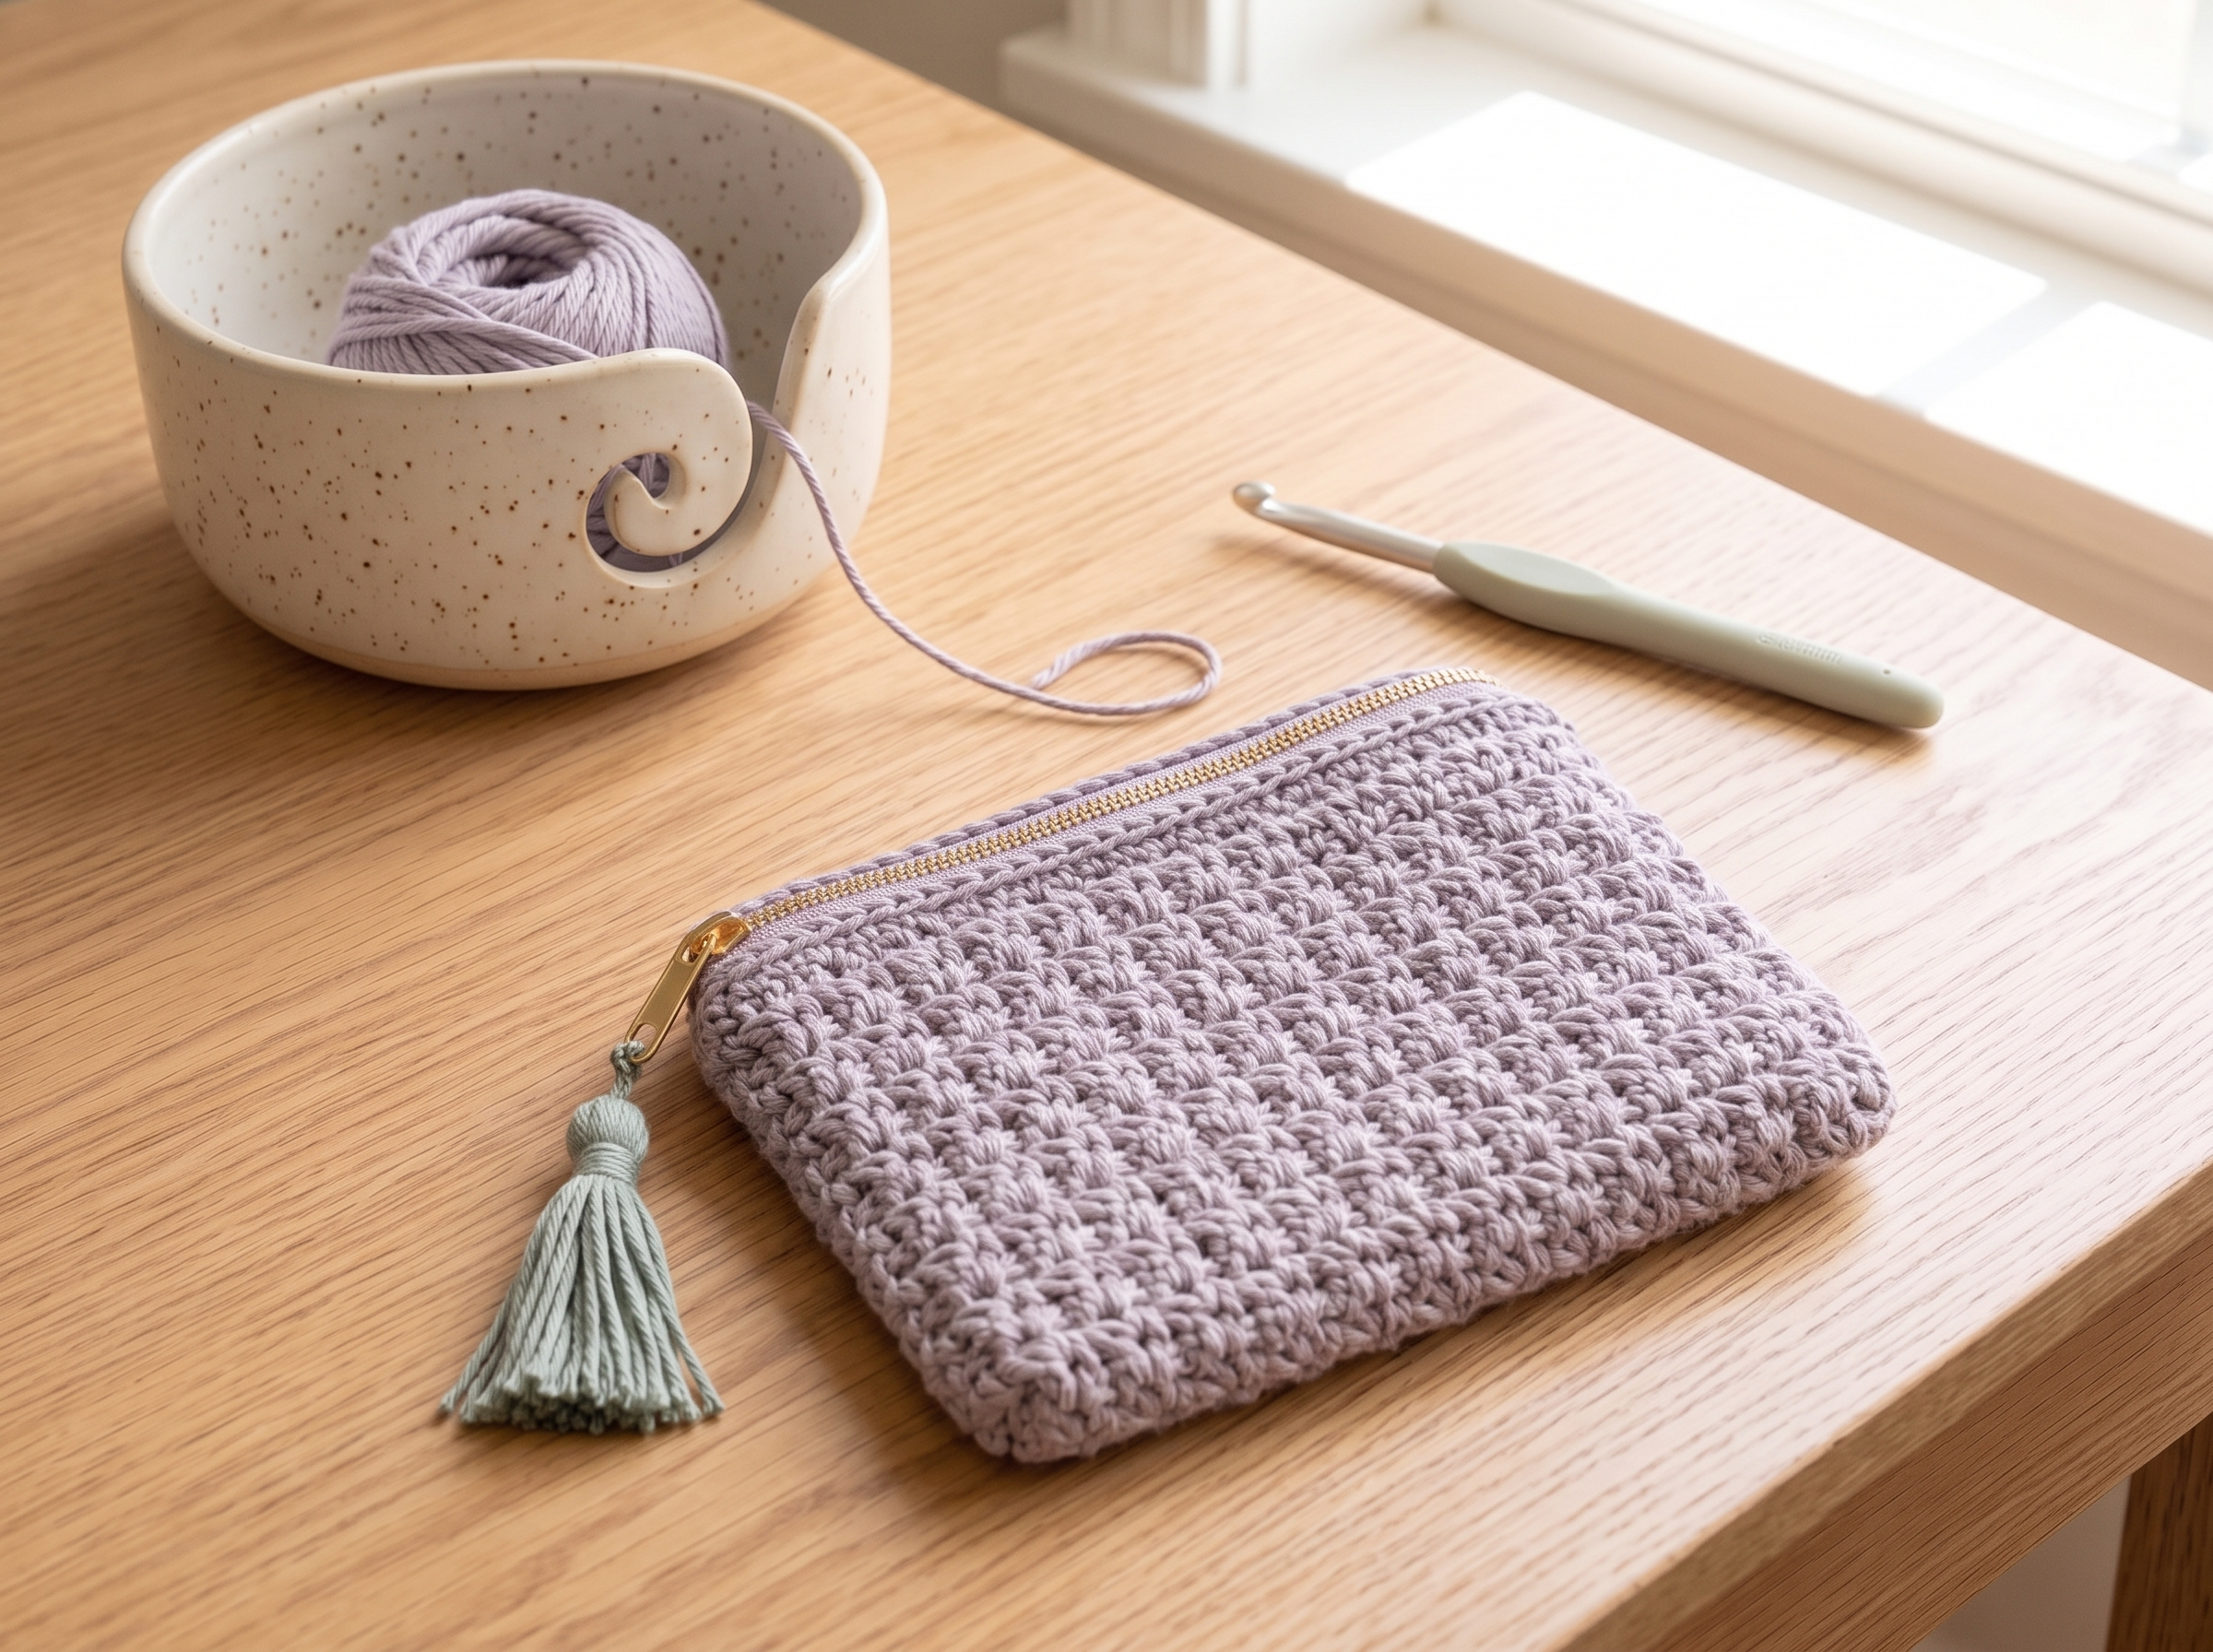
Easy Crochet Zipper Pouch Pattern
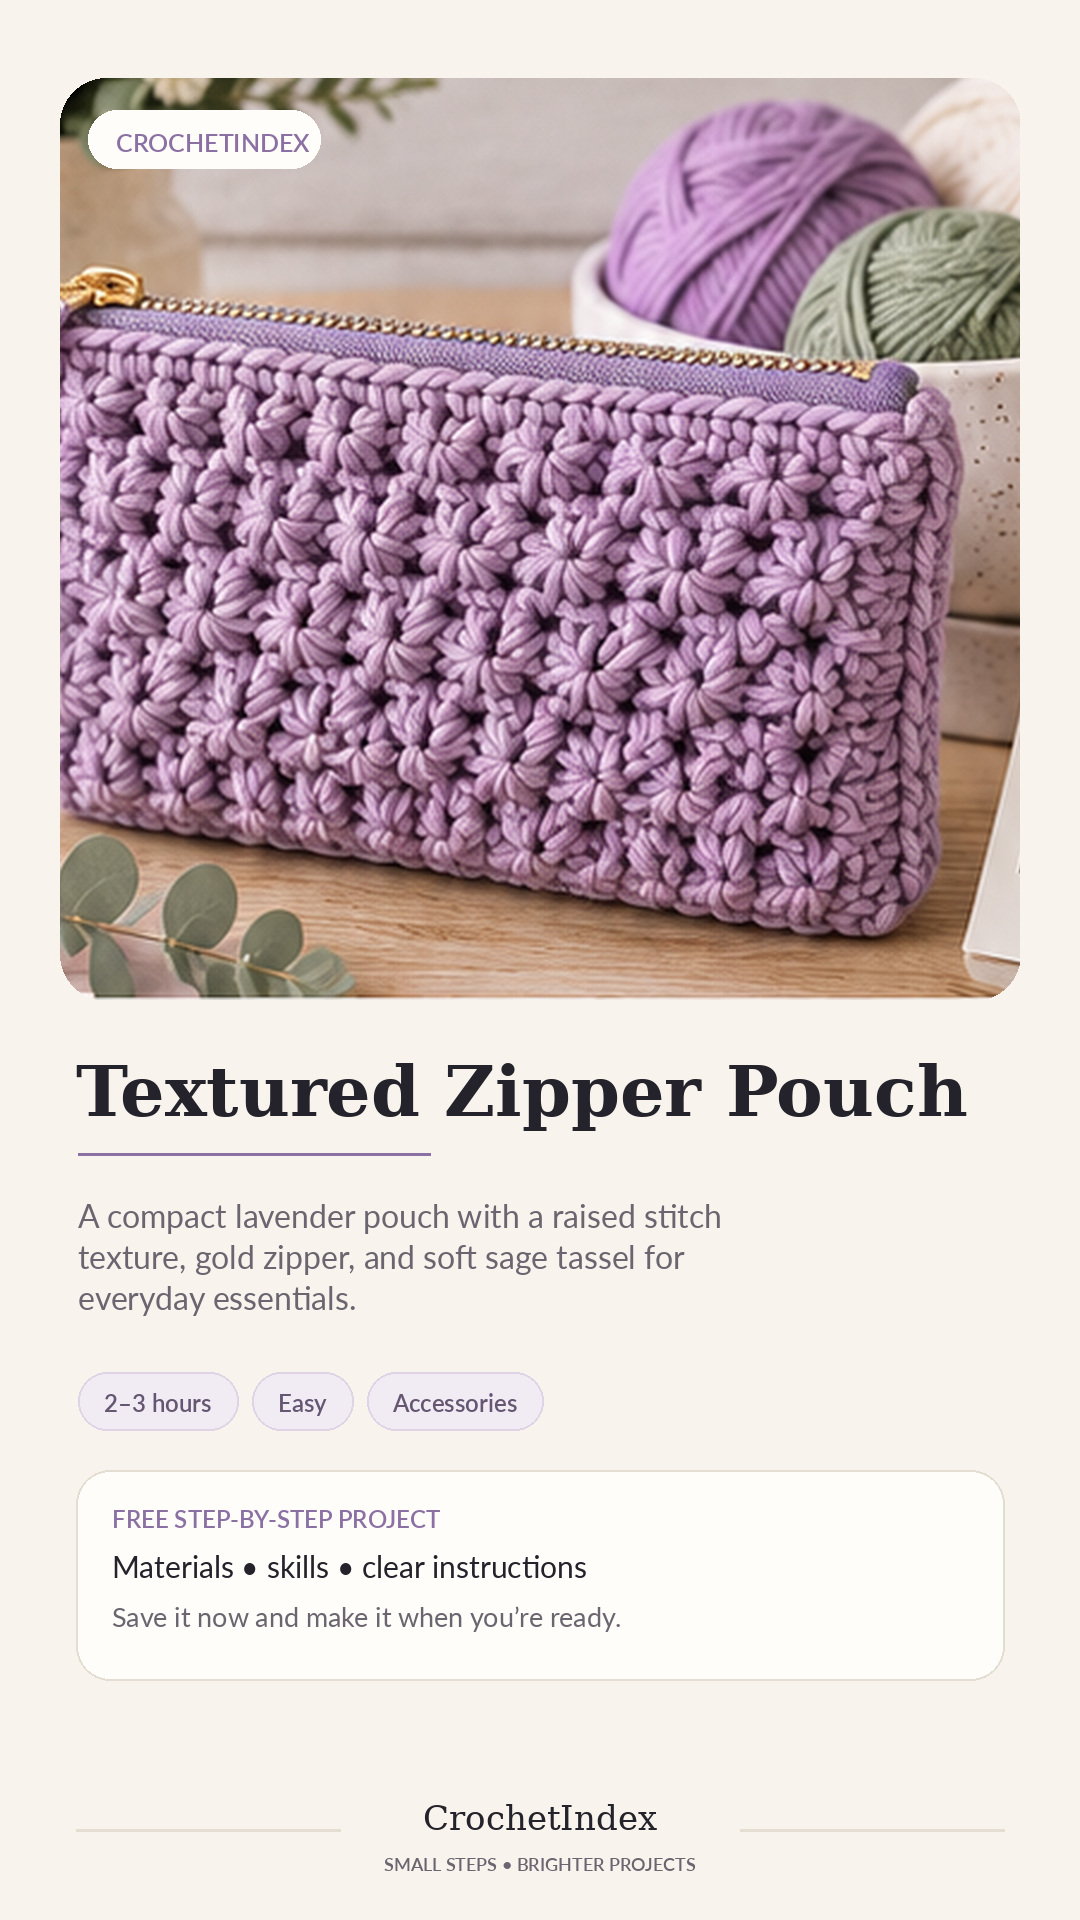
A compact lavender pouch with a raised stitch texture, gold zipper, and soft sage tassel for everyday essentials.
Skills used in this project
Review any stitch you do not know yet, then come back here and follow the project in order.
Crochet one textured panel, then turn it into a lined-looking pouch.
The crochet body is simple; the clean finish comes from careful seaming and an evenly placed zipper.
 1
1Chain the width
With lavender cotton yarn, make a relaxed foundation chain slightly wider than the finished pouch.
 2
2Work the setup rows
Crochet two firm setup rows so the lower edge stays straight before beginning the raised texture.
 3
3Build the texture
Repeat the chosen raised stitch pattern until the panel reaches the planned pouch length.
 4
4Flatten the panel
Lay the panel flat, smooth the edges with both hands, and confirm the texture is even before assembly.
 5
5Check the fold
Fold the panel in half and align the edges to confirm the finished pouch proportions.
 6
6Seam the side edges
Turn the work wrong side out and seam both short sides neatly with matching yarn.
 7
7Position the zipper
Turn the pouch right side out, center the gold zipper along the opening, and clip or pin it evenly.
 8
8Sew the first zipper side
Hand-sew the first zipper tape edge to the crochet opening with small even stitches.
 9
9Sew the second zipper side
Align the opposite zipper tape edge, test the zipper movement, and sew the second side evenly.
 10
10Add tassel and finish
Make a small sage tassel, attach it to the zipper pull, weave in all yarn tails, and trim the sewing thread.
Small details make the finish better.
- Choose a firm cotton yarn so the pouch keeps its shape.
- Test the zipper before sewing it in.
- Use small stitches when attaching the zipper so the edge stays clean.
- Block the crochet panel before assembly if the texture pulls to one side.
Common questions before you start
Is the Textured Zipper Pouch beginner friendly?
This project is labeled Easy. The page links the crochet skills to review before you start and breaks the make into 10 steps.
How long does the Textured Zipper Pouch take?
The estimated making time is 2–3 hours. Your first version may take longer if you pause to practice the listed stitches.
What do I need for this crochet project?
The materials section lists Worsted-weight cotton yarn in lavender, Small amount of sage yarn for the tassel, 5.0 mm crochet hook, 15–20 cm zipper, plus the finishing supplies shown on the page.
Pick the next thing to make.
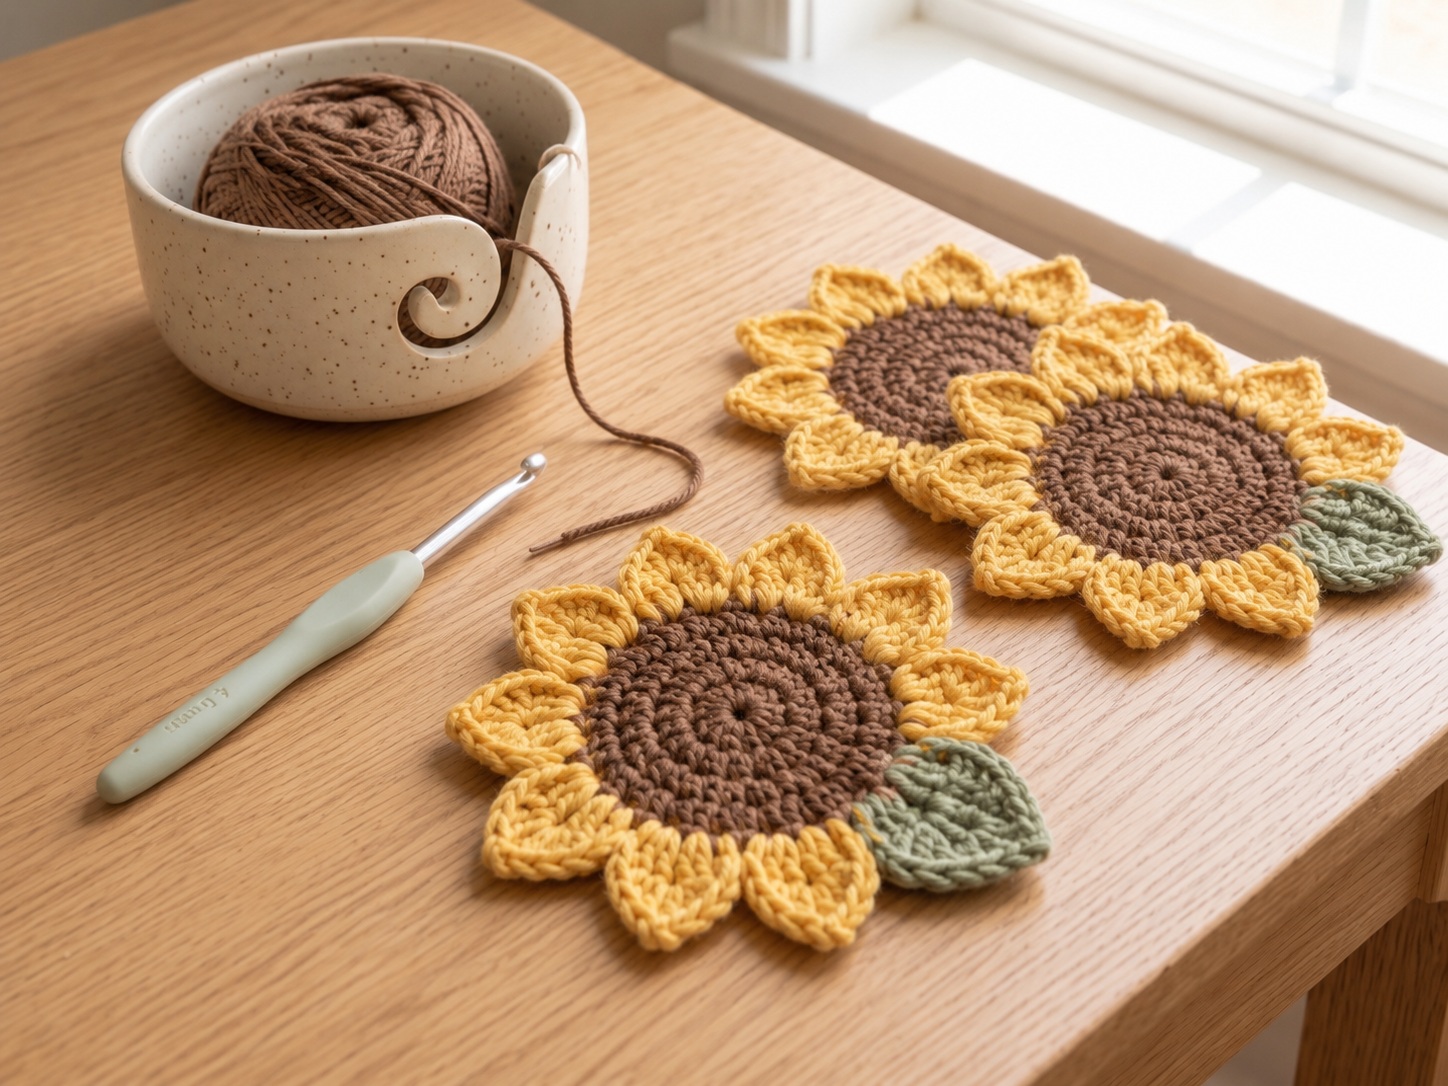
Sunlit Petal Coaster Set
A cheerful sunflower-inspired coaster with a warm brown center, golden petals, and an optional sage leaf accent.
Make this project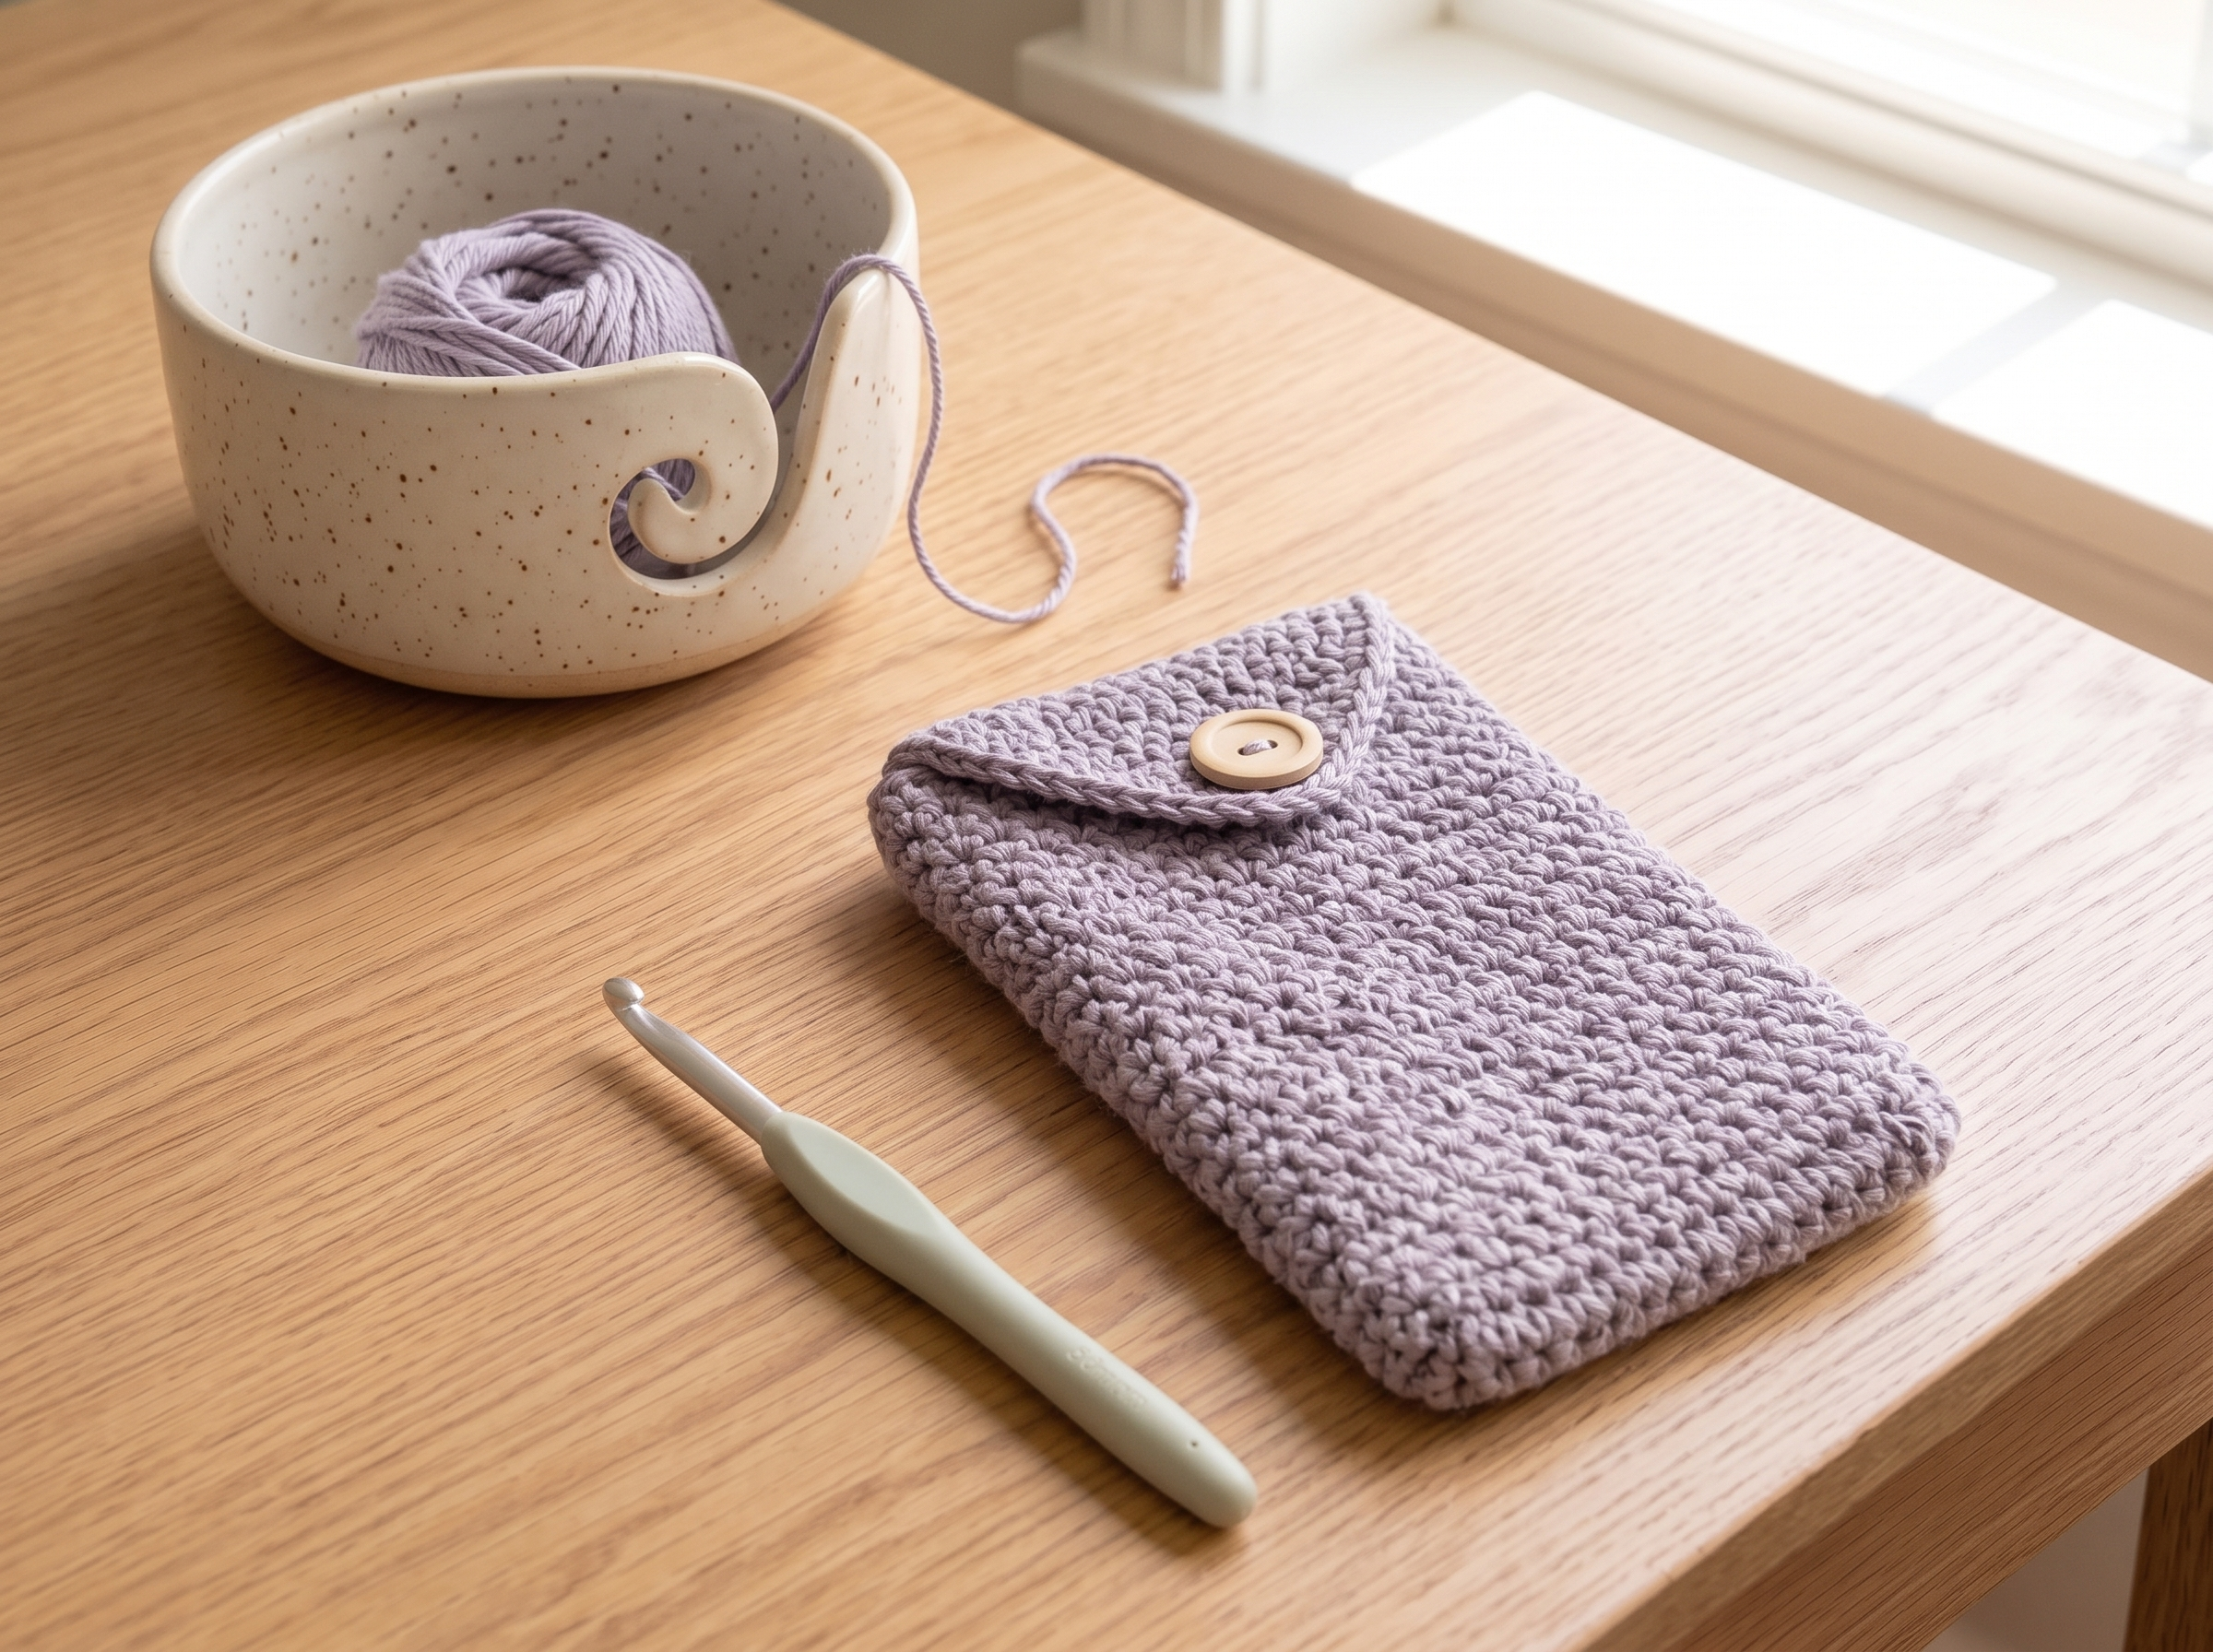
Lavender Everyday Phone Sleeve
A soft textured sleeve with a simple button tab that protects your phone without adding bulk.
Make this project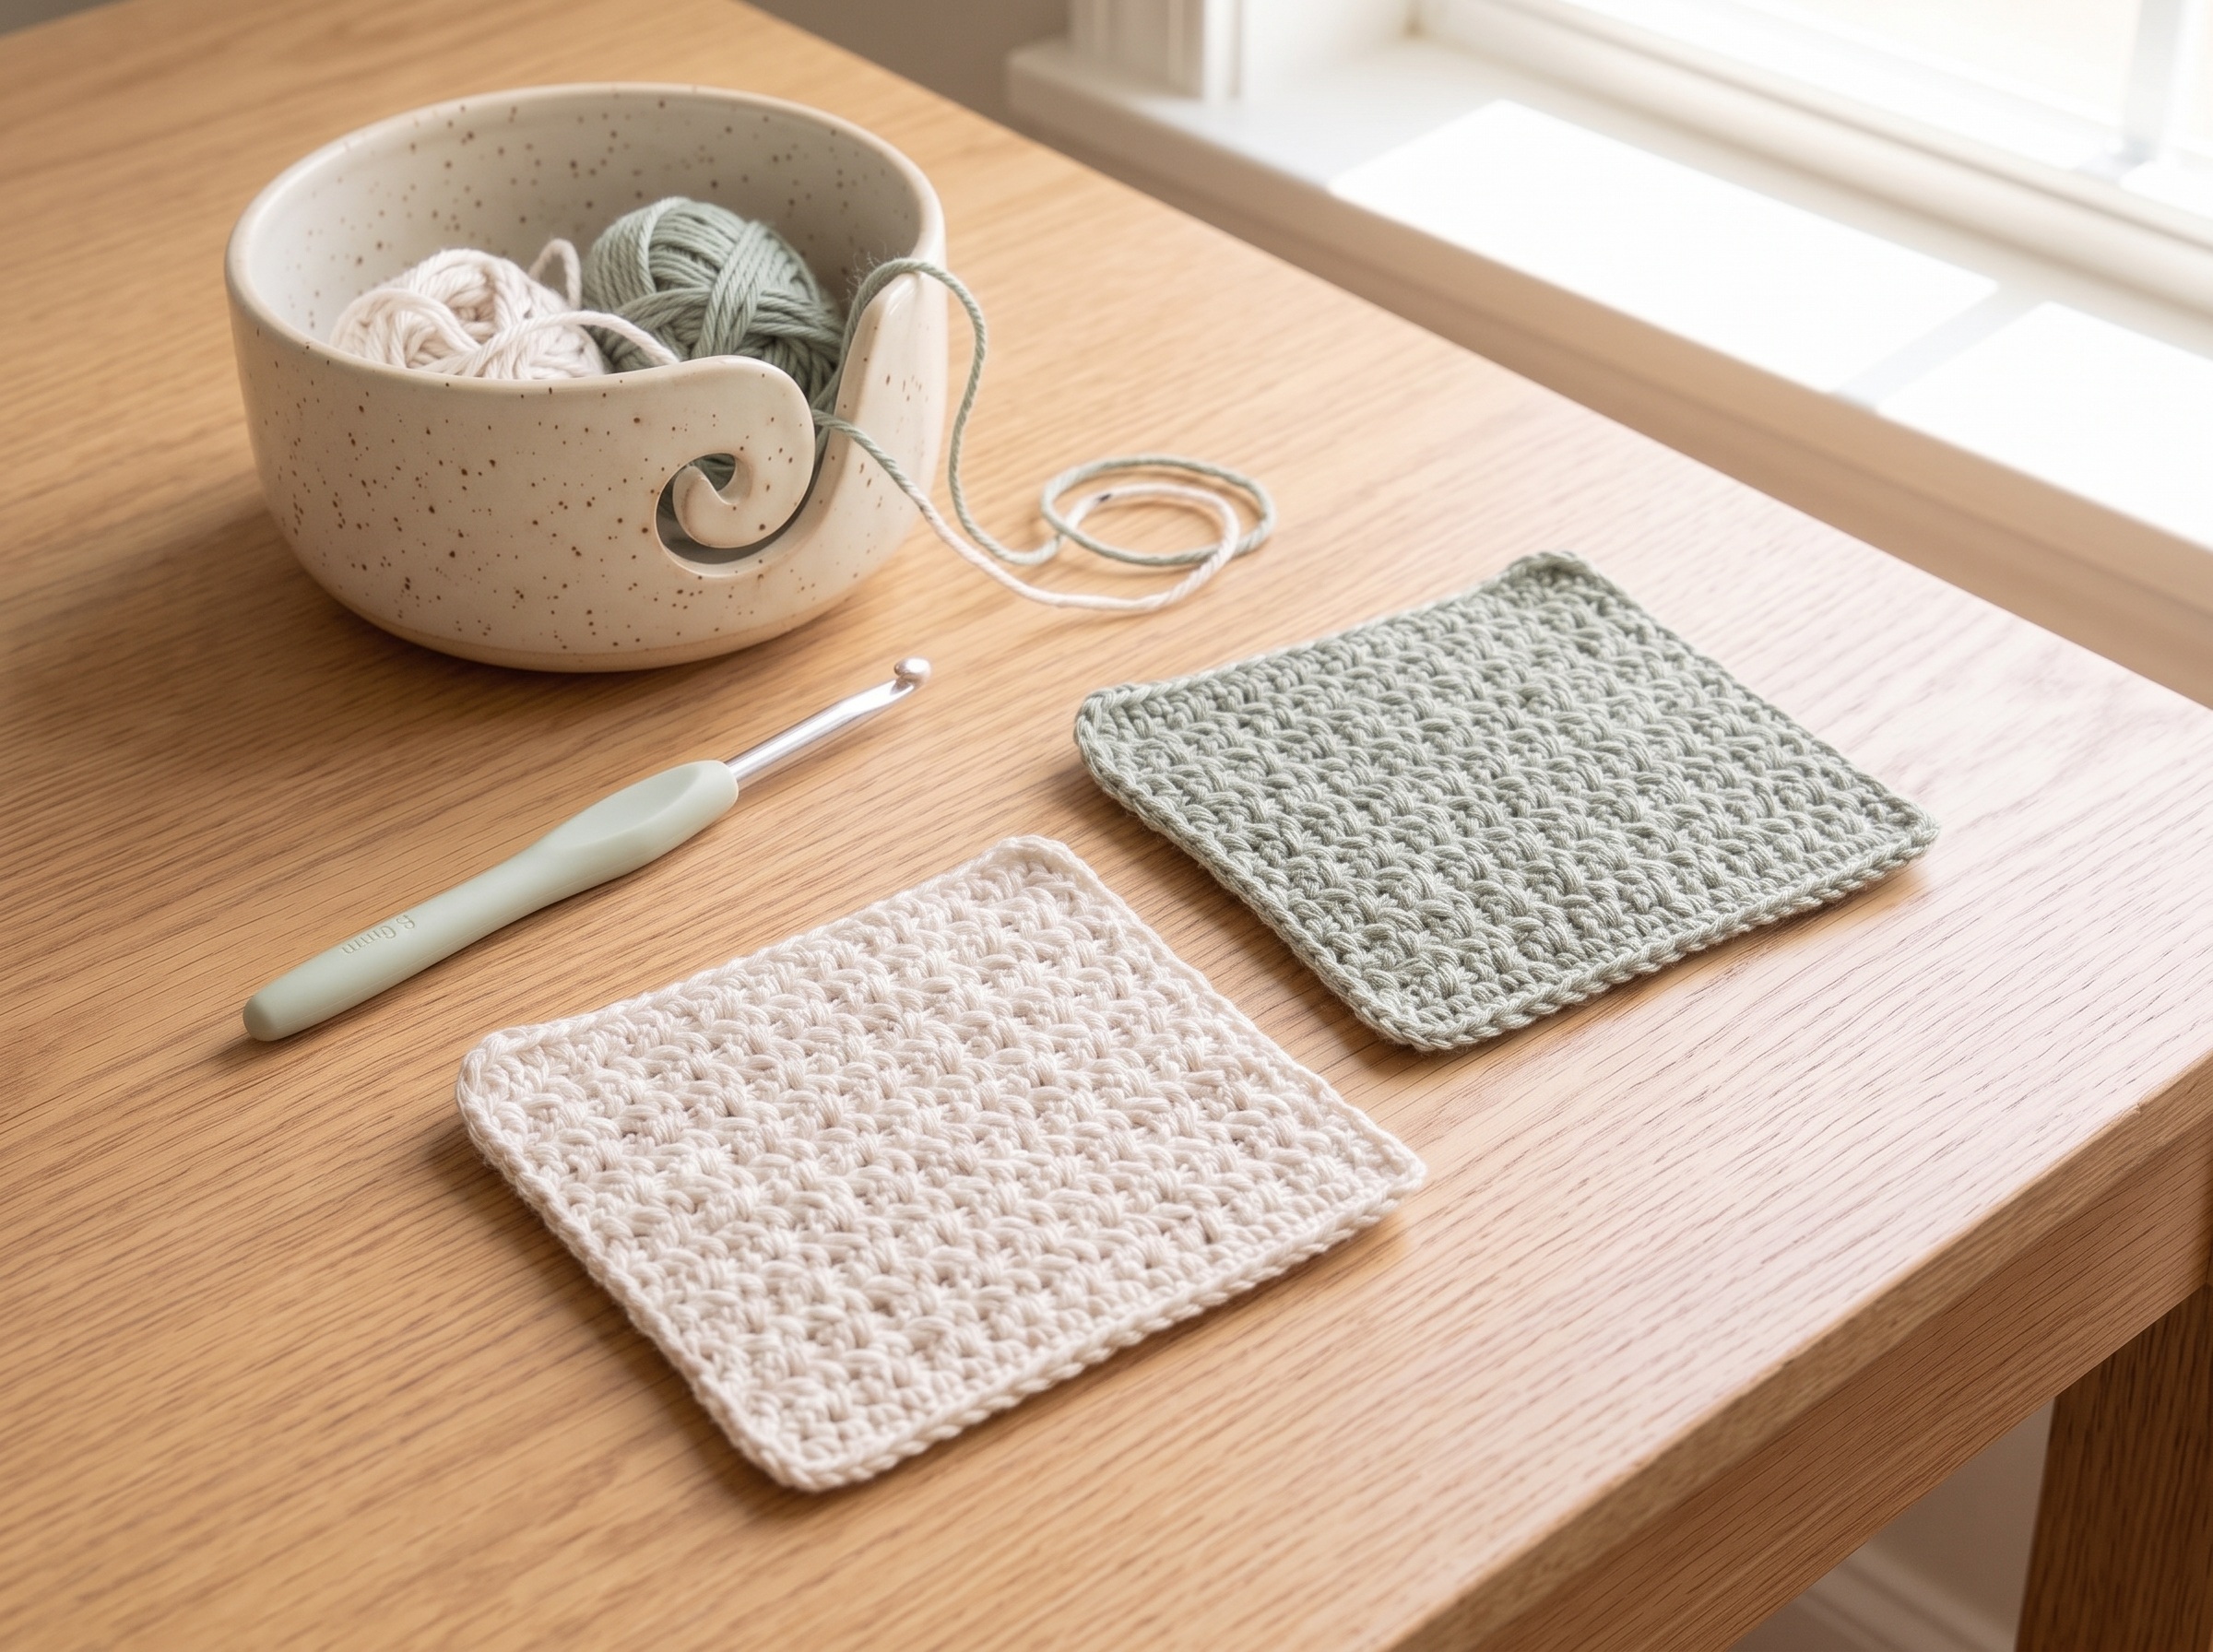
Soft Mug Rug Duo
A pair of softly textured mug rugs that work as coasters, desk mats, or quick handmade gifts.
Make this project