Crochet Slip Stitch (sl st): Uses and Technique
Learn how to make a crochet slip stitch and when to use it for joining rounds, moving across stitches, edging, and surface details.
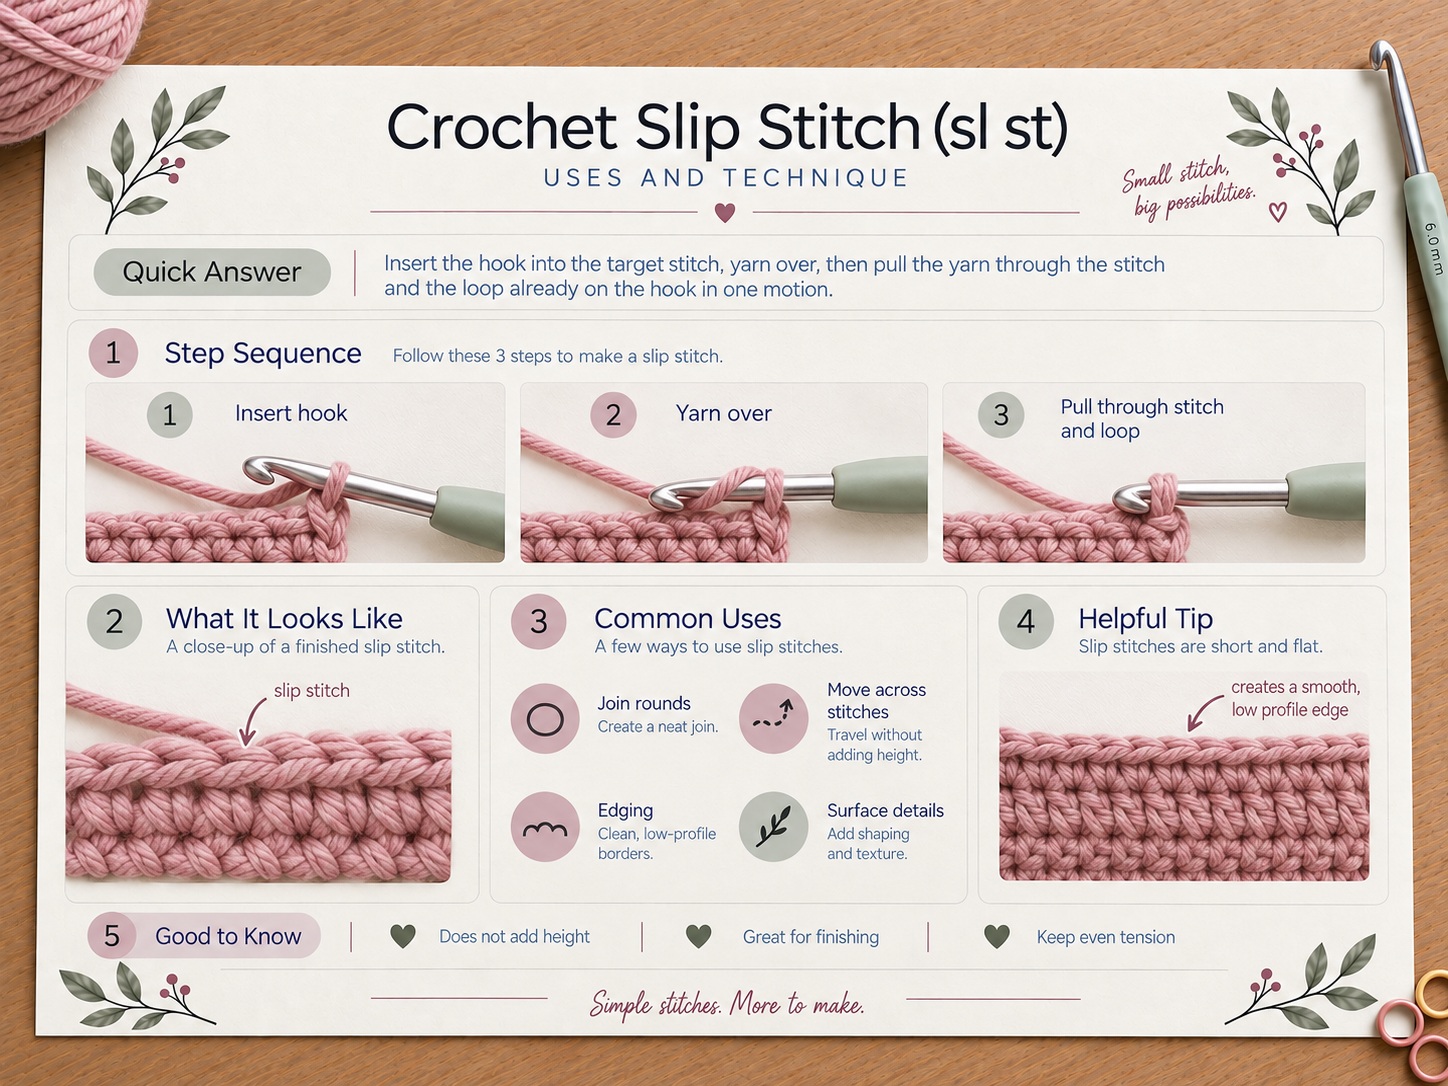
Insert the hook into the target stitch, yarn over, then pull the yarn through the stitch and the loop already on the hook in one motion.
Mini lesson sheet
Keep the short row instructions on one side and the visual target on the other.
- Use this as a quick check before the full lesson.
- Keep it nearby while you practice the stitch or technique.
Finished result

Key facts
How to do it
 01Step 1
Insert the hook into the specified stitch, space, or chain.
 02Step 2
Yarn over with the working yarn.
 03Step 3
Pull the yarn through the target and immediately through the loop already on the hook.
 04Step 4
Keep the completed slip stitch relaxed so the next stitch or round is not constricted.
Video walkthrough from Crochet Guru
Use this as a second explanation after the written steps. Pause, replay, and compare the motion with the close-up images above.
Make it easier
- Use the hook shaft, not the hook tip, to size the loop.
- For decorative slip-stitch fabric, consciously loosen tension because the stitch is easy to tighten.
What usually goes wrong
- Pulling the stitch so tight the next round is hard to enter
- Mistaking a slip stitch for a single crochet and adding height
Use this technique in a complete crochet project.
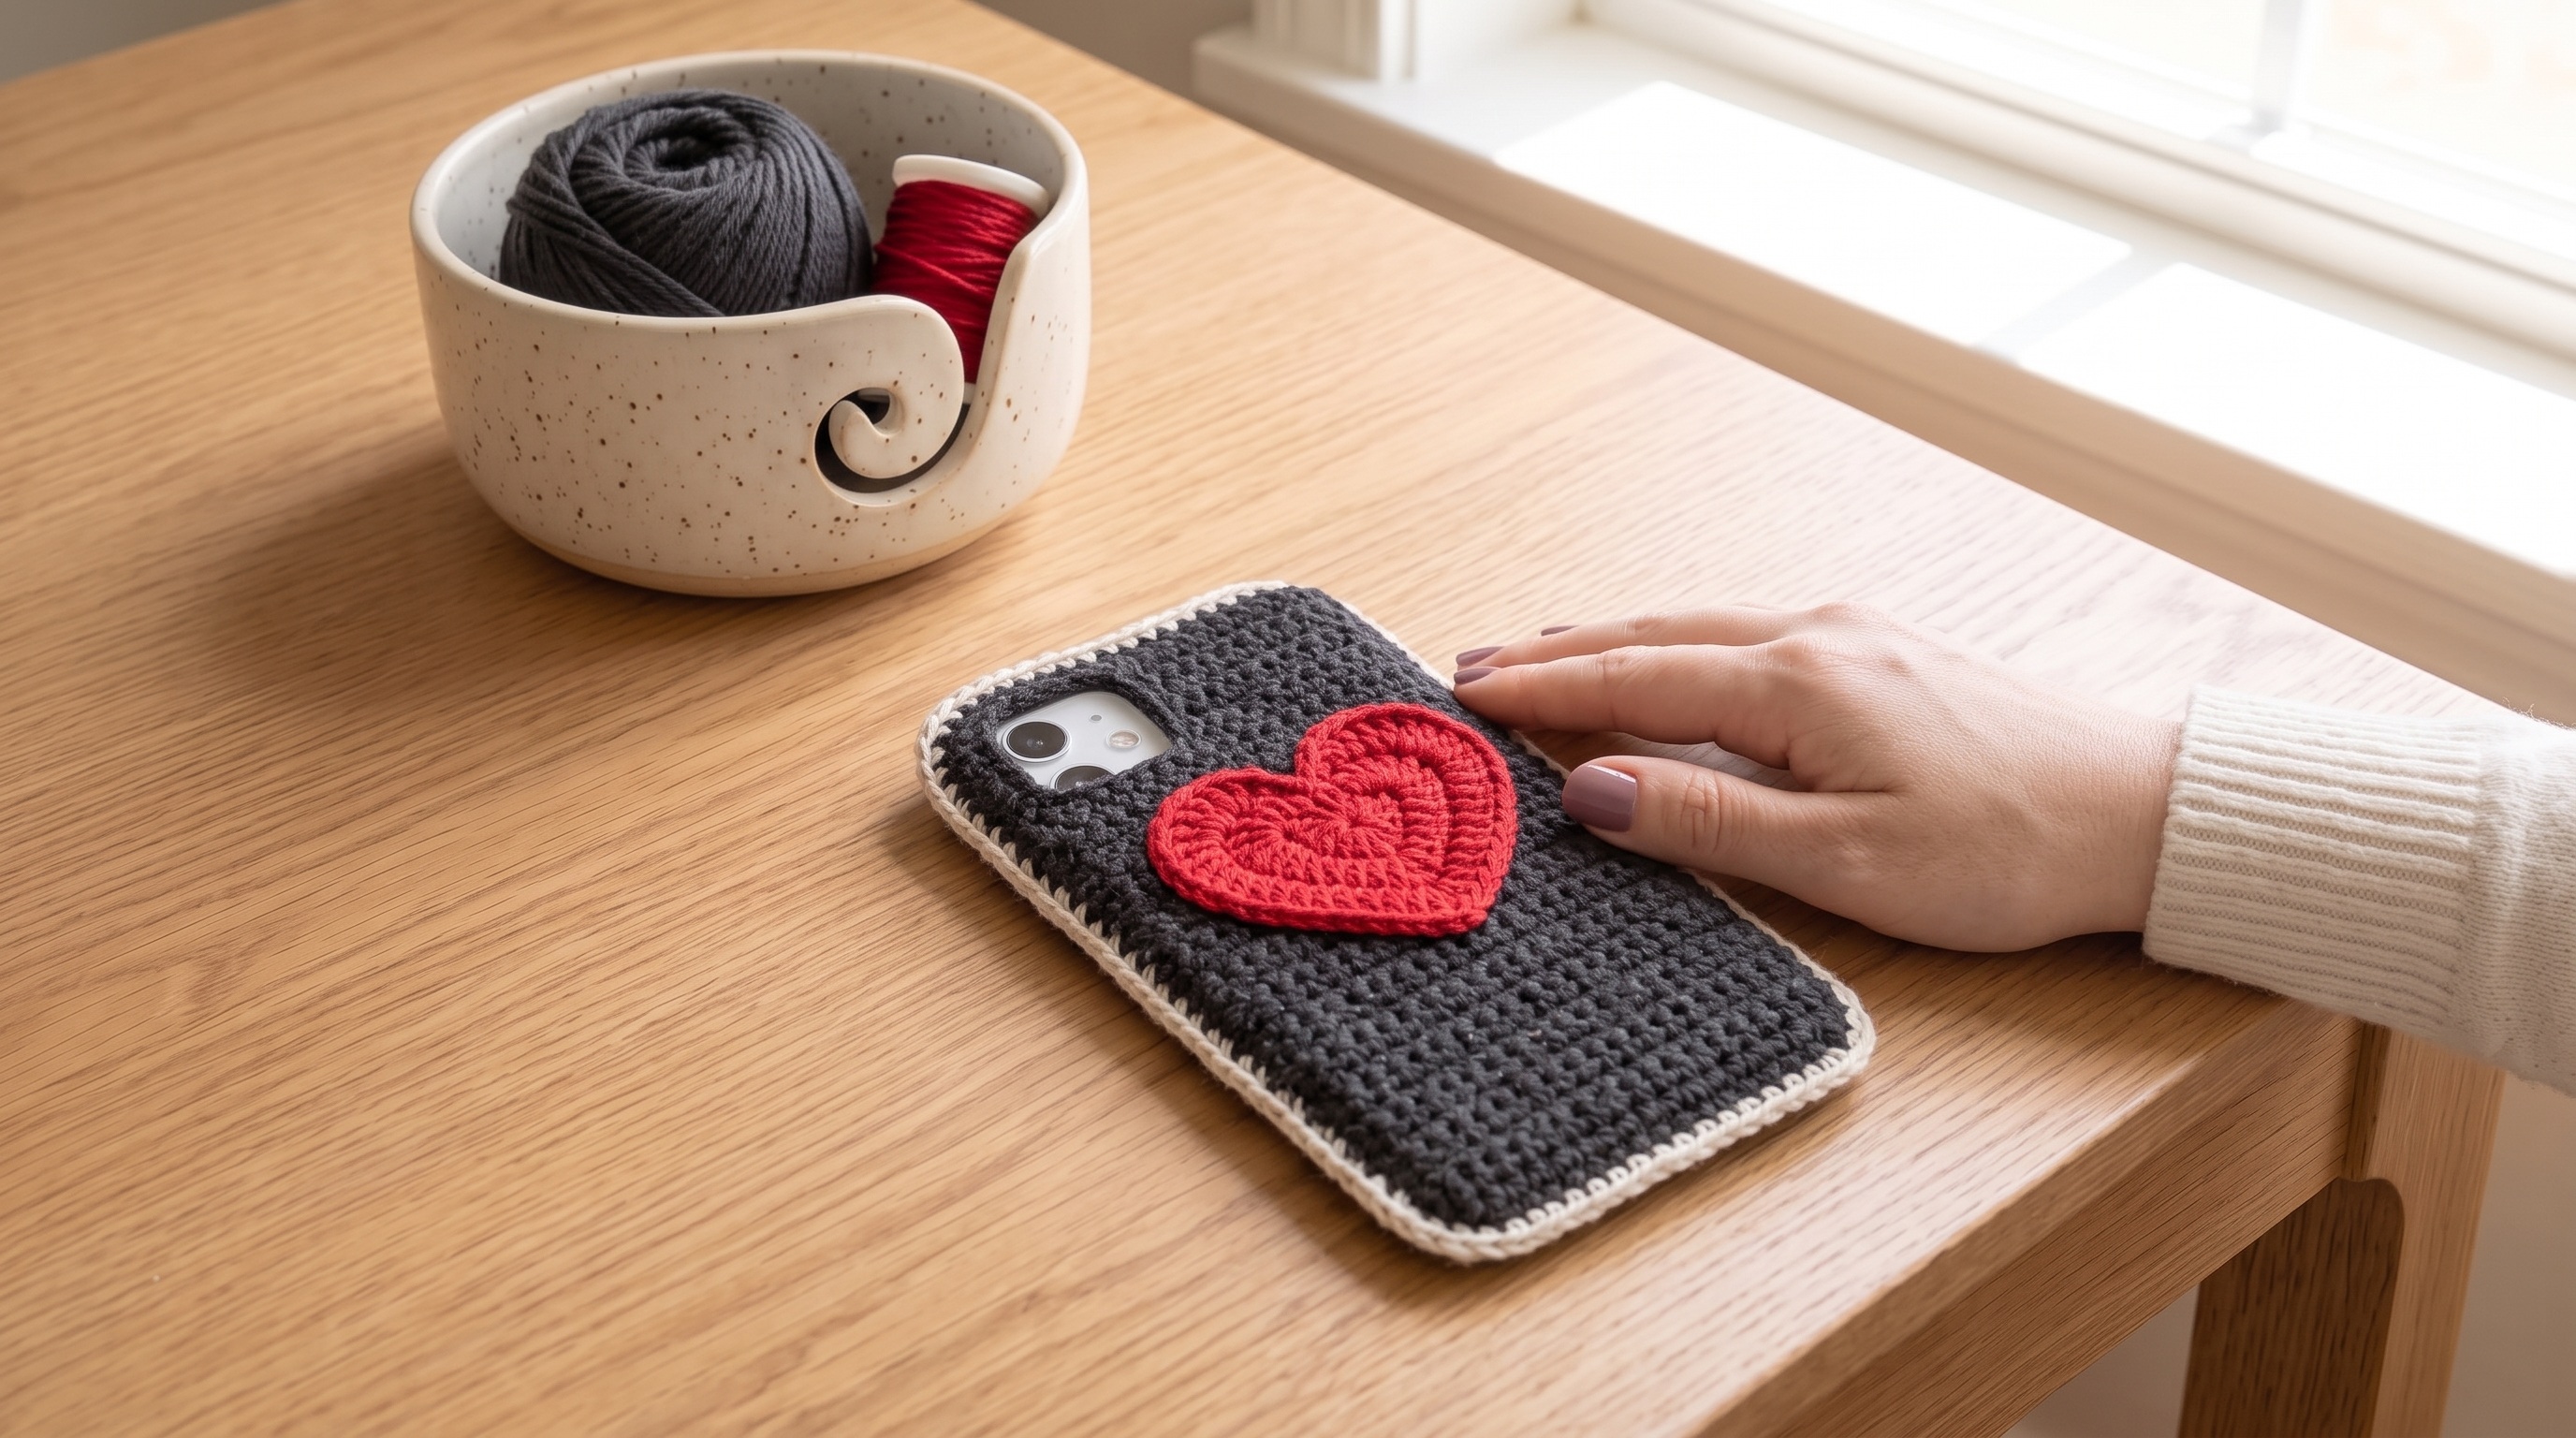
Cherry Heart iPhone 18 Sleeve
A slim crochet phone sleeve sized for an iPhone 18, finished in charcoal with a bold red heart appliqué on the back.
Make this projectBuild the next connected skill.
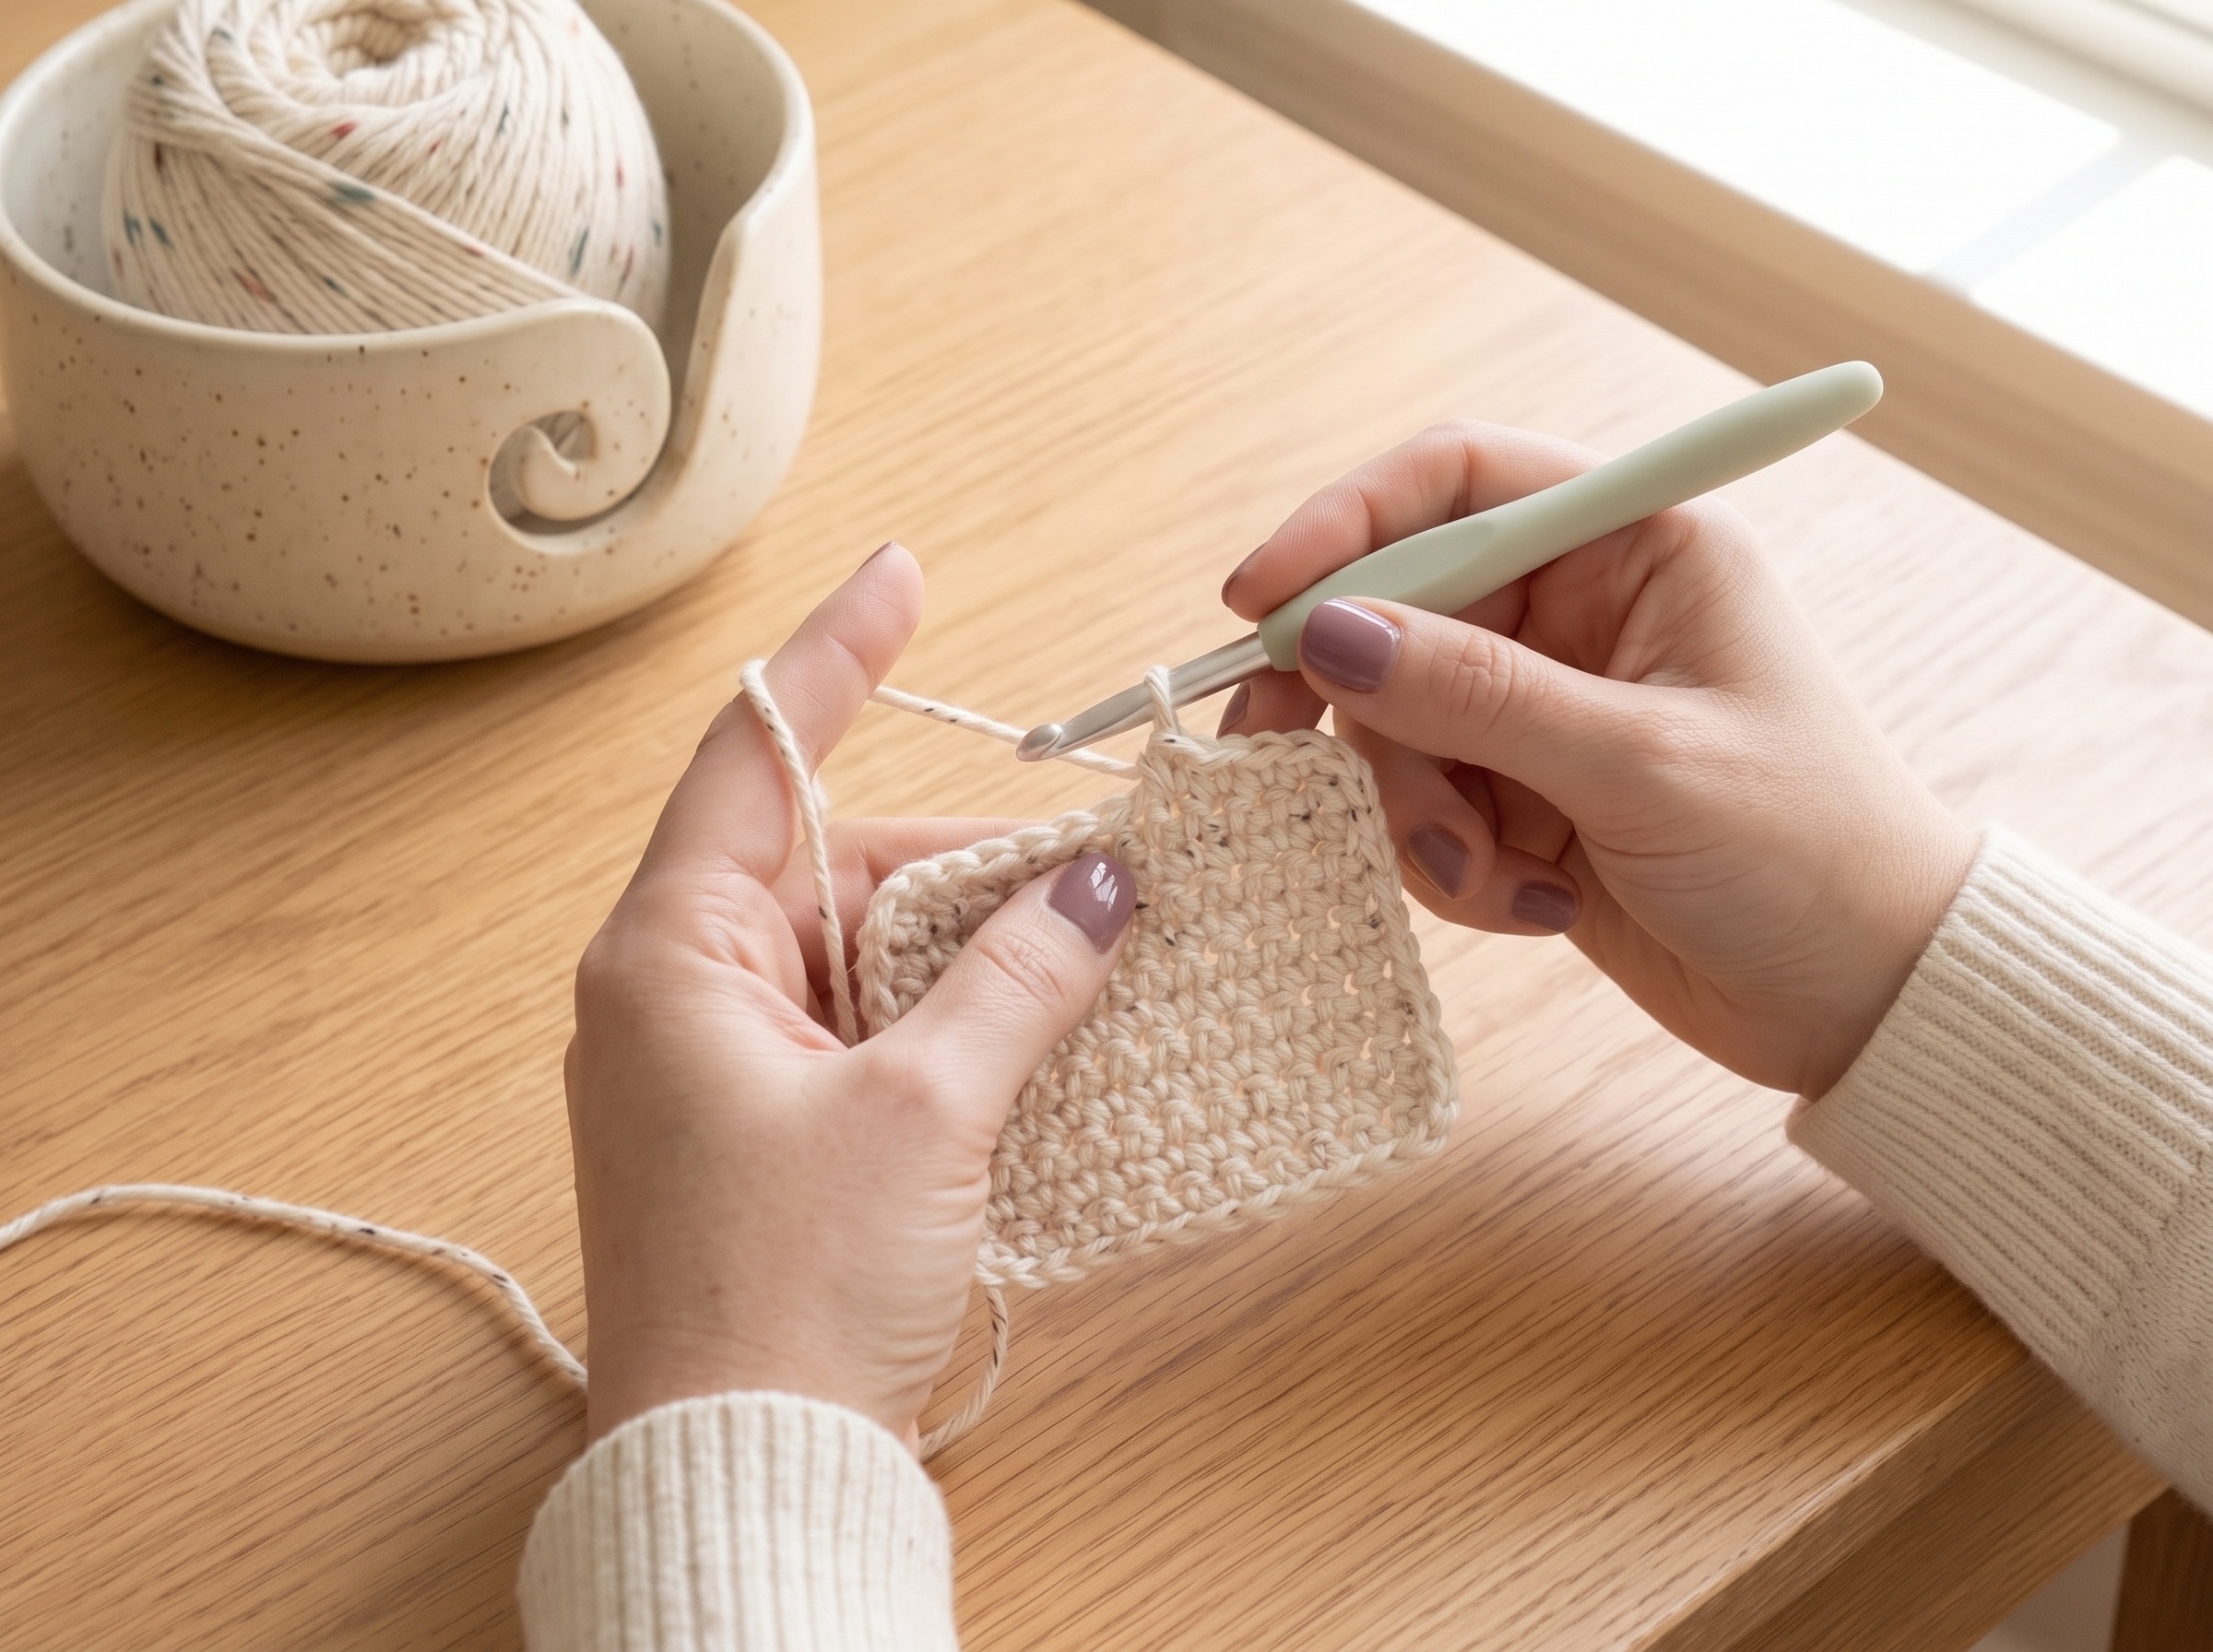
Single Crochet Stitch (sc): Step-by-Step
A clear single crochet tutorial covering insertion, yarn overs, turning chains, stitch counting, and how to avoid shrinking rows.
Open guide
Half Double Crochet (hdc) Tutorial
Learn half double crochet with the correct yarn-over sequence, stitch anatomy, turning guidance, and fixes for uneven rows.
Open guide
Double Crochet Stitch (dc) Tutorial
Master US double crochet, including the yarn-over sequence, turning height, stitch counting, and tips for consistent tall stitches.
Open guide
How to Crochet a Chain Stitch (ch)
Learn the crochet chain stitch, how to hold the hook and yarn, where to count chains, and how to keep the foundation edge even.
Open guide