Crochet Increases & Decreases: Shape Your Fabric
Understand basic crochet increases and decreases, how they change stitch count, and how to use them to shape flat pieces, circles, garments, and amigurumi.
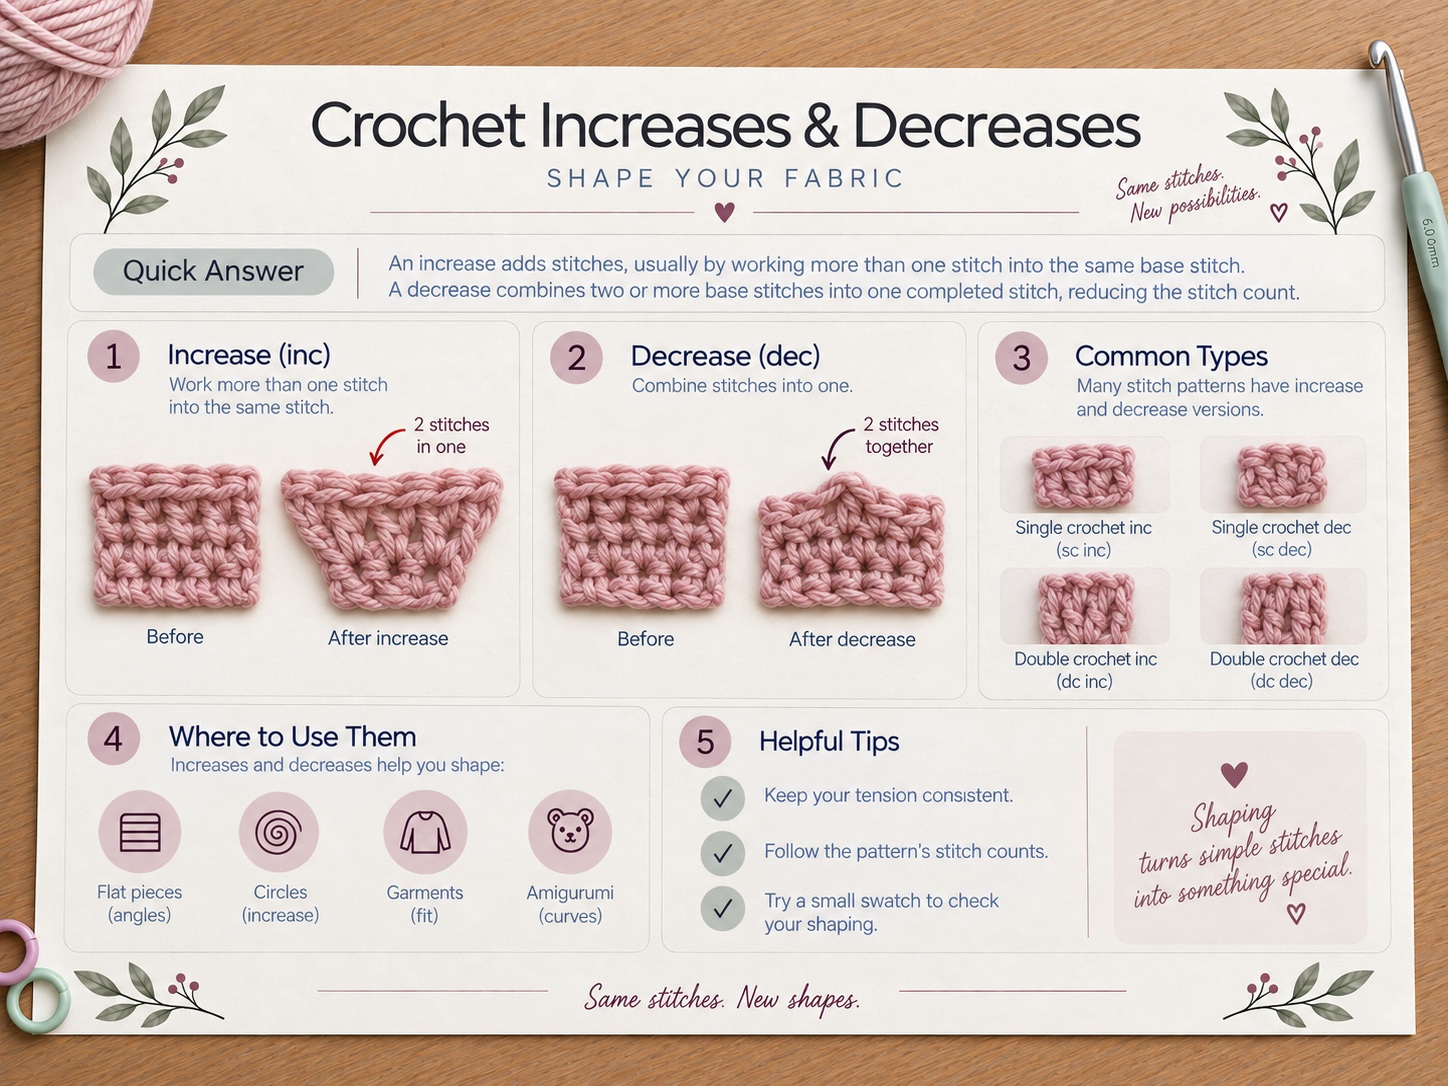
An increase adds stitches, usually by working more than one stitch into the same base stitch. A decrease combines two or more base stitches into one completed stitch, reducing the stitch count.
Mini lesson sheet
Keep the short row instructions on one side and the visual target on the other.
- Use this as a quick check before the full lesson.
- Keep it nearby while you practice the stitch or technique.
Finished result

Key facts
How to do it
 01Step 1
Check the pattern to identify the stitch type being increased or decreased.
 02Step 2
For a basic increase, work the required number of stitches into the same stitch or space.
 03Step 3
For a decrease, begin the first stitch but leave it unfinished on the hook.
 04Step 4
Begin the next stitch and stop at the stage indicated for the decrease.
 05Step 5
Yarn over and pull through the remaining loops to complete the grouped stitch.
 06Step 6
Count the row or round afterward to confirm the shaping changed the stitch count as expected.
Make it easier
- Mark increase points when shaping a circle so placement stays consistent.
- For amigurumi, an invisible single-crochet decrease can reduce visible gaps.
What usually goes wrong
- Working an increase into the wrong base stitch
- Forgetting that a decrease changes the final stitch count
- Using a decrease method for the wrong stitch type
Use this technique in a complete crochet project.
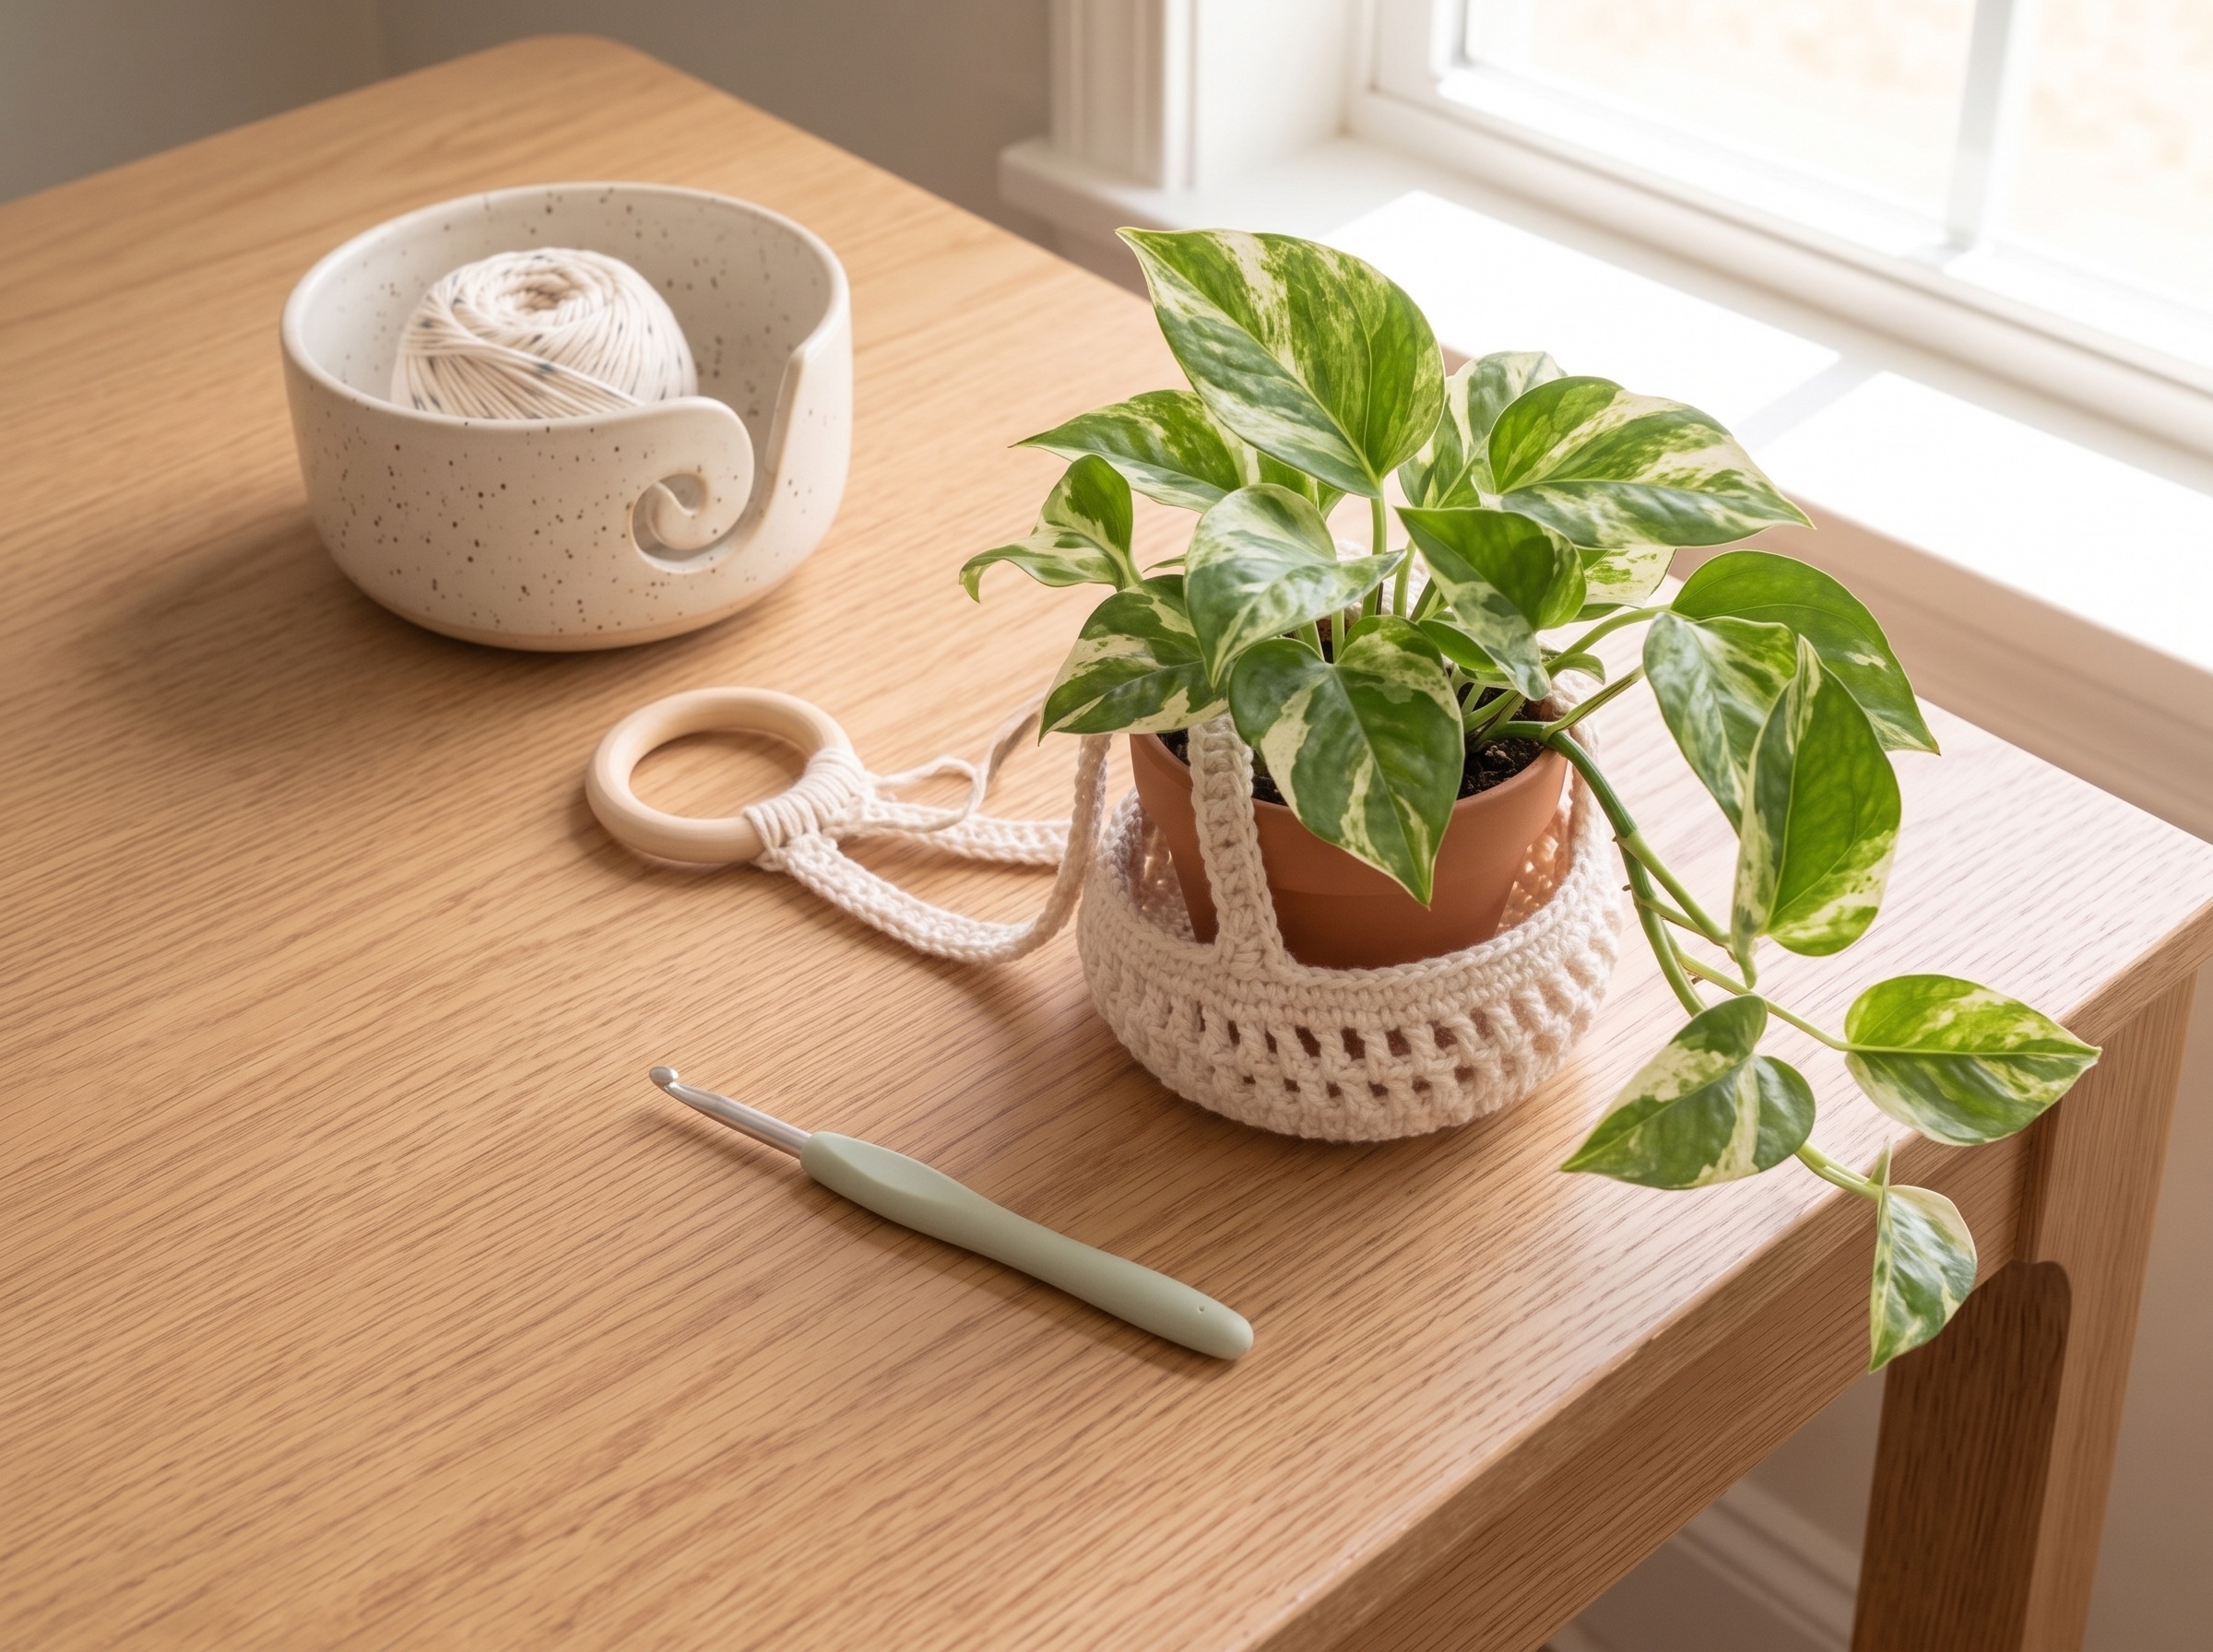
Boho Plant Hanger
A simple hanging plant holder with a handmade look that adds texture to a shelf, window, or reading corner.
Make this project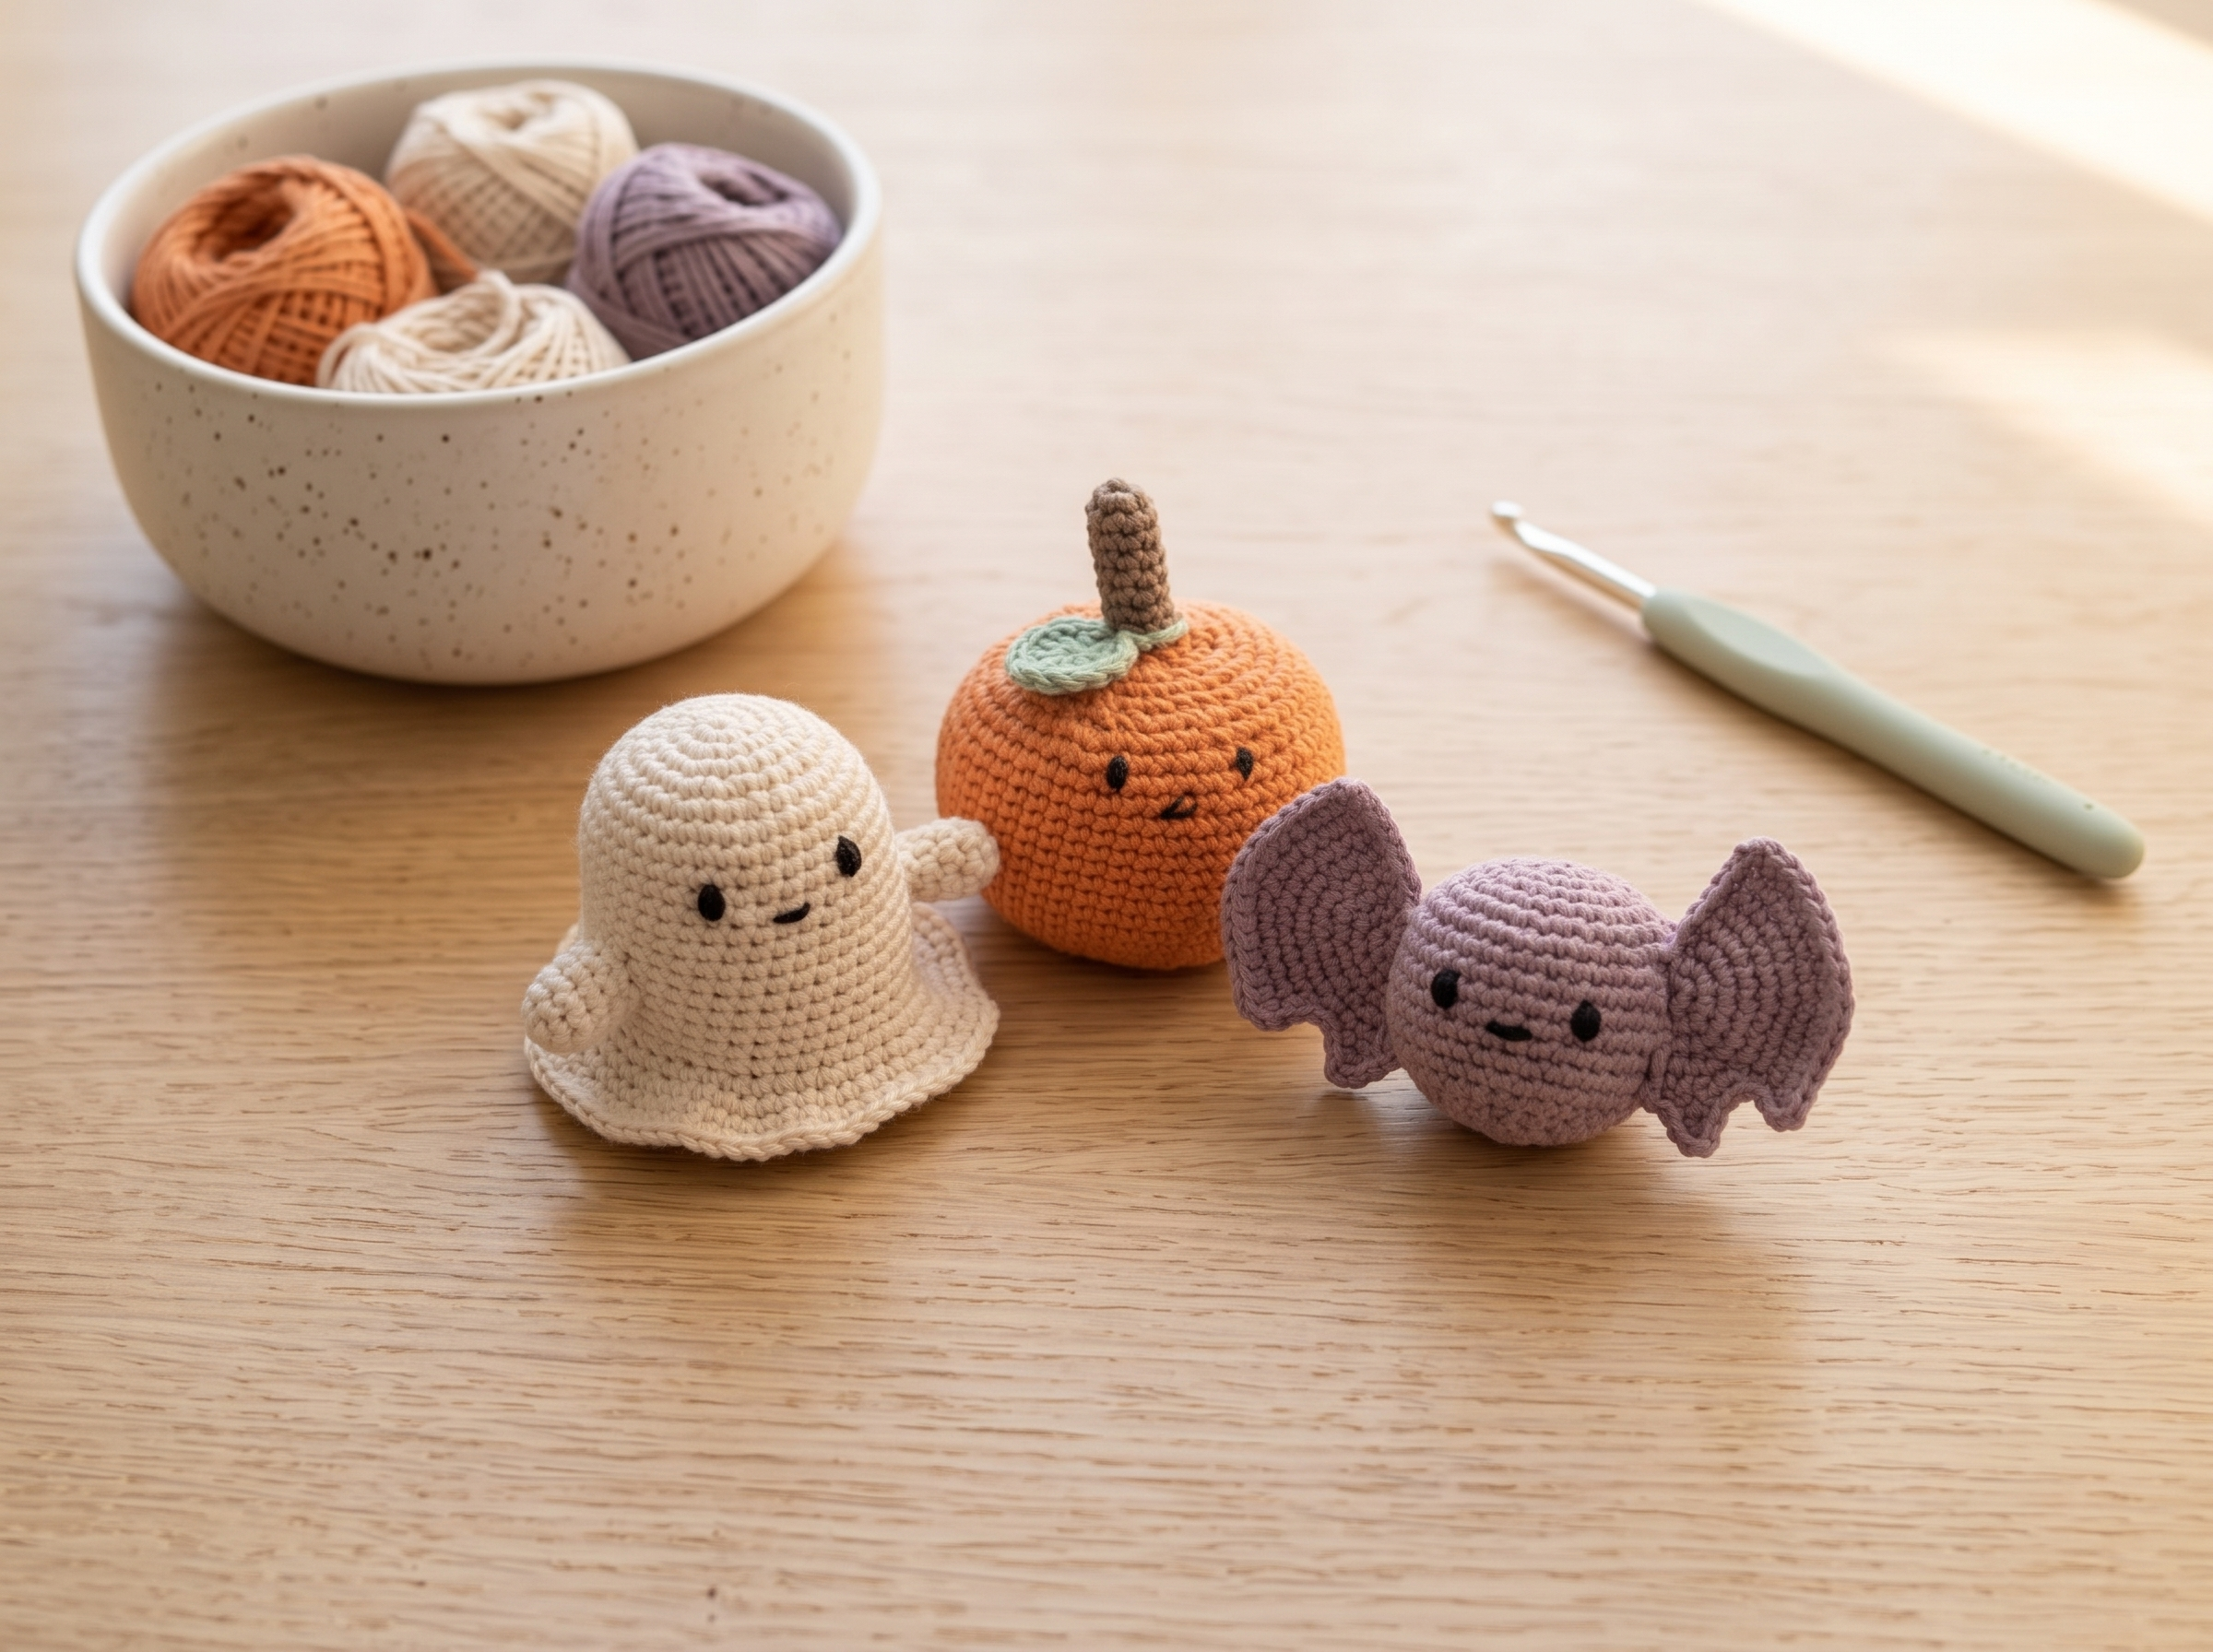
Halloween Crochet Mini Trio
An easy amigurumi-style ghost, pumpkin, and bat set for Halloween shelves, treat tables, gift toppers, or playful fall decor.
Make this project
Pocket Panda Puppy Plush
A tiny panda puppy amigurumi with floppy ears, a rounded snout, and a dusty-red collar accent for gifts, shelves, or bag charms.
Make this projectBuild the next connected skill.
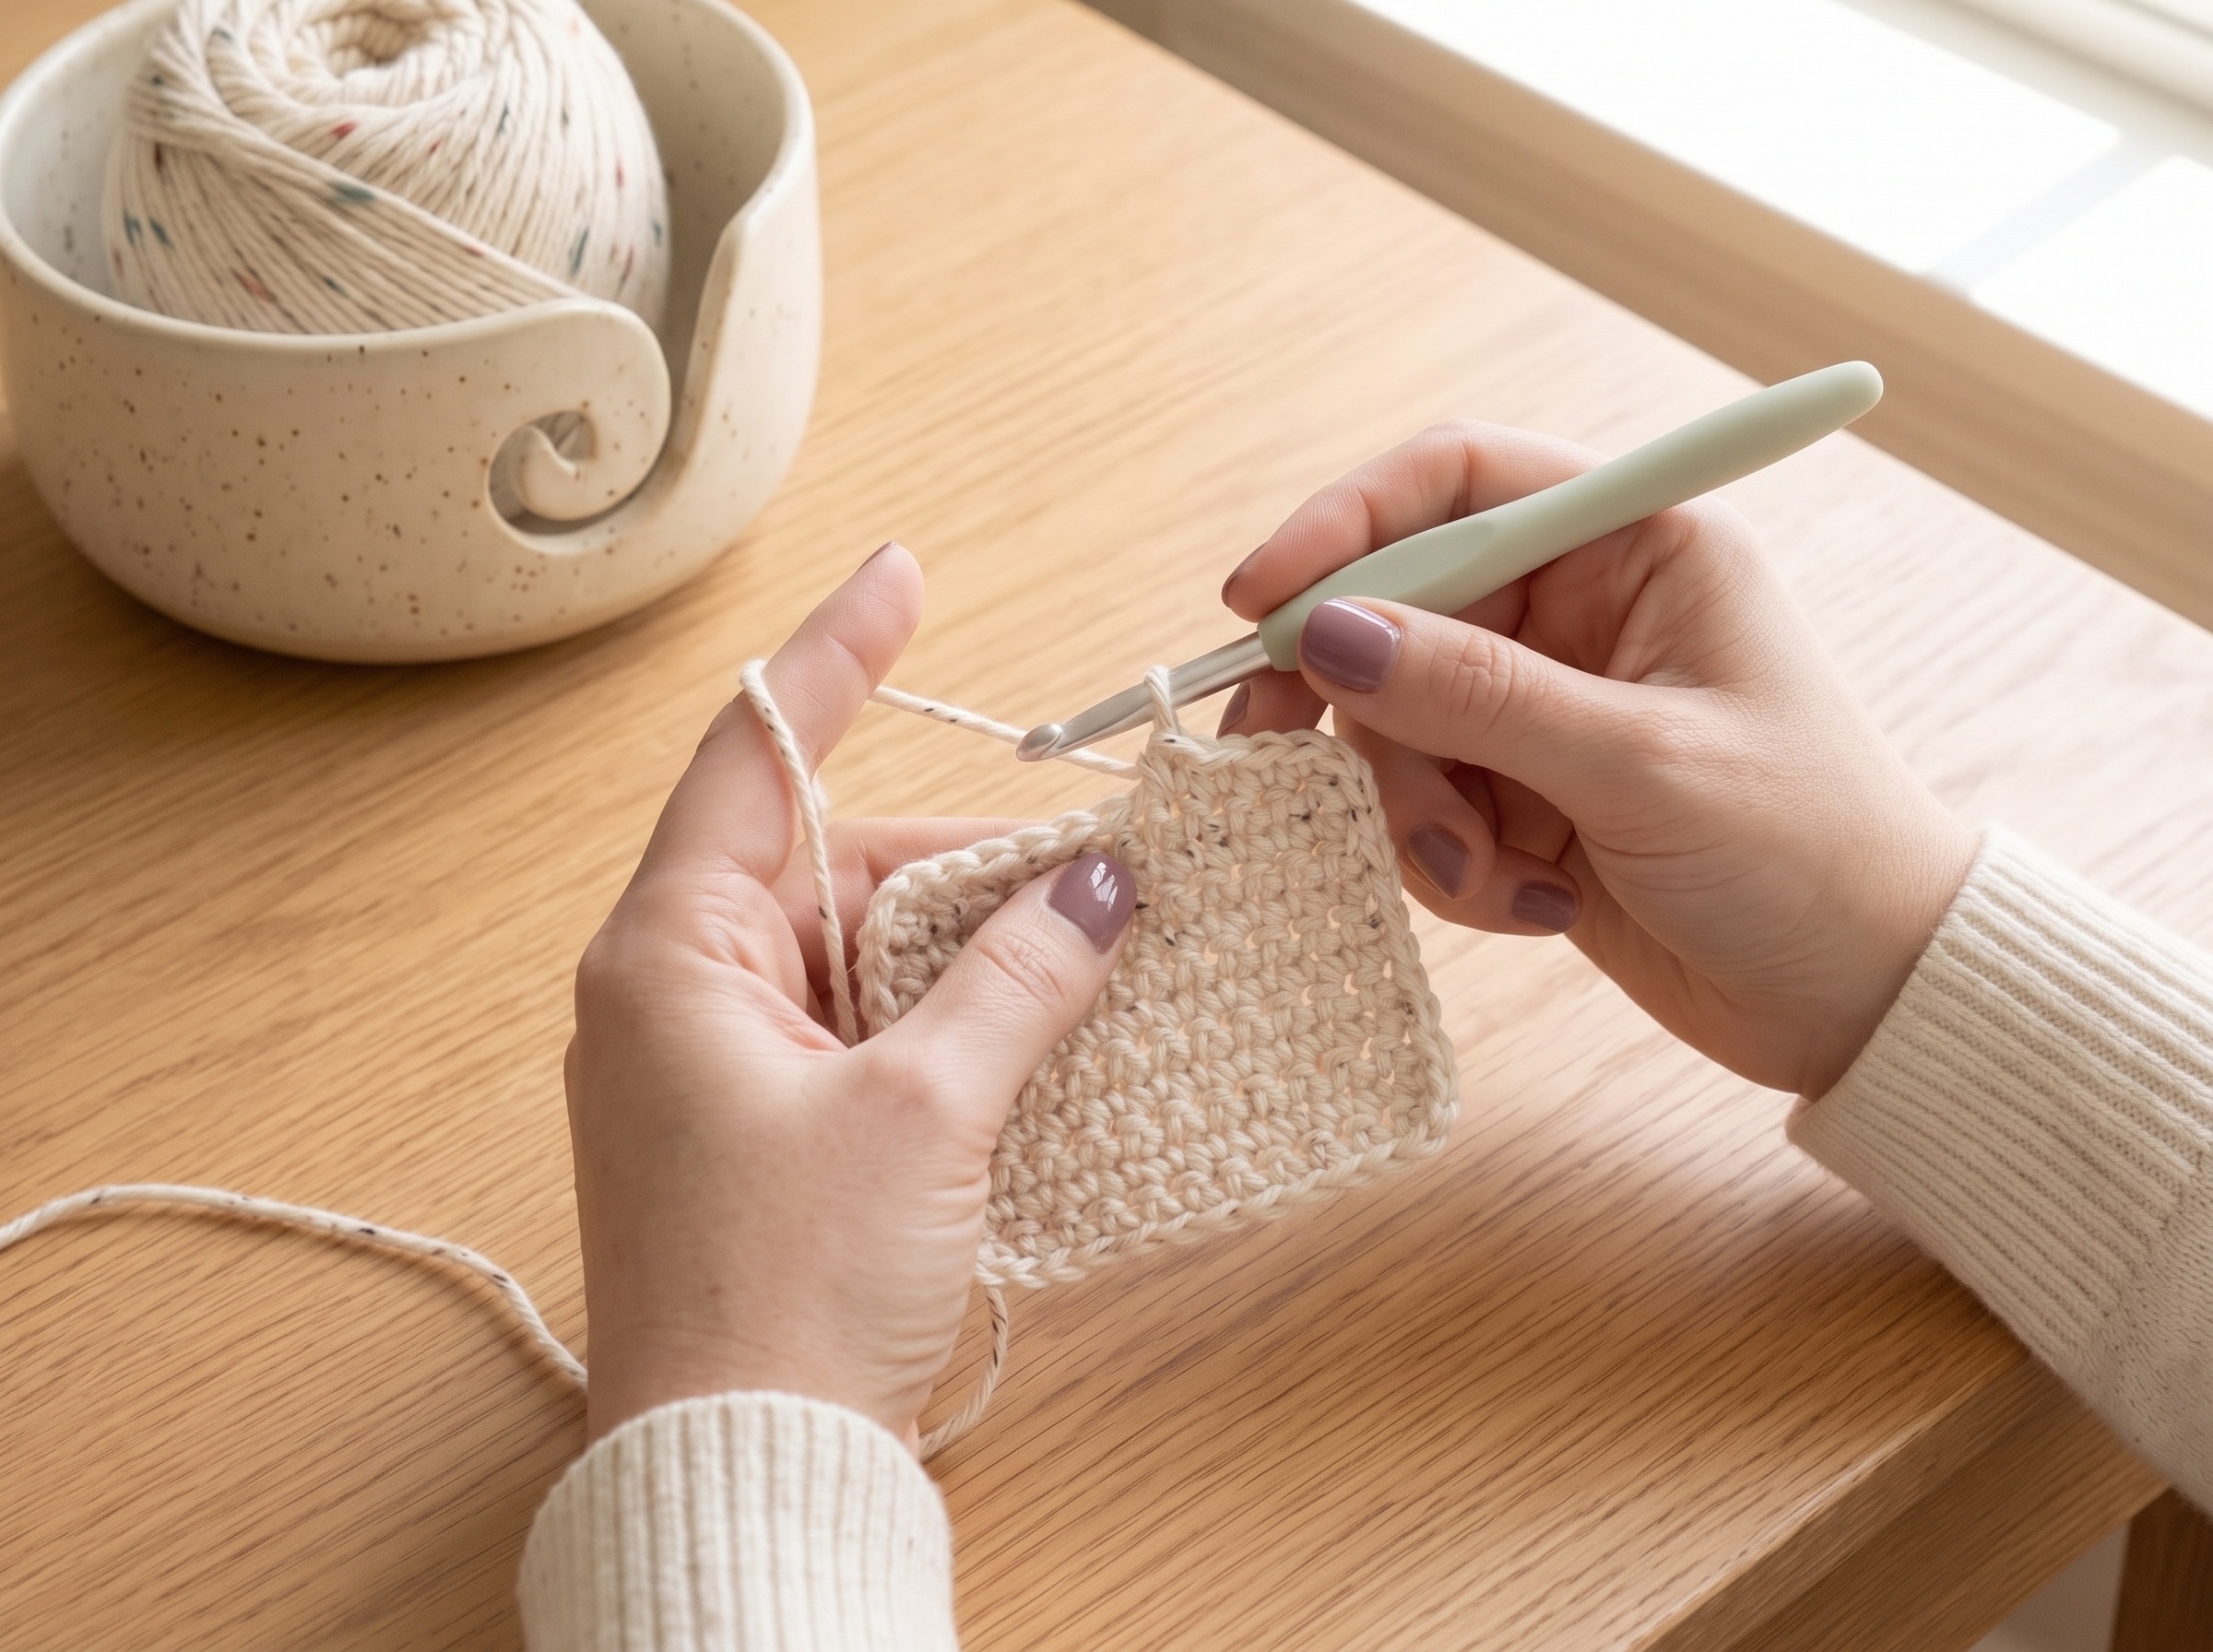
Single Crochet Stitch (sc): Step-by-Step
A clear single crochet tutorial covering insertion, yarn overs, turning chains, stitch counting, and how to avoid shrinking rows.
Open guide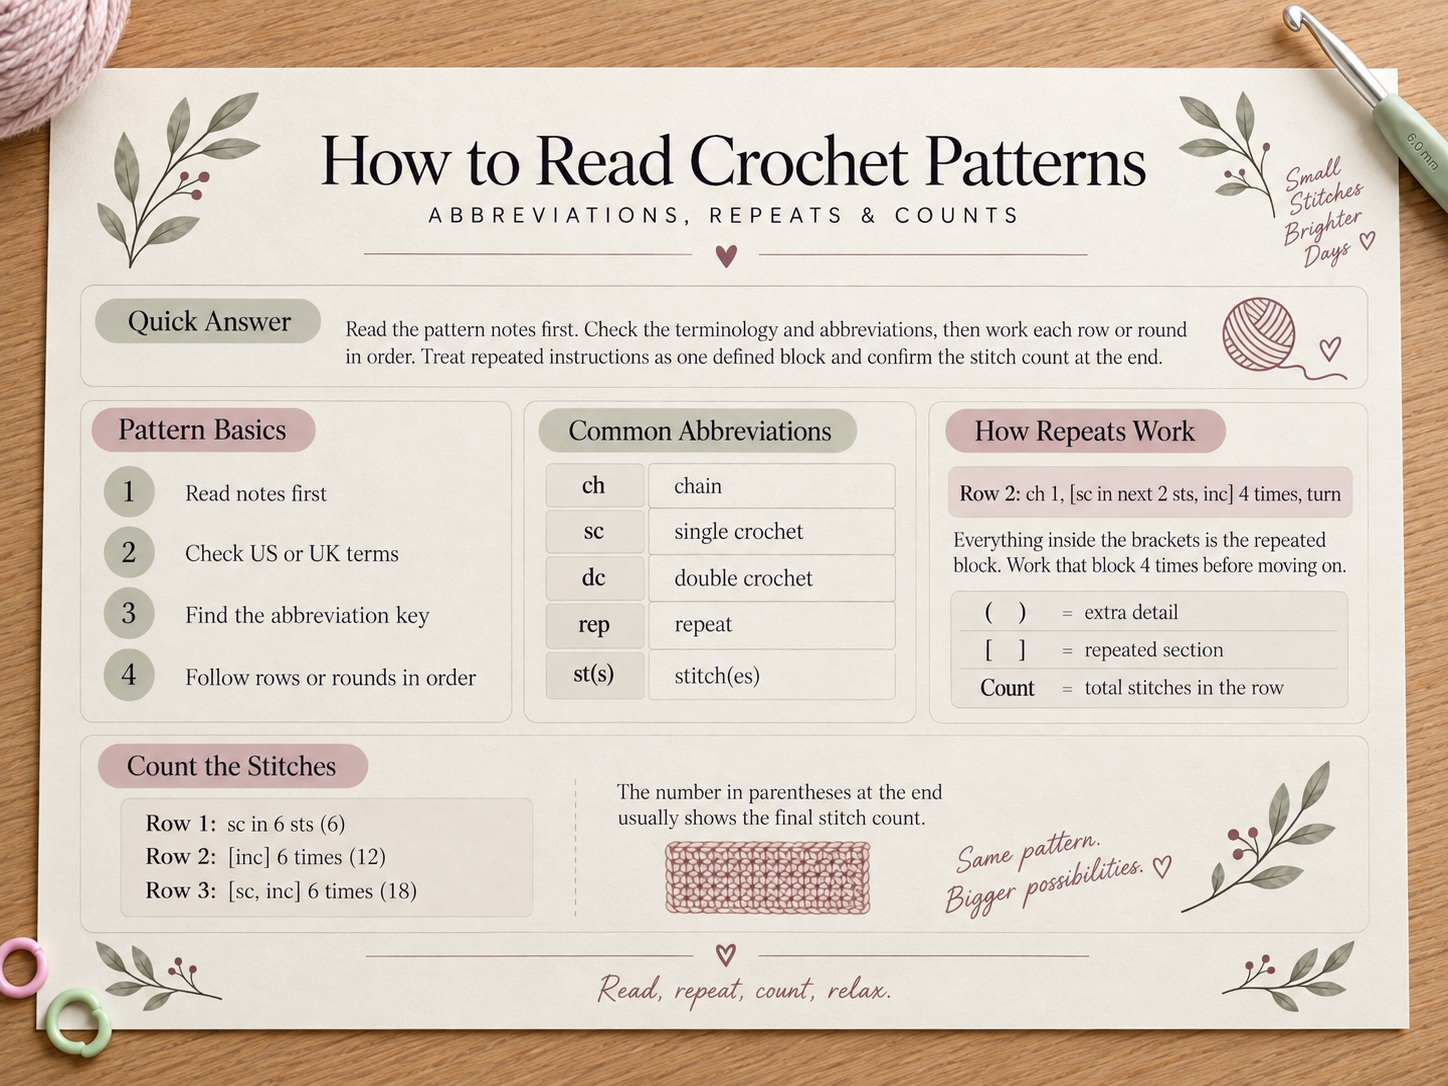
How to Read Crochet Patterns: Abbreviations, Repeats & Counts
A beginner-friendly guide to crochet pattern structure, abbreviations, repeats, parentheses, brackets, stitch counts, and instruction order.
Open guide
Magic Ring Crochet: Adjustable Loop for Rounds
Learn the magic ring method for starting crochet in the round with a center that can be pulled closed, especially useful for amigurumi and motifs.
Open guide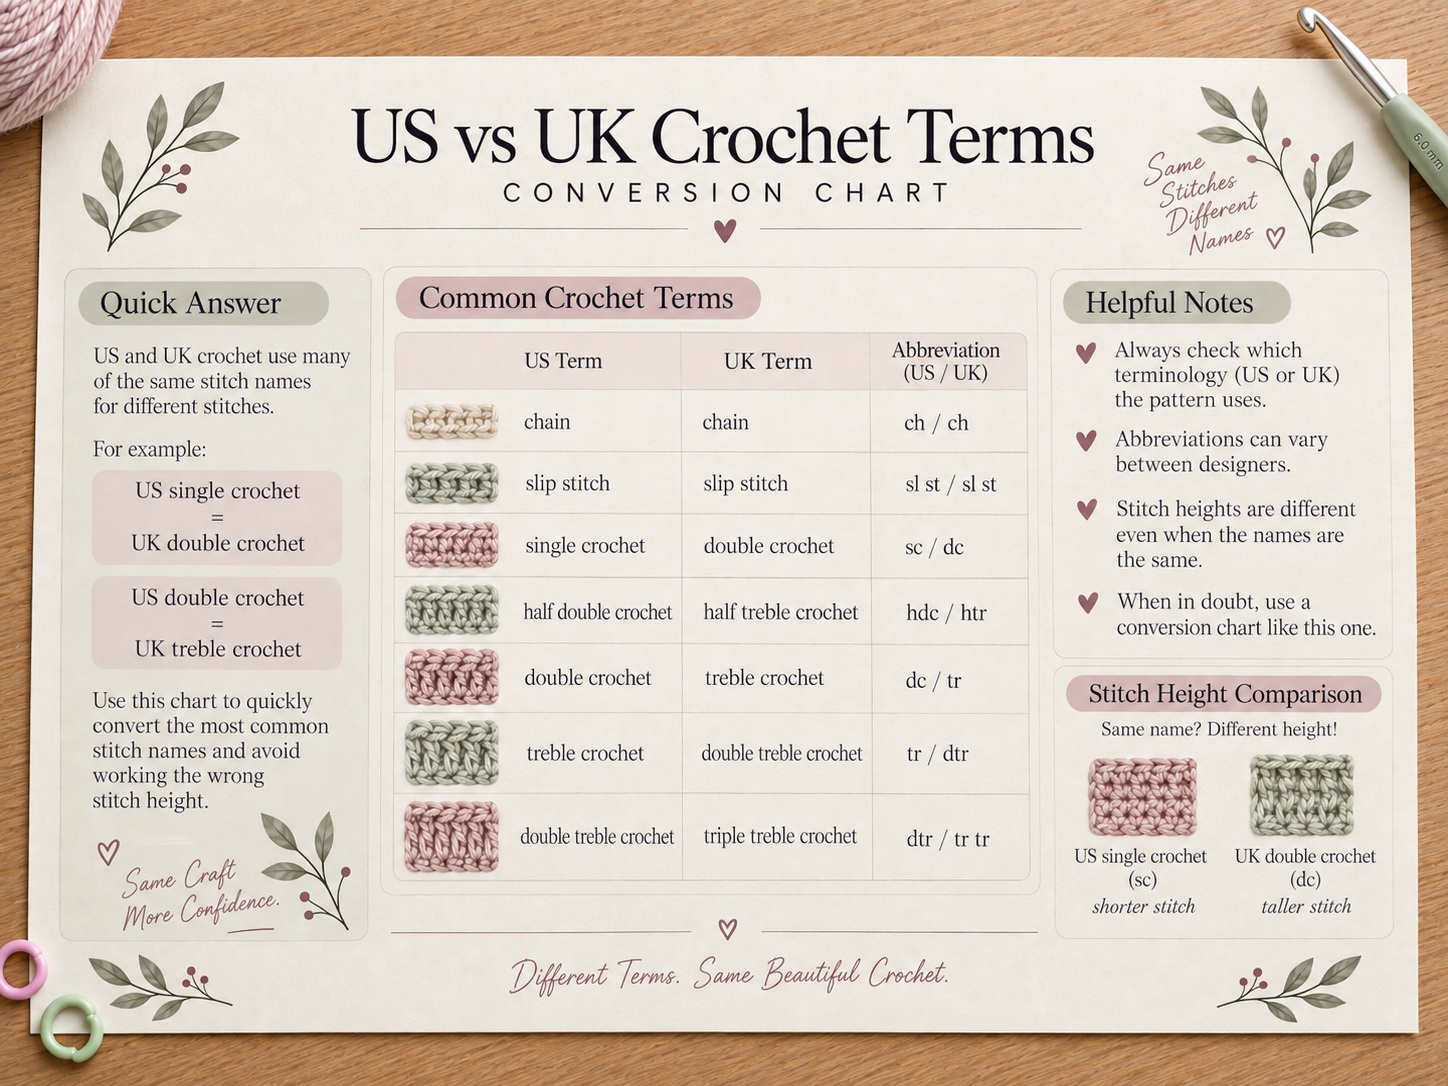
US vs UK Crochet Terms: Conversion Chart
Use this US-to-UK crochet terminology guide to convert the most common stitch names and avoid working the wrong stitch height.
Open guide