
Crochet Leaf Bookmark Free Pattern
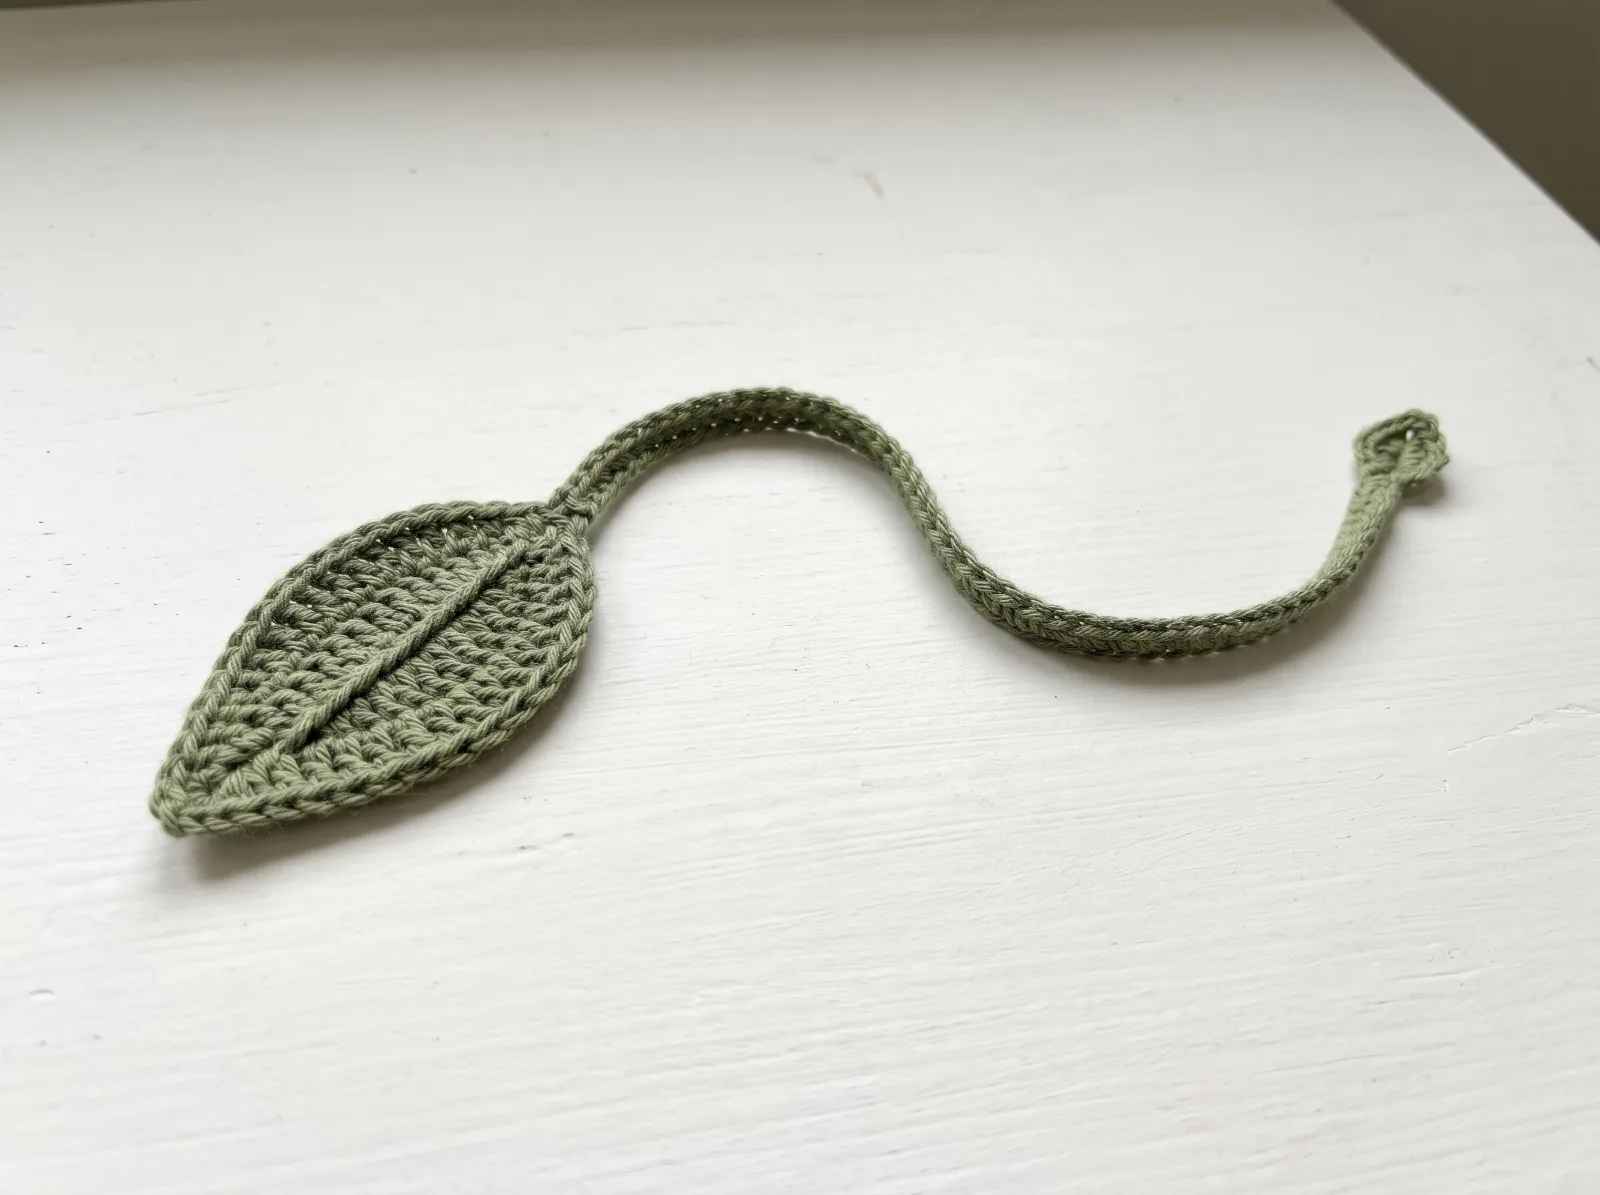
Crochet a single flat sage leaf with a stitched central vein, slim chain-based stem and small end loop. The motif and cord stay narrow enough to use as a bookmark; this working pattern is awaiting a hands-on gauge and fit check.
What you'll make
Crochet a sage leaf bookmark with mirrored leaf stitches, a center vein and slim stem. Written working instructions; physical sample not yet tested.
Quick answer: Crochet Leaf Bookmark is a beginner-friendly crochet project with an estimated making time of ~45–60 minutes. Materials include Smooth sport-weight cotton yarn in muted sage/olive green, 3 mm crochet hook (adjust for a flat fabric), Tapestry/yarn needle for the leaf vein and finishing. See the full written instructions and construction steps below.
A closer look
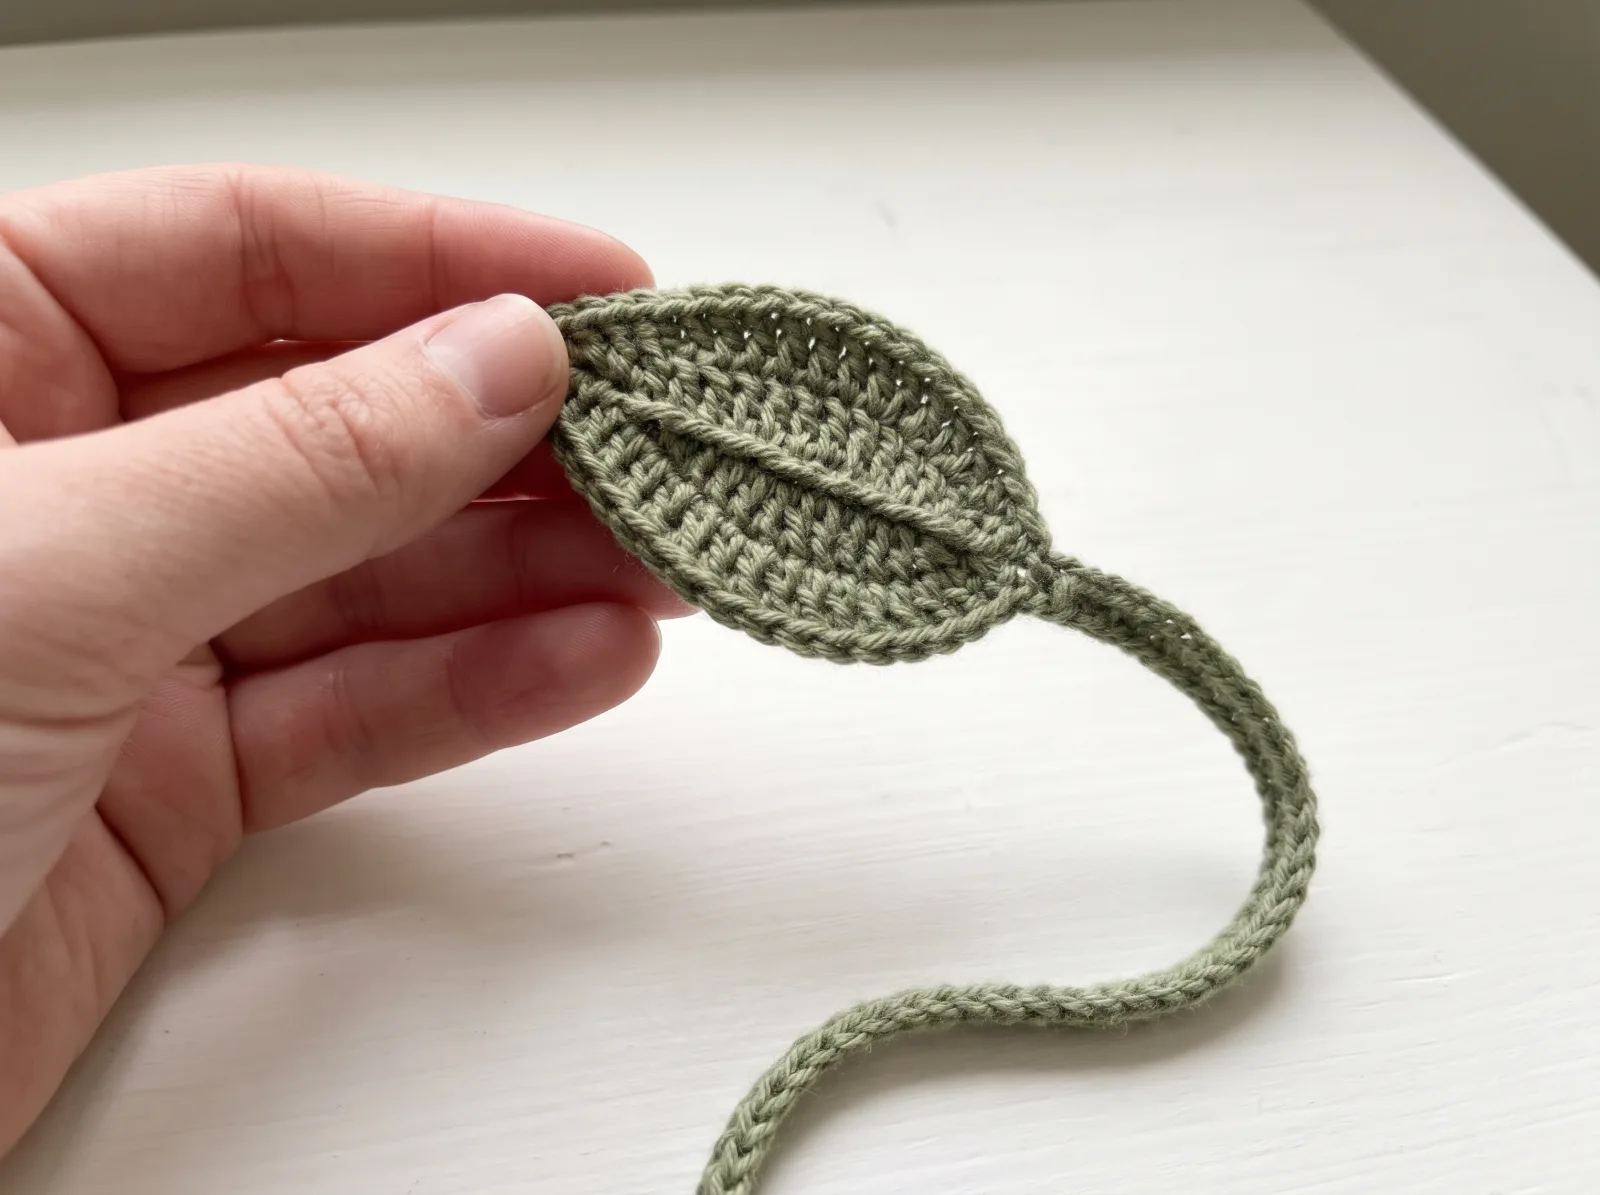
Crochet a single flat sage leaf with a stitched central vein, slim chain-based stem and small end loop. The motif and cord stay narrow enough to use as a bookmark; this working pattern is awaiting a hands-on gauge and fit check.
- Use smooth sport cotton for a low-profile bookmark that will not bulk up book pages.
- Keep the leaf-vein surface stitches loose so the leaf stays flat.
- The small loop is optional; test the stem length in your actual book.
What you'll need
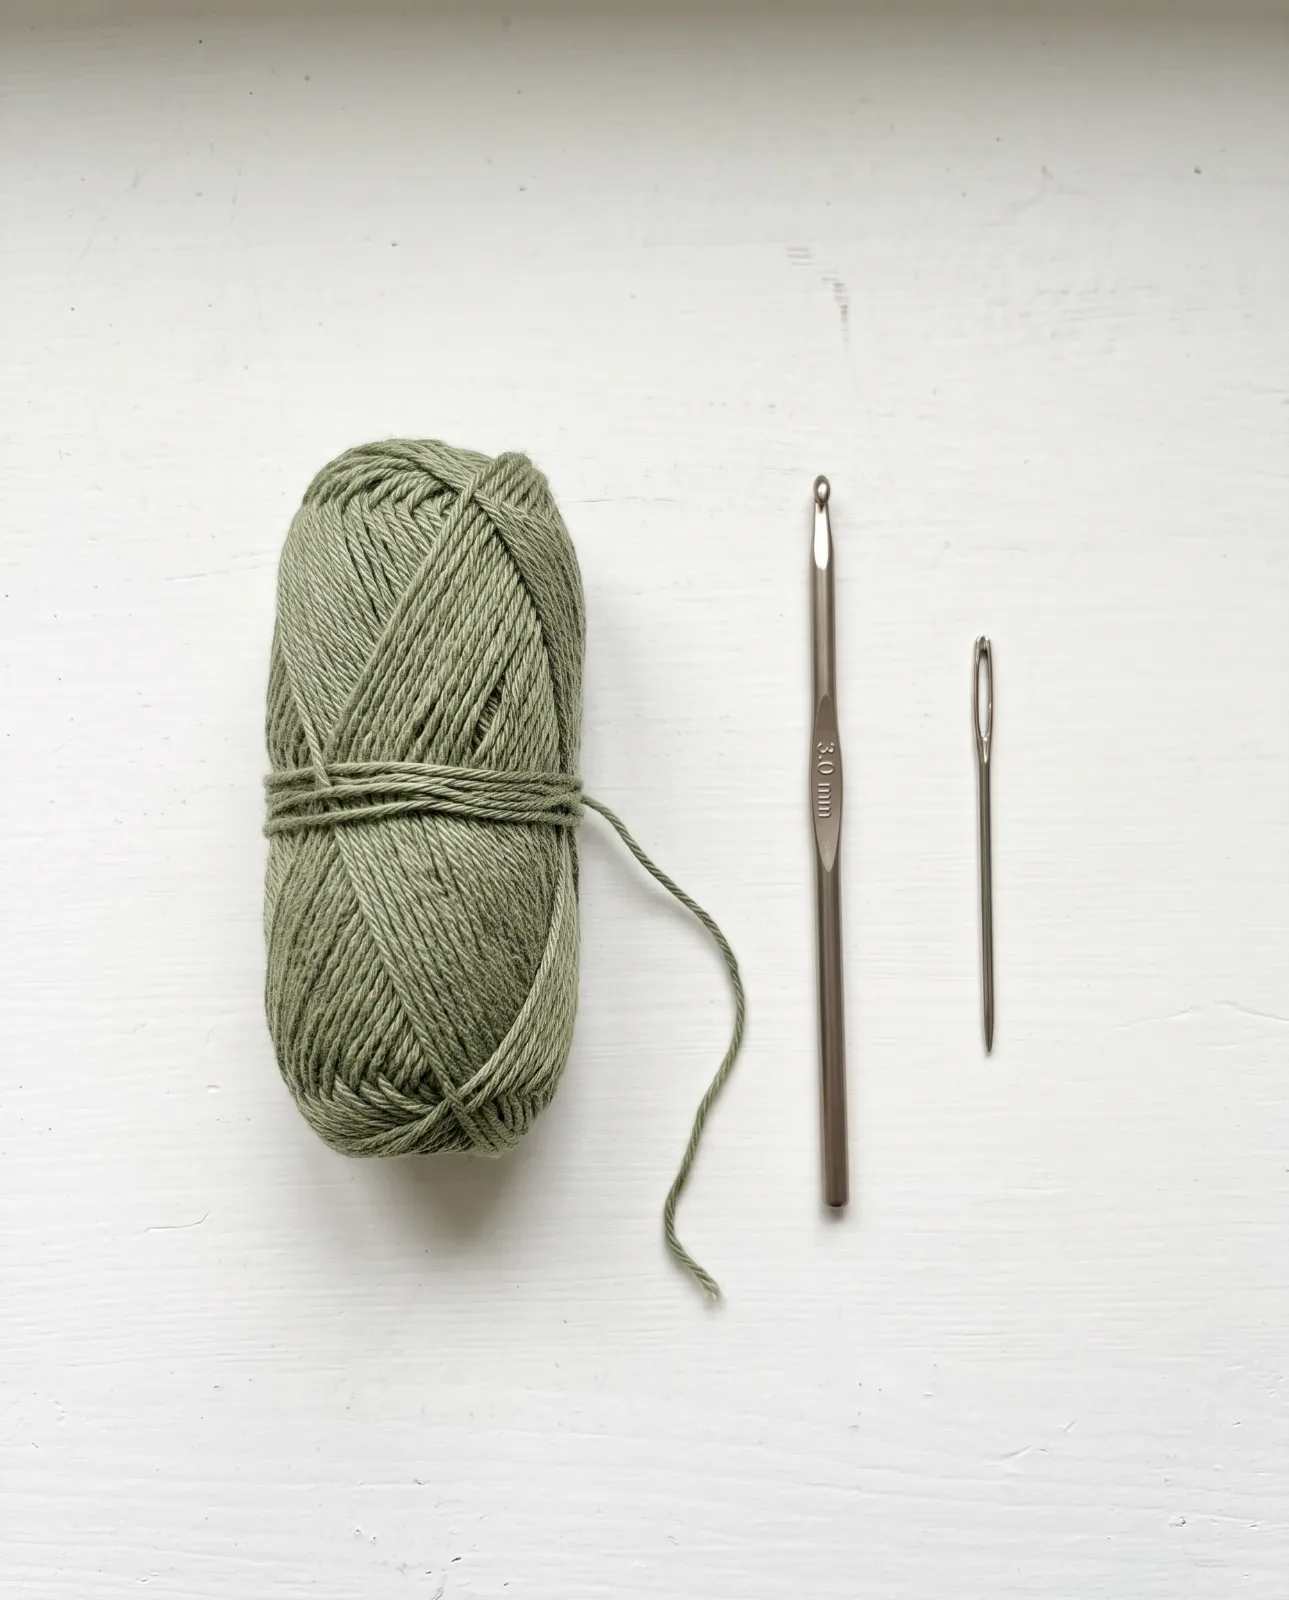
- Smooth sport-weight cotton yarn in muted sage/olive green
- 3 mm crochet hook (adjust for a flat fabric)
- Tapestry/yarn needle for the leaf vein and finishing
- Scissors; optional pins for light blocking
Written crochet instructions and construction notes
Read the abbreviations first, check the notes, then work through the pattern in order. Detailed steps summarize the construction; the ordered written pattern below is the source for individual rounds and rows.
US terminology; leaf consists of 13 stitches worked along EACH side of the 13-chain spine (26 side stitches total). Pivot at the far BASE after the first side.
The central vein is surface stitching, not a second dimensional leaf.
The stem is a flexible 54-chain cord reinforced with 53 slip stitches; the small end loop is added separately.
Maker sample verification remains pending for dimensions, thickness or final stitch placement.
Construction review note: Illustration-to-component mismatch and incomplete two-step construction corrected. This is an original working crochet draft, a working crochet interpretation whose dimensions require a hands-on sample.
Crochet construction — work in order
US crochet terms. Follow the written pattern for each row/round; photos are illustrative, not a stitch-count authority. Chains, joins and decorative stitches count only where stated.
Prepare the leaf spine
CONSTRUCTION / US TERMS: ch = chain, sc = single crochet, hdc = half double crochet, dc = double crochet, tr = treble crochet, sl st = slip stitch. Beginning chains and slip-stitch joins do not count unless specified. Use 3 mm hook and smooth sage cotton. LEAF FOUNDATION: Ch 14 (13 foundation chains are available after skipping first chain). Starting in the 2nd chain from hook at the narrow tip, work: sc in next chain, hdc in next, dc in next 3, tr in next 3, dc in next 3, hdc in next, sc in last chain. (13 worked stitches on first side.)
Work the mirrored leaf edge
LEAF TURN / MIRRORED SECOND SIDE: Ch 1 at the BASE to pivot around the terminal foundation chain. Working back along the unused loops of the same foundation chain, make sc in next, hdc in next, dc in next 3, tr in next 3, dc in next 3, hdc in next, sc in next. (13 stitches on second side; 26 side stitches total.) Join to the first sc with sl st. Do not join the side edges together; the work is a single flat leaf.
Add the center vein
LEAF VEIN: With matching sage yarn, surface-sl-stitch or backstitch a narrow raised line along the original foundation chain from leaf base toward tip. Work loosely so the leaf stays flat; secure on back. This vein is decorative and does not add to the 26 leaf-edge stitches.
Make the slim bookmark stem
LONG STEM: Join matching yarn at the base of the leaf. Ch 54, turn, sl st in the 2nd ch from hook and in each remaining stem ch back to the leaf (53 sl st). Keep the cord flat and flexible so it will sit between book pages.
Finish the little end loop
END LOOP: Join a short strand to the FREE tip of the long stem. Ch 7, sl st back into the same stem-tip anchor to make a tiny closed loop; fasten off and sew the join securely, without leaving a bulky knot. This loop is optional but matches the reference bookmark.
Block and check in a book
FINISH: Weave all ends along the wrong side of the leaf and stem. Lightly damp-block the leaf flat without pulling its point out of shape. Place leaf and cord on a book page to confirm the leaf is not too thick for the binding; adjust hook/yarn if necessary.
Small details that make the finish better
- Use smooth sport cotton for a low-profile bookmark that will not bulk up book pages.
- Keep the leaf-vein surface stitches loose so the leaf stays flat.
- The small loop is optional; test the stem length in your actual book.
Ways to adapt the project
Change the yarn color, finishing touches, or small embellishments while keeping the same core construction.
Common questions before you start
Is the Crochet Leaf Bookmark beginner friendly?
How long does the Crochet Leaf Bookmark take?
What do I need for this crochet project?
Can I customize the design?
Can I save this project for later?
Save this crochet project for later
Save this project so you can come back to the pattern, materials list, and steps later.
Explore related project collections
Pick the next thing to make
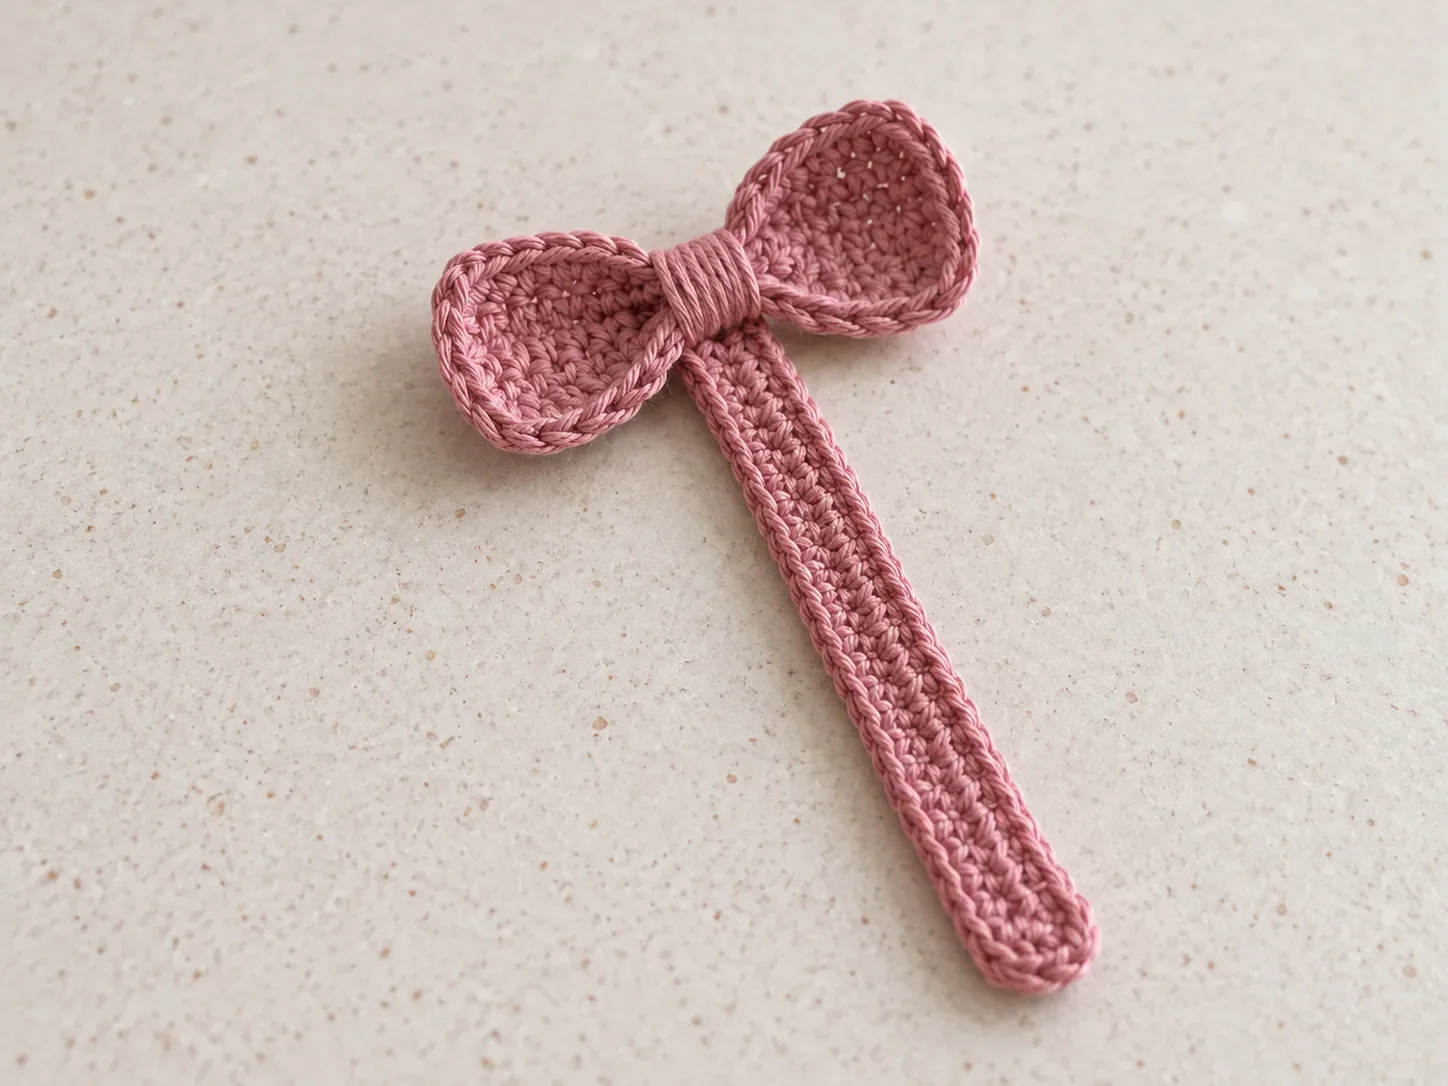
Crochet Bow Bookmark
A feminine crochet bookmark with a small flat bow at the top and a slim stitched ribbon that stays low-profile between pages.
Make this project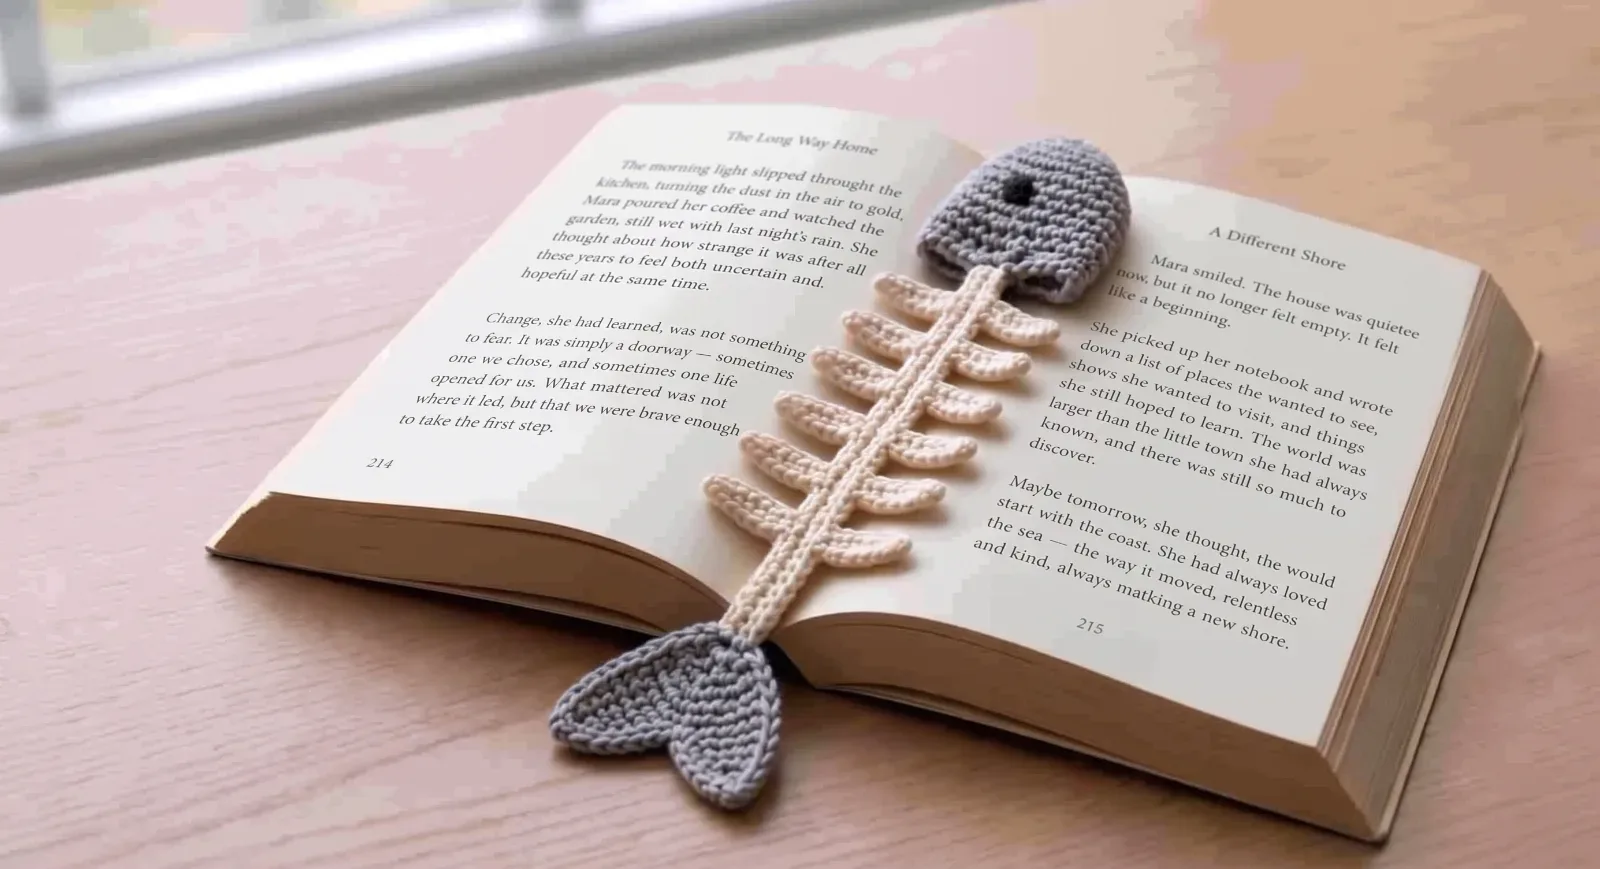
Crochet Fishbone Bookmark
A long fishbone-style crochet bookmark with a compact fish head, flexible white spine, small rib bones, and a tail that hangs below the book.
Make this project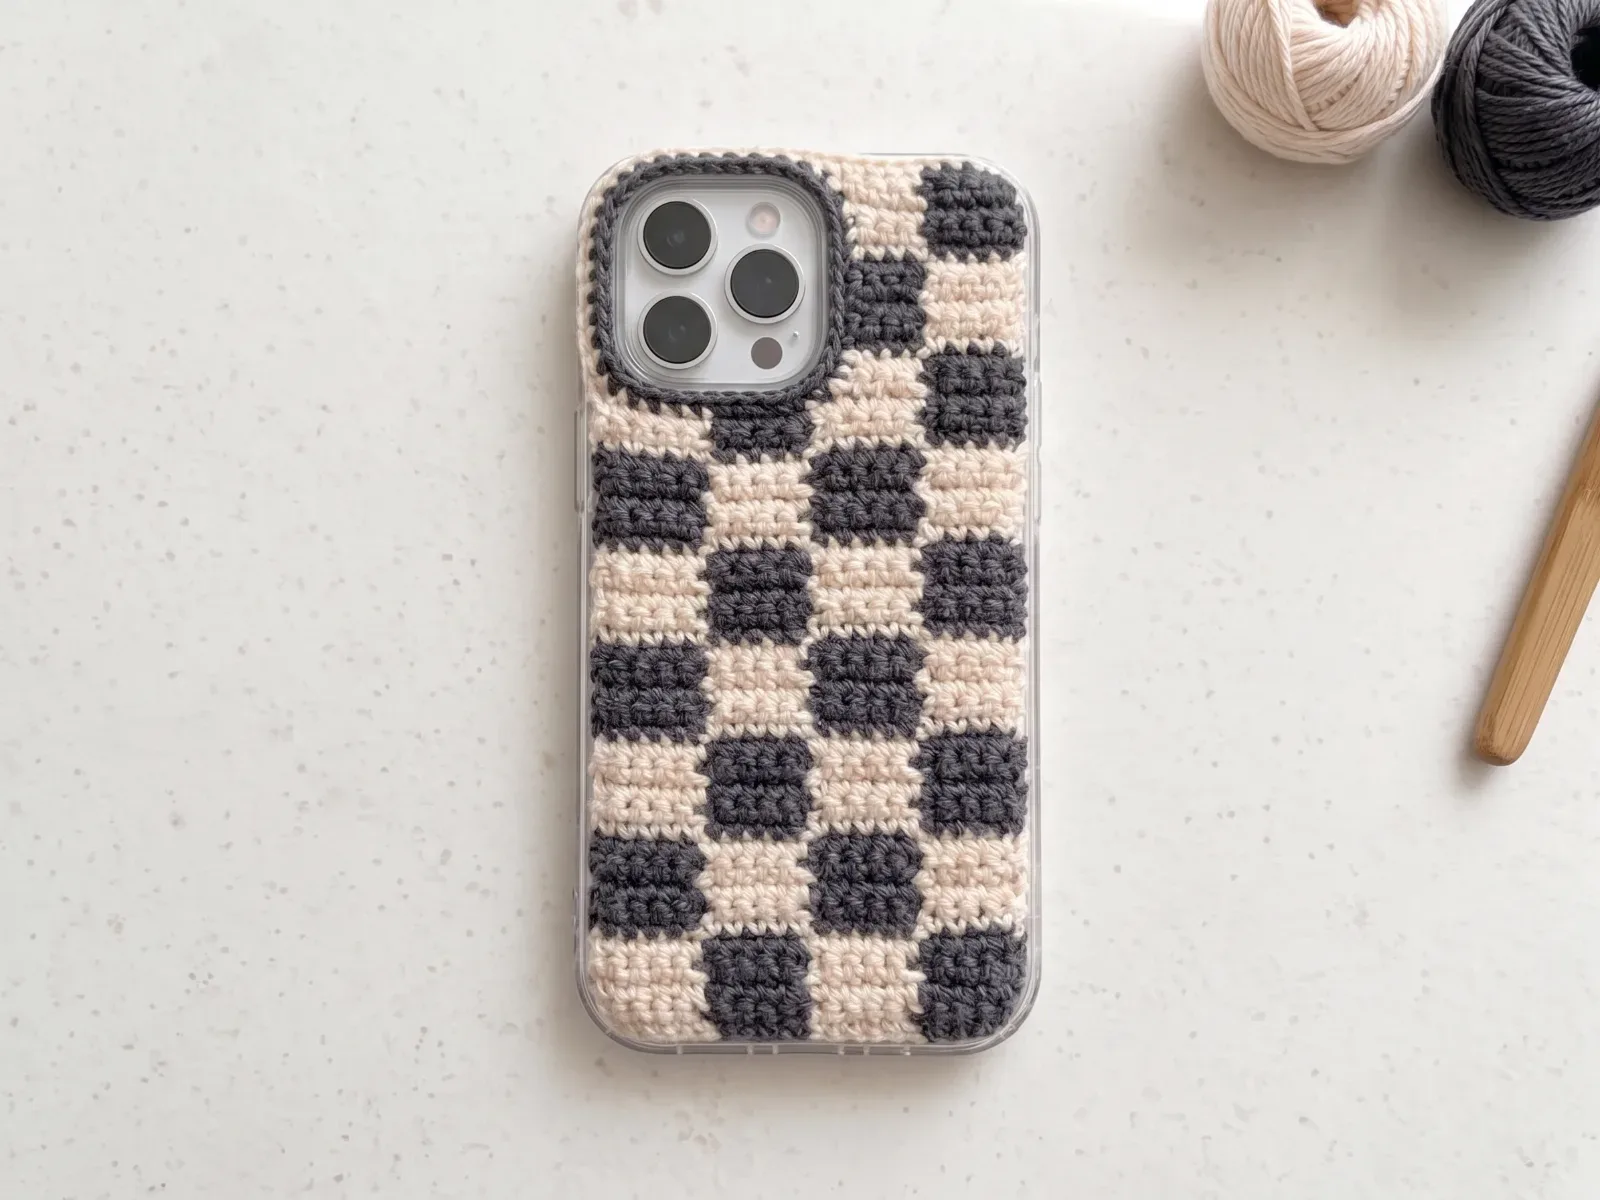
Checkerboard Crochet Phone Case for iPhone
A fitted checkerboard crochet phone-case cover attached to a thin clear plastic snap-on iPhone shell, with crisp cream-and-charcoal blocks, an exposed screen, and a camera opening sized to your own case.
Make this project