
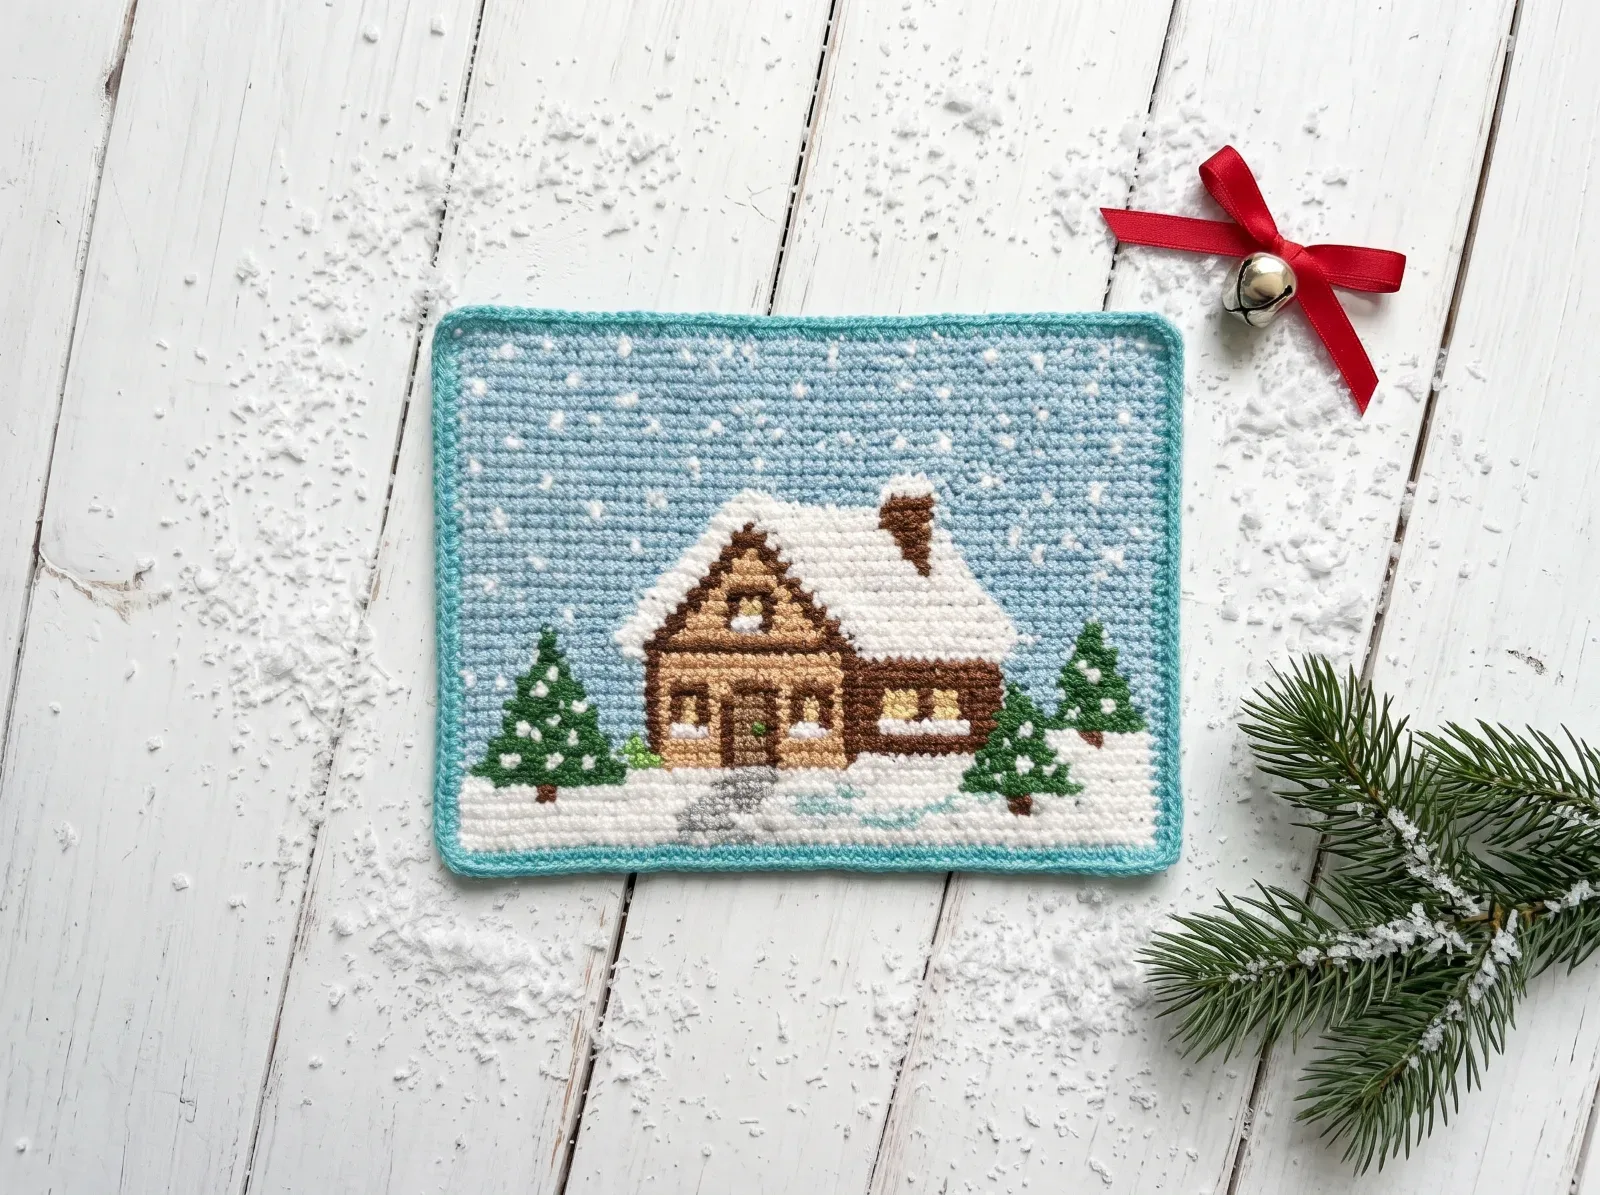
Snowy Cottage Crochet TV Screen
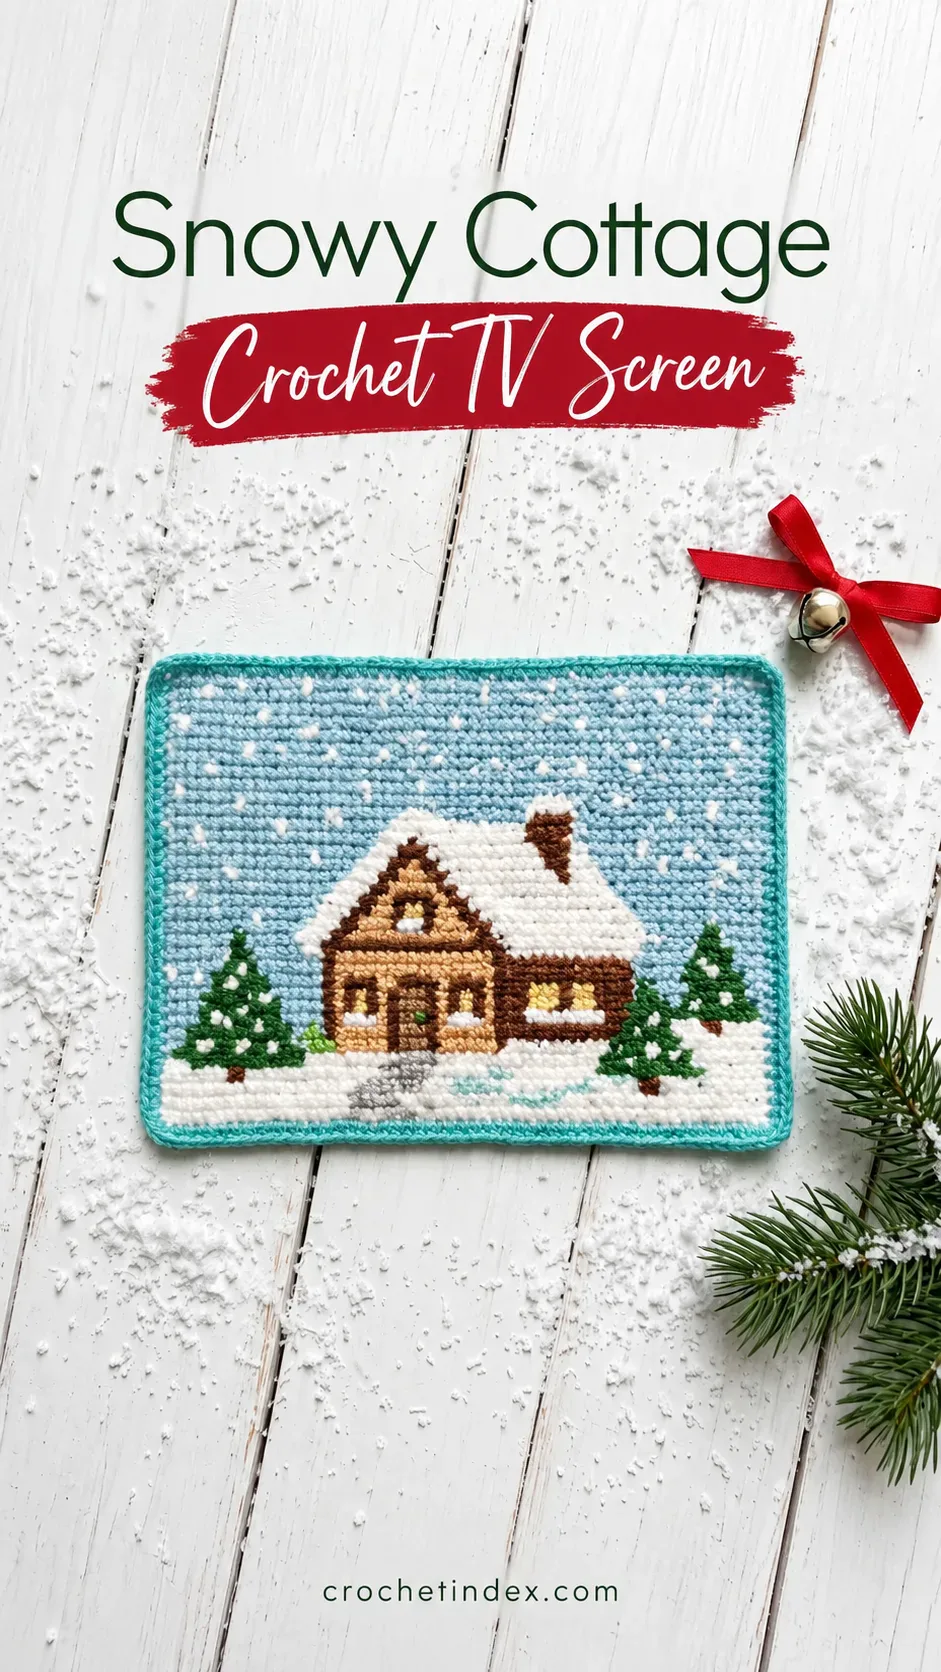
Snowy Cottage Crochet TV Screen: winter cabin picture, pine trees, icy-blue sky, little gold window and snow drifts. Standalone technical module of CrochetIndex’s modular television concept; original stitch chart or body geometry is arithmetic-checked, but no physical crochet sample exists.
What you'll make
Snowy Cottage crochet screen: 36x28 color chart, 28 written rows, roof and window details, and downloadable pattern and chart PDFs.
Quick answer: Snowy Cottage Crochet TV Screen is a prototype — verify first crochet project with an estimated making time of Not established. Materials include Smooth DK cotton or cotton-blend yarn in the chart colors (use the SAME yarn brand/weight for all three screens; quantities depend on measured gauge)., 3.0-3.5 mm crochet hook as a starting suggestion only; adjust to your yarn and measured gauge., Blunt tapestry needle for weaving ends and embroidering motif details; scissors and stitch markers.. See the full written instructions and construction steps below.
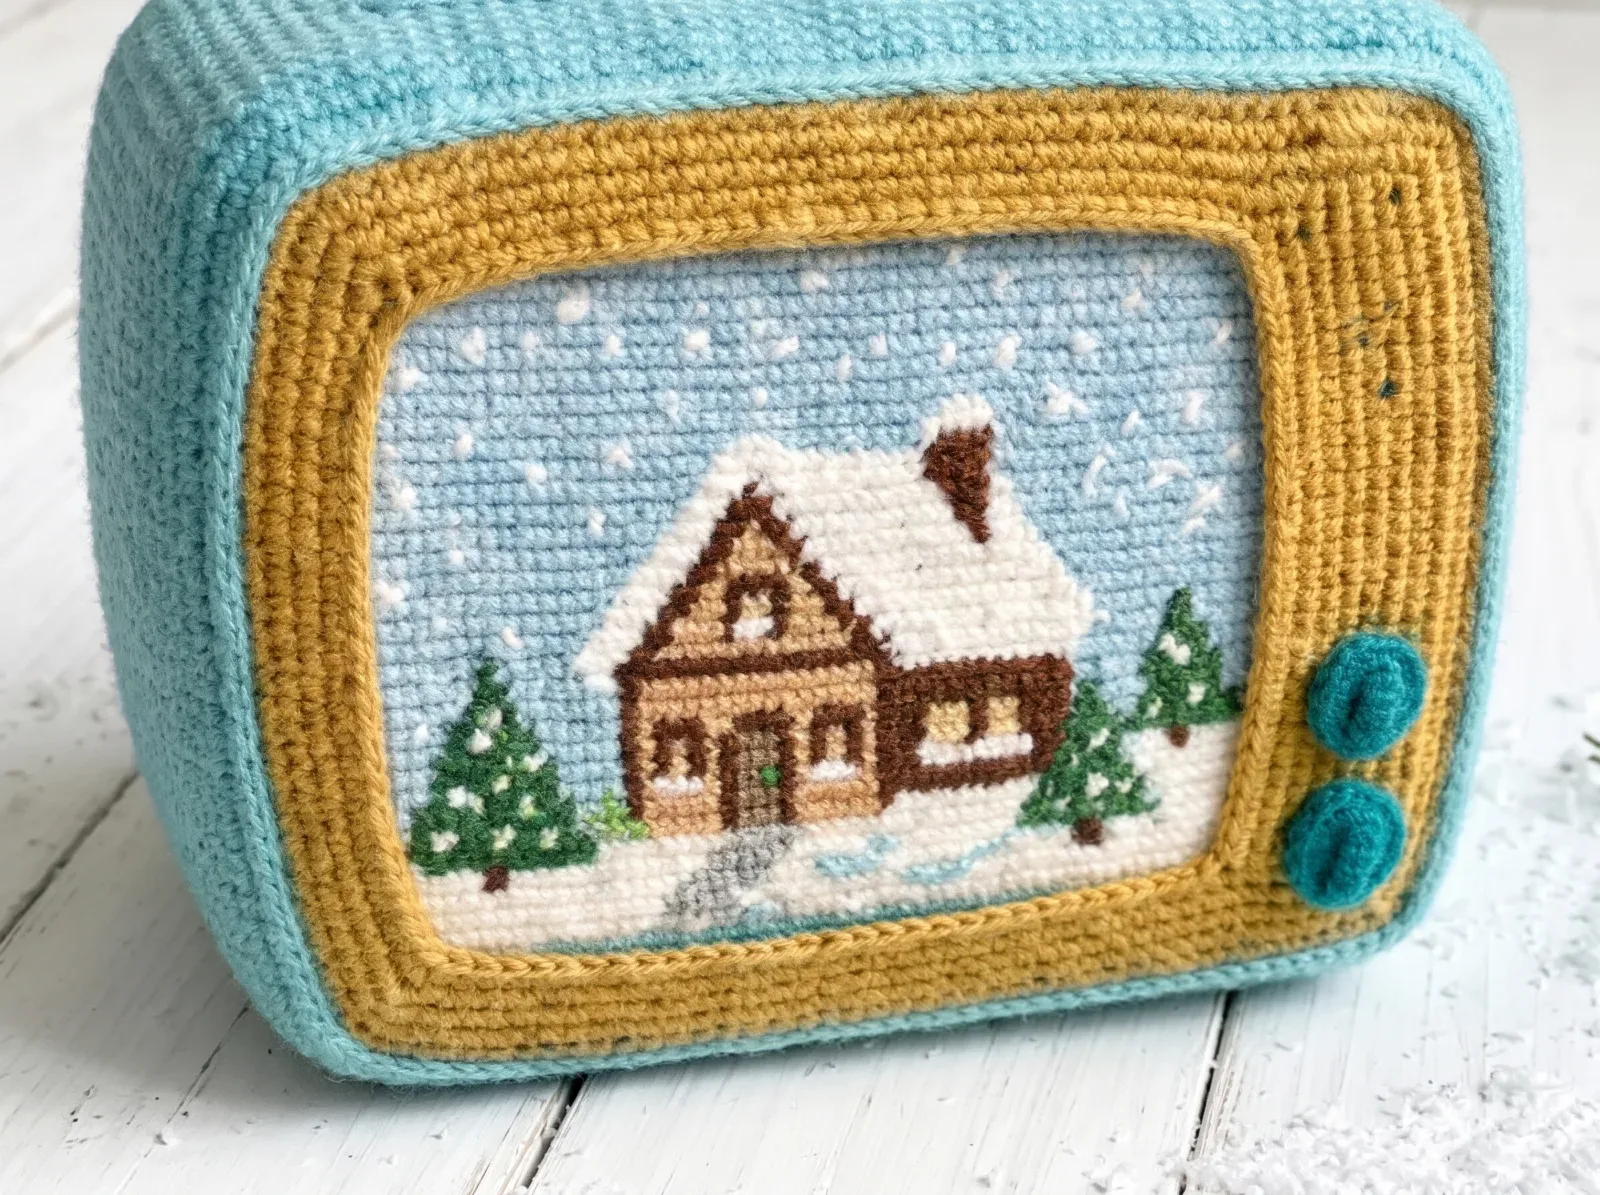
A closer look
Snowy Cottage Crochet TV Screen: winter cabin picture, pine trees, icy-blue sky, little gold window and snow drifts. Standalone technical module of CrochetIndex’s modular television concept; original stitch chart or body geometry is arithmetic-checked, but no physical crochet sample exists.
- Design variant: Powder-blue snowy cottage
- Design variant: Night-sky winter cabin (re-chart colors)
- Design variant: Frosted woodland cabin
What you'll need
- Smooth DK cotton or cotton-blend yarn in the chart colors (use the SAME yarn brand/weight for all three screens; quantities depend on measured gauge).
- 3.0-3.5 mm crochet hook as a starting suggestion only; adjust to your yarn and measured gauge.
- Blunt tapestry needle for weaving ends and embroidering motif details; scissors and stitch markers.
- Turquoise DK yarn for the optional matching one-round edging, worked the same on all three panels.
- Chart colors: A=Pale icy-blue sky, W=Snow/white roof, G=Evergreen trees, T=Tree trunks, B=Oatmeal cabin facade, D=Dark walnut cottage wing and roof edge, Y=Warm window light.
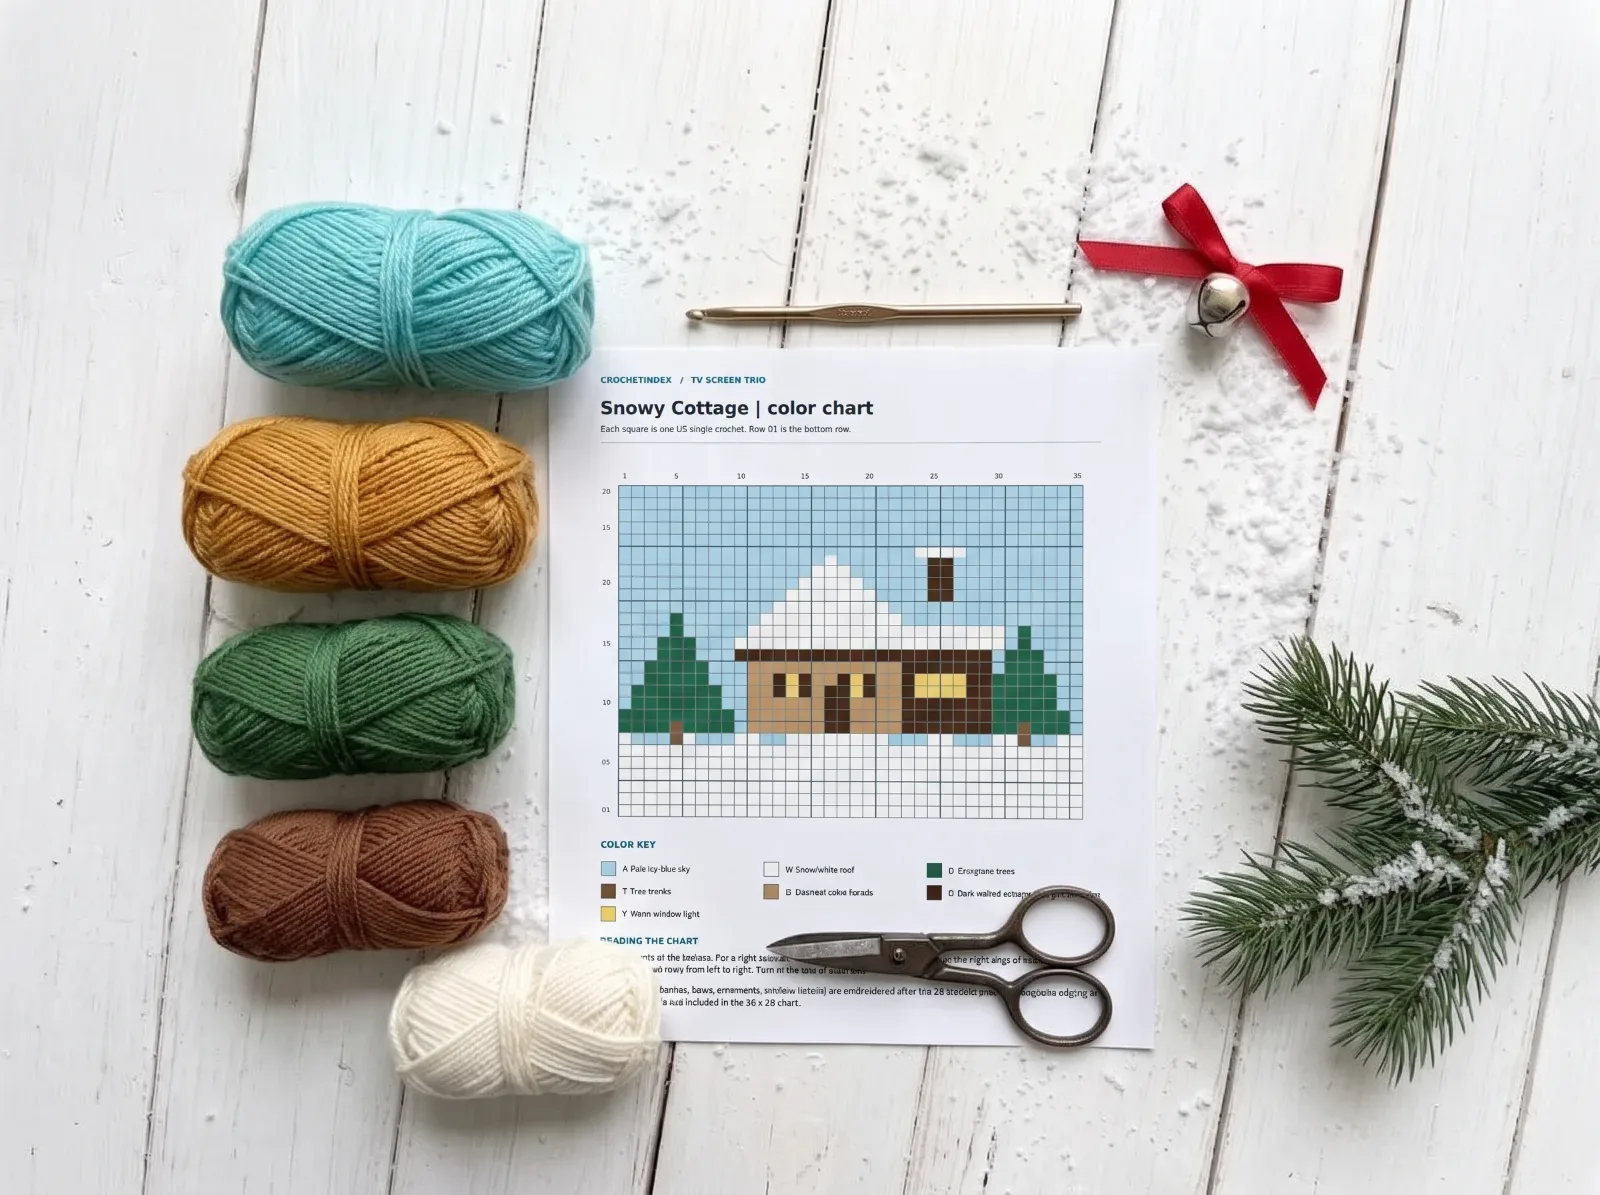
Download your screen charts and stitch-by-stitch instructions
Choose the complete printable pattern for all 28 rows, or print the color chart or black-and-white letter chart separately. Each screen uses 36 stitches per row; decorations and trim are added after the main panel.
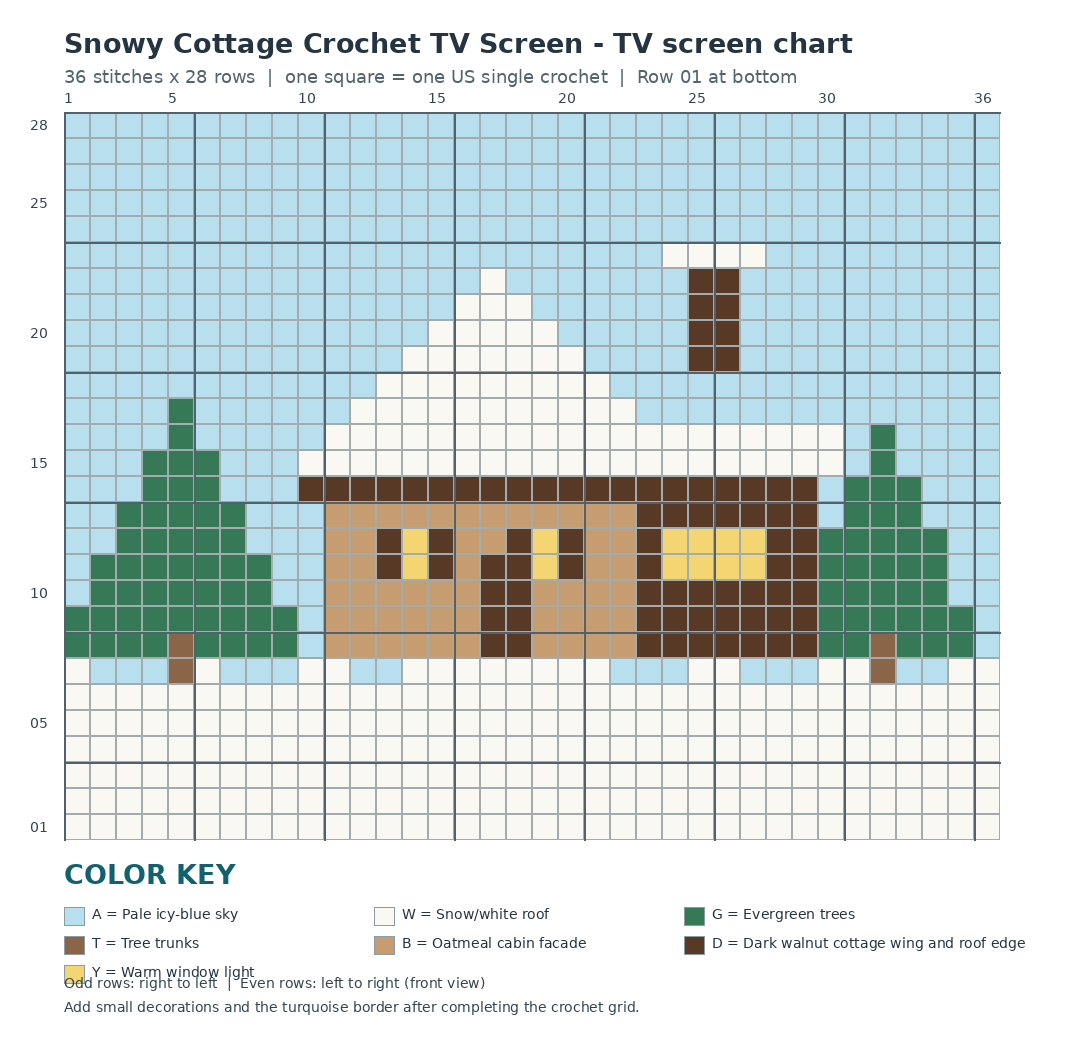
The finished width and height depend on yarn and gauge. Build the TV cabinet opening around the completed panels.
Written crochet instructions and construction notes
Read the abbreviations first, check the notes, then work through the pattern in order. Detailed steps summarize the construction; the ordered written pattern below is the source for individual rounds and rows.
R01-R28 are listed from bottom upward; each row has 36 single crochet stitches. No increases/decreases; total 1,008 sc.
The attached AI concept photo is inspiration only; the grid is a simplified independent crochet design. Small bows, baubles, stars and windows are added by surface embroidery.
All 3 panels are IDENTICAL in grid size and border approach; colorwork complexity differs.
IMPORTANT: Previous TV body/frame draft accepts 20x14 panels. These new 36x28 picture screens will NOT fit it. Measure actual blocked screens and redesign the cabinet later.
Printable files above include the full row-by-row pattern, a color chart, and a black-and-white stitch-symbol chart. Make the screen before sizing its TV frame.
Stitch-by-stitch screen instructions and finishing steps
Work the 36-stitch by 28-row color chart in US single crochet, bottom up. Each chart square is one sc. Decorative knots, bows, window detail and snowflake stitches are sewn on after crocheting; they do not change the row counts. The planned TV cabinet must be resized after measuring these panels.
Begin the snowy landscape
Ch 37. Use the 36x28 chart from Row 01 at the bottom; crochet exactly 36 sc per row and turn after each row with ch 1 (not a stitch). Start with the ivory snow field.
Build the cottage and trees
Work brown trunks, evergreen side pines, oatmeal wall and dark cabin wing into the icy-blue sky. Change colors only at marked chart-cell boundaries; use small bobbins for separated areas.
Work the snow-covered roof
Follow the chart for the WHITE gable and its lower extension; the brown chimney stands above the right section. This is a simplified crochet silhouette of the reference image, not a pixel-for-pixel replica.
Define windows and a door
Follow the charted gold window blocks, then embroider fine window crossbars, door outline and roof edges with dark yarn. These extra outlines are surface stitches, so the 36-stitch row counts stay unchanged.
Scatter snow and add a path
Add a few ivory straight-stitch snow marks against blue sky and a thin grey path at the cabin threshold. No additional rows are added.
Finish and match all panels
Optional turquoise border; use the same edge method for all screens. Weave ends, block flat and take measurements before planning the TV pocket.
Small details that make the finish better
- Design variant: Powder-blue snowy cottage
- Design variant: Night-sky winter cabin (re-chart colors)
- Design variant: Frosted woodland cabin
- Avoid pretending AI imagery is an actual crocheted sample
- Use same yarn weight and hook for all screen cards and TV pocket
Ways to adapt the project
Change the yarn color, finishing touches, or small embellishments while keeping the same core construction.
Common questions before you start
What do the TV screen charts include?
Will this screen fit the existing Retro TV cabinet draft?
Are the images proof that this crochet pattern has been tested?
Can I swap yarn colors or omit small details?
Save this crochet project for later
Save this project so you can come back to the pattern, materials list, and steps later.
Explore related project collections
Pick the next thing to make
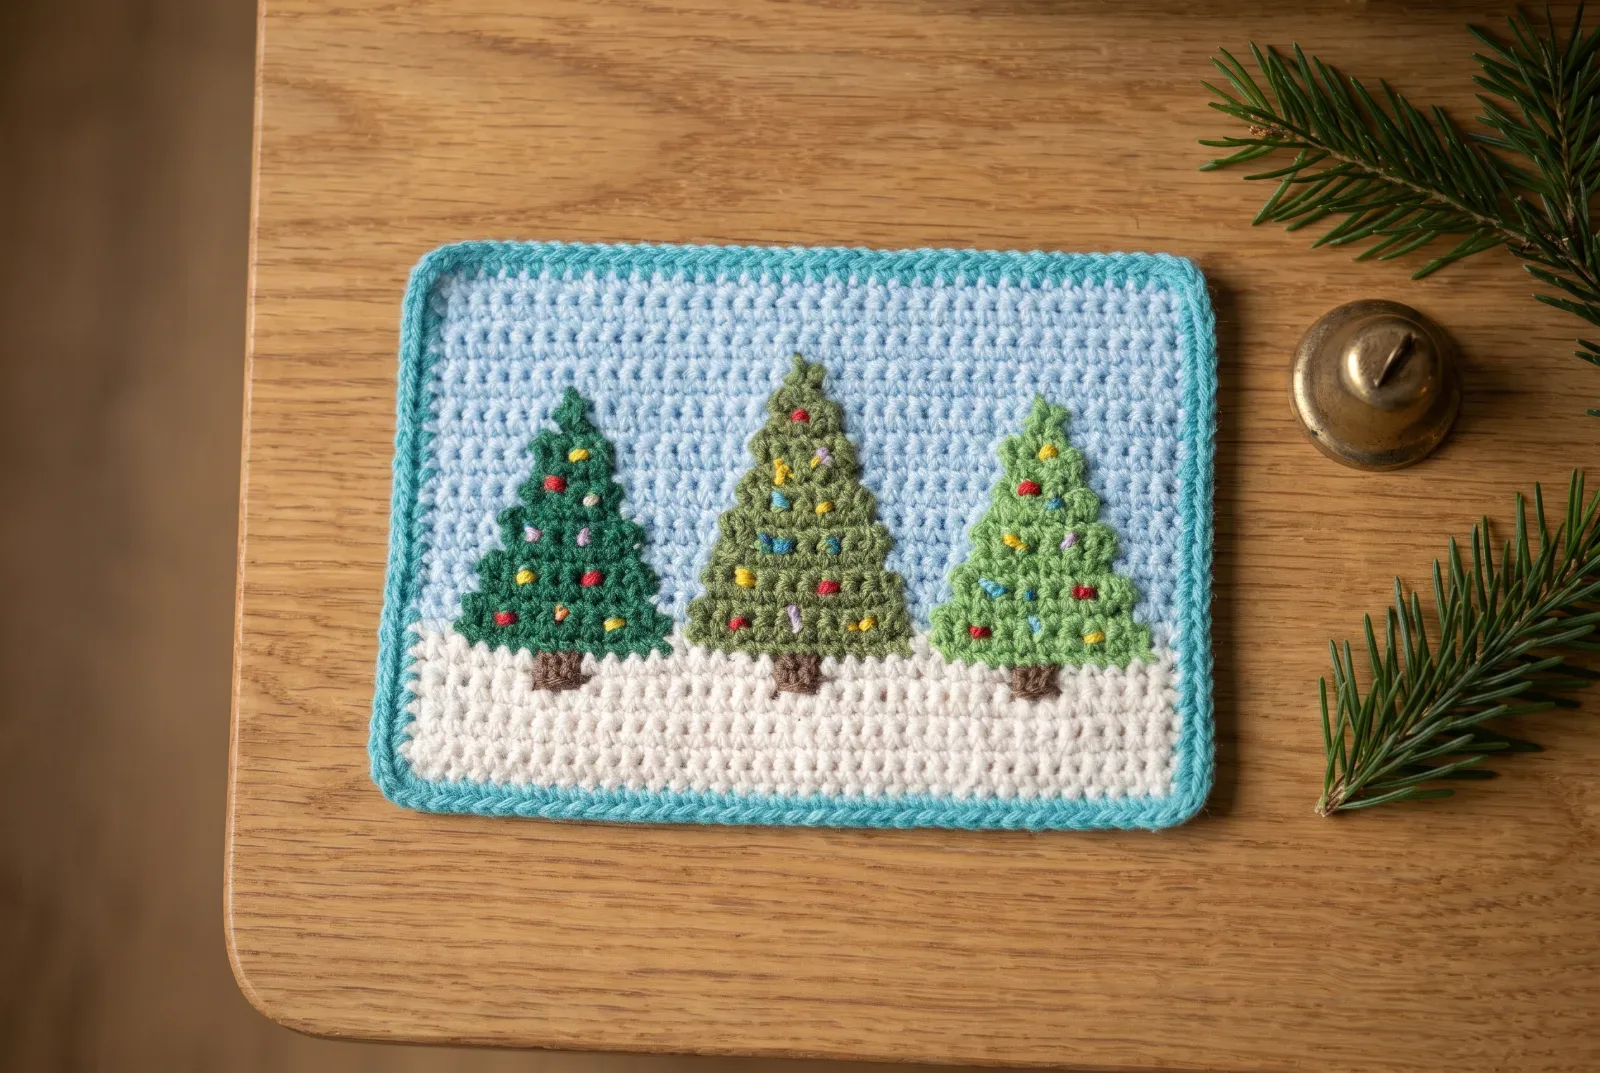
Christmas Trees Crochet TV Screen
Christmas Trees Crochet TV Screen: two small green pines and one large decorated evergreen standing in snow. Standalone technical module of CrochetIndex’s modular television concept; original stitch chart or body geometry is arithmetic-checked, but no physical crochet sample exists.
Make this project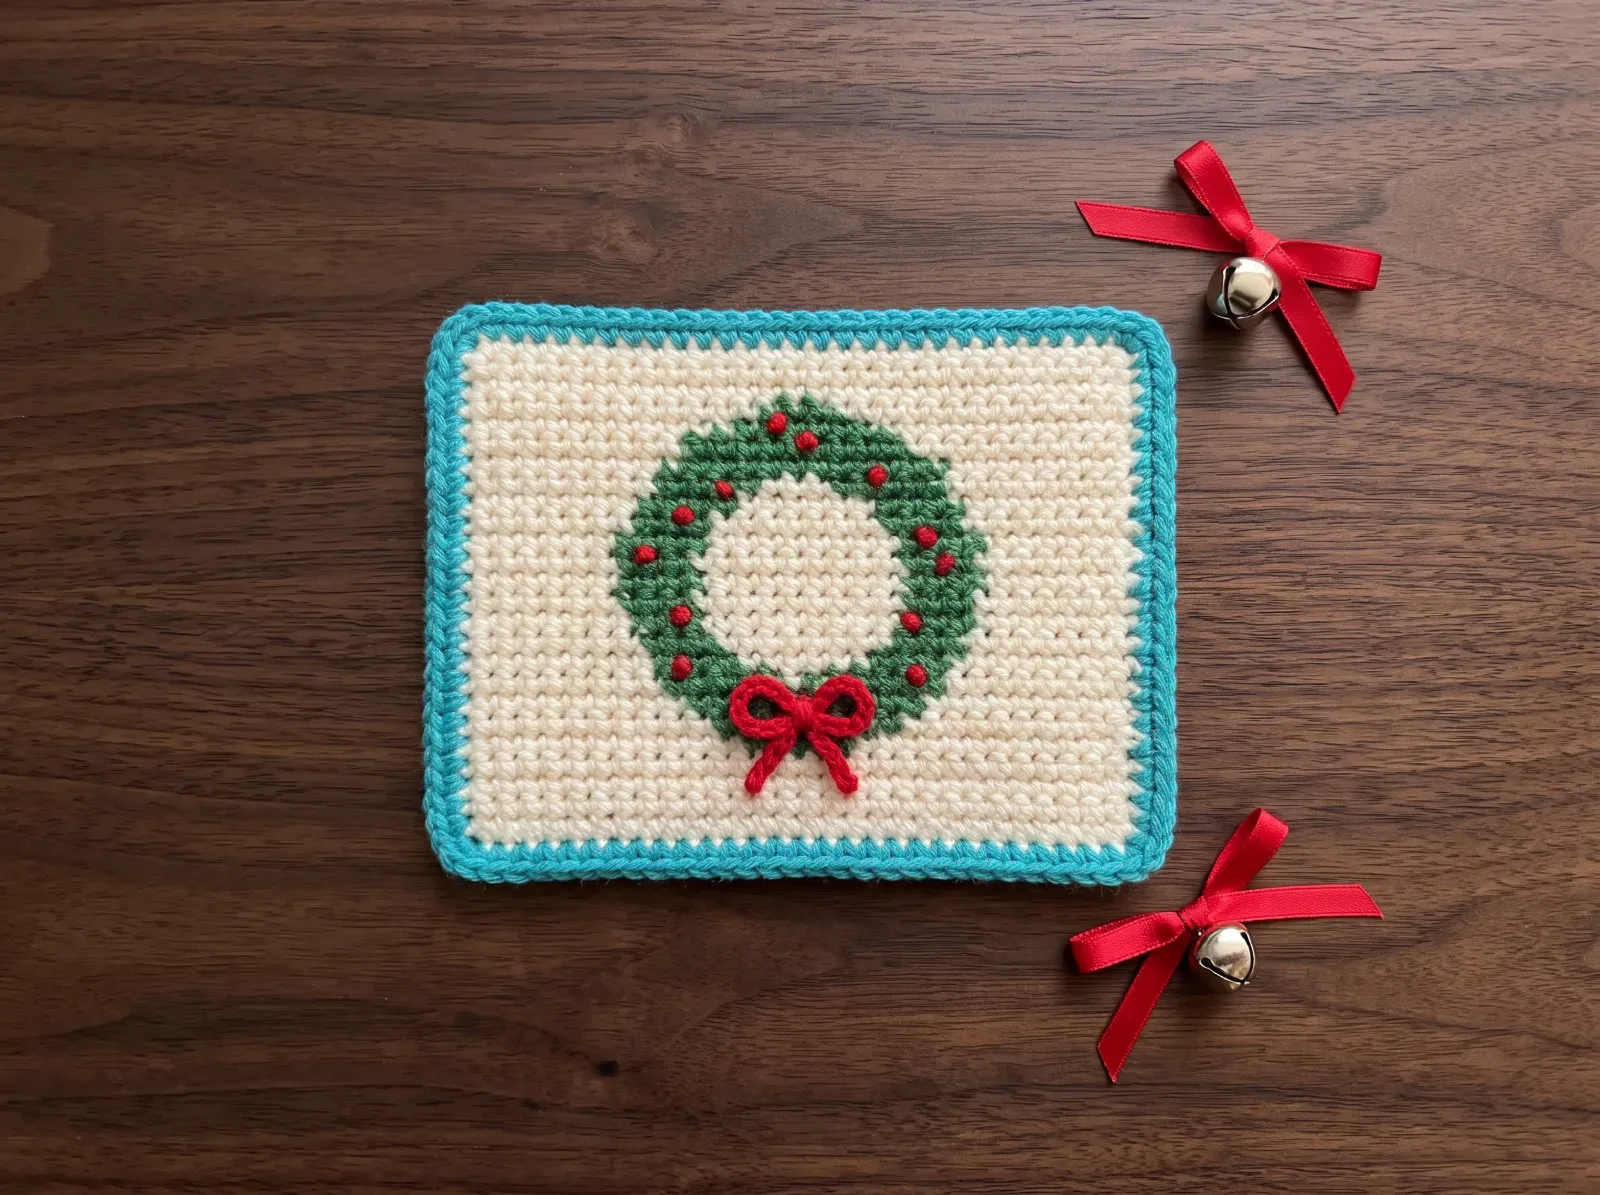
Holiday Wreath Crochet TV Screen
Holiday Wreath Crochet TV Screen: a simple green wreath with cranberry berries and a red bow on a soft cream background. Standalone technical module of CrochetIndex’s modular television concept; original stitch chart or body geometry is arithmetic-checked, but no physical crochet sample exists.
Make this project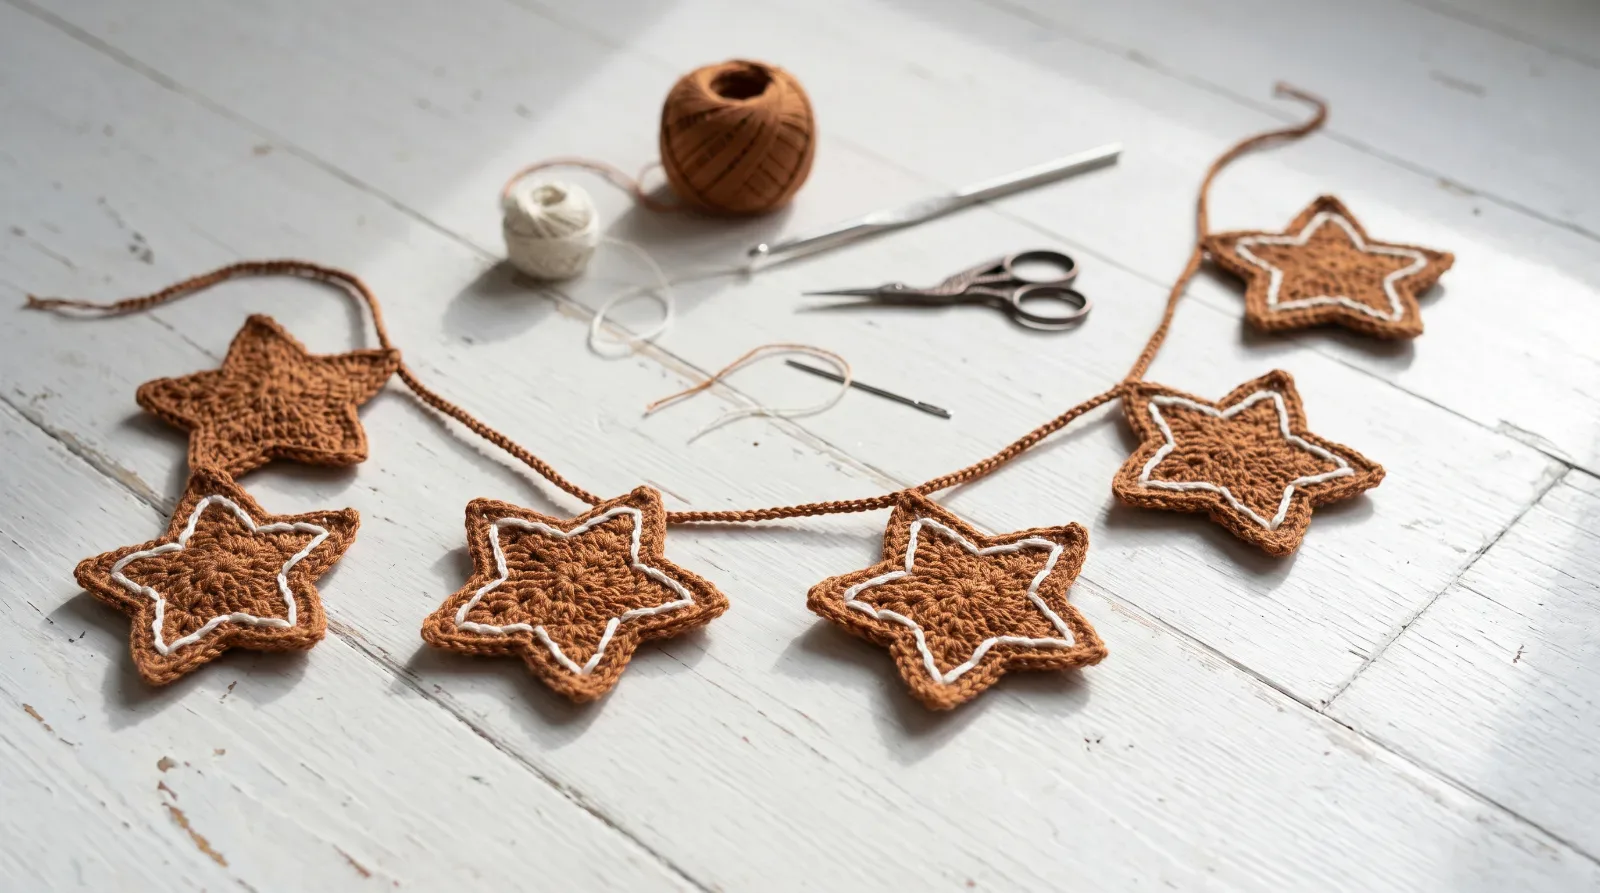
Frosted Gingerbread Star Crochet Garland
Crochet five flat, five-point gingerbread-cookie-inspired stars, embroider neat white icing details, and thread them into a lightweight Christmas garland. These are flat stars, not copies of the existing gingerbread character charm.
Make this project