How to Change Colors in Crochet Cleanly
Learn the standard crochet color-change method, how to reduce visible joins, and where to carry or cut yarn for stripes and motifs.
Follow the written lesson for each stitch. US crochet terms are used unless stated otherwise.
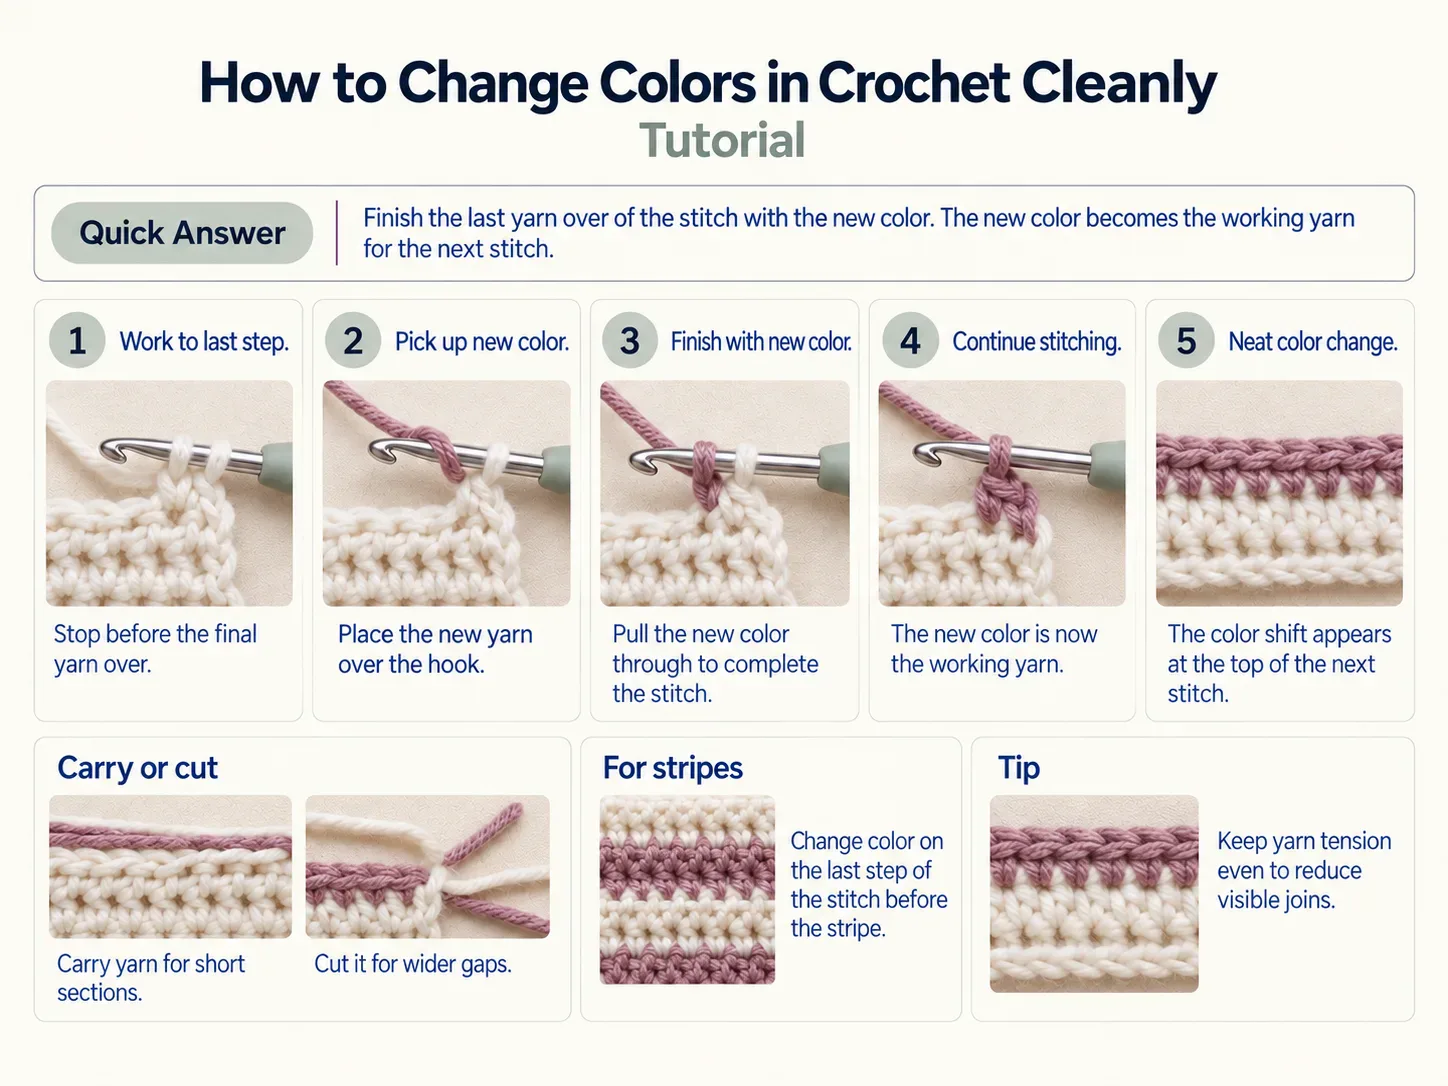
Complete the last yarn over of the stitch before the color change with the new color. The new color then becomes the working yarn for the next stitch.

Watch how to change colors in crochet cleanly
Prefer to learn by watching? Open the full lesson, then use this page for quick reference, tips, common mistakes, and FAQs.
Mini lesson sheet
Keep each complete first instruction alongside the accompanying reference illustration.
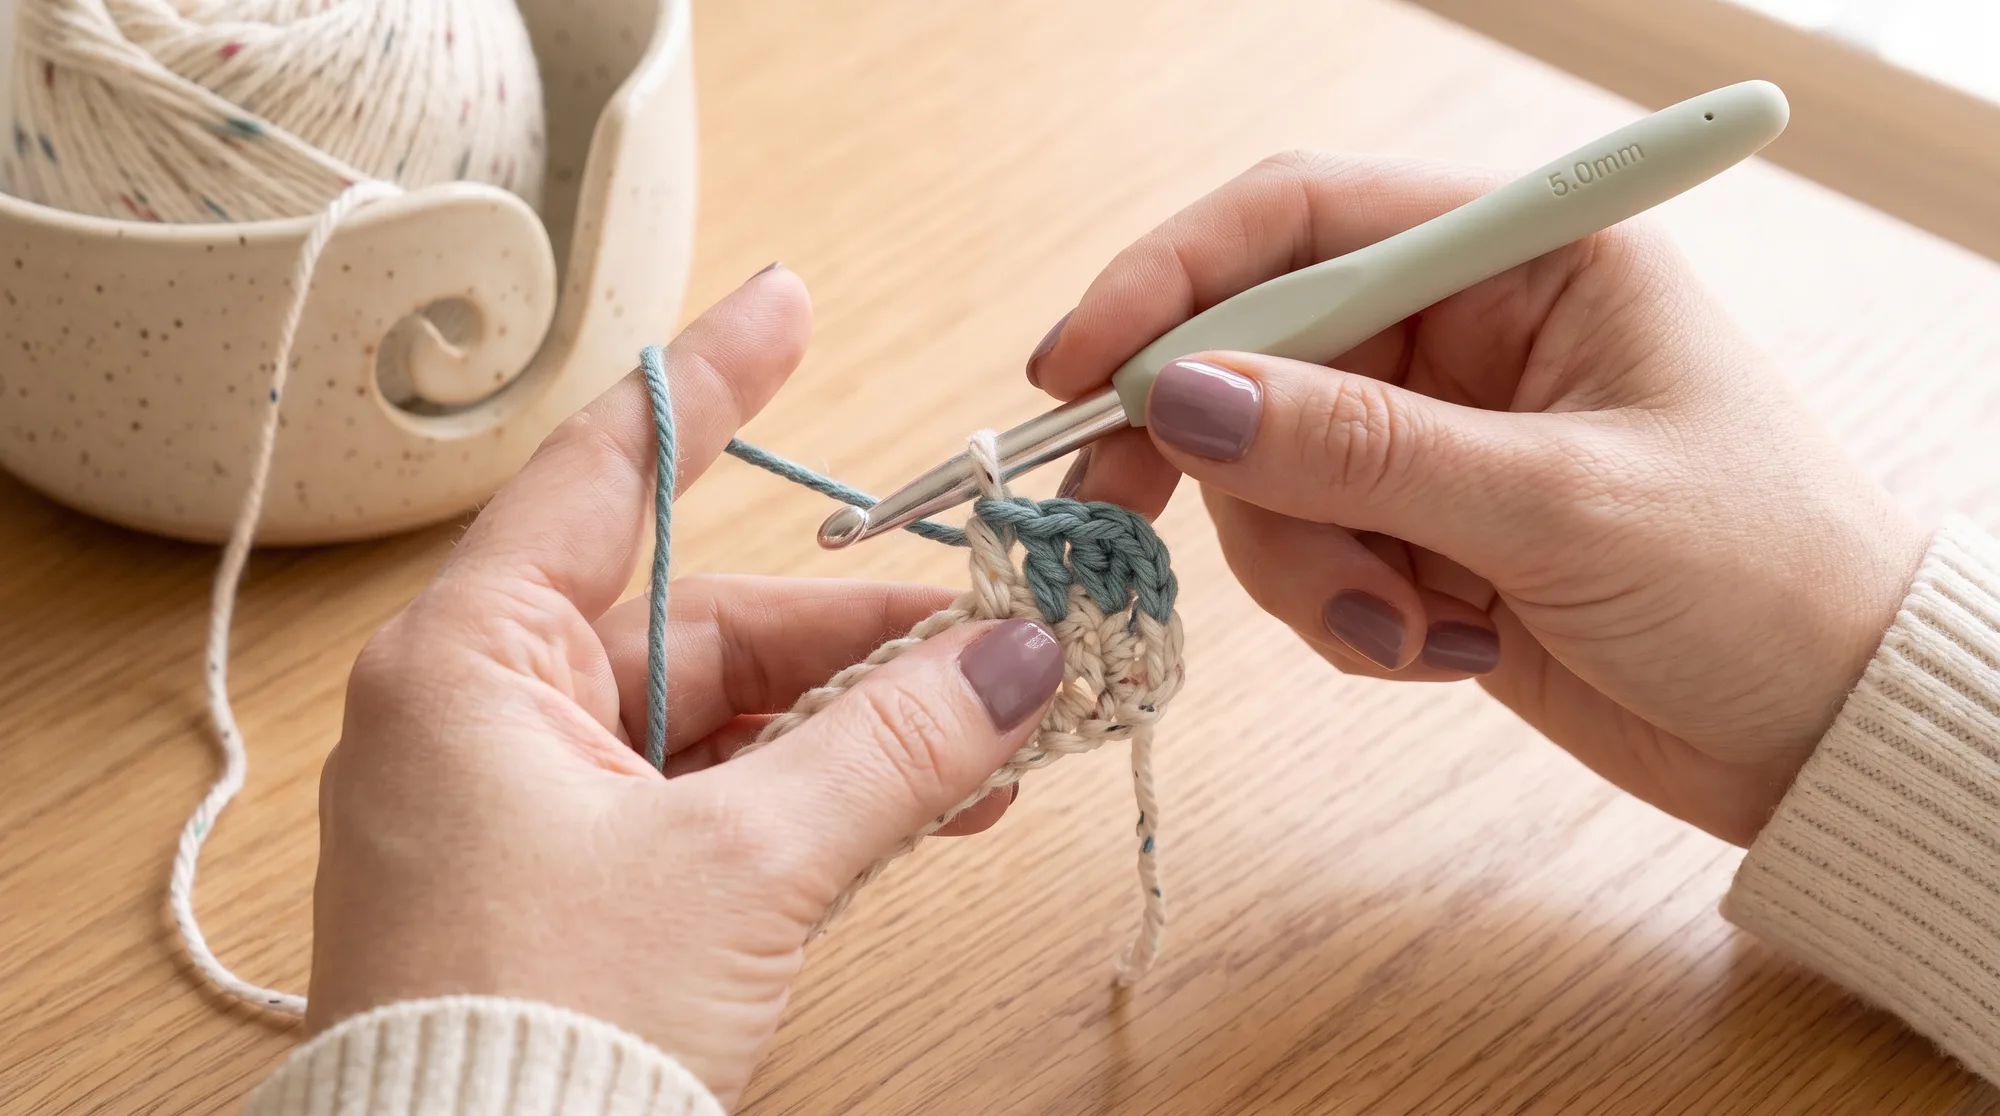
- Use this as a quick check before the full lesson.
- Keep it nearby while you practice the stitch or technique.
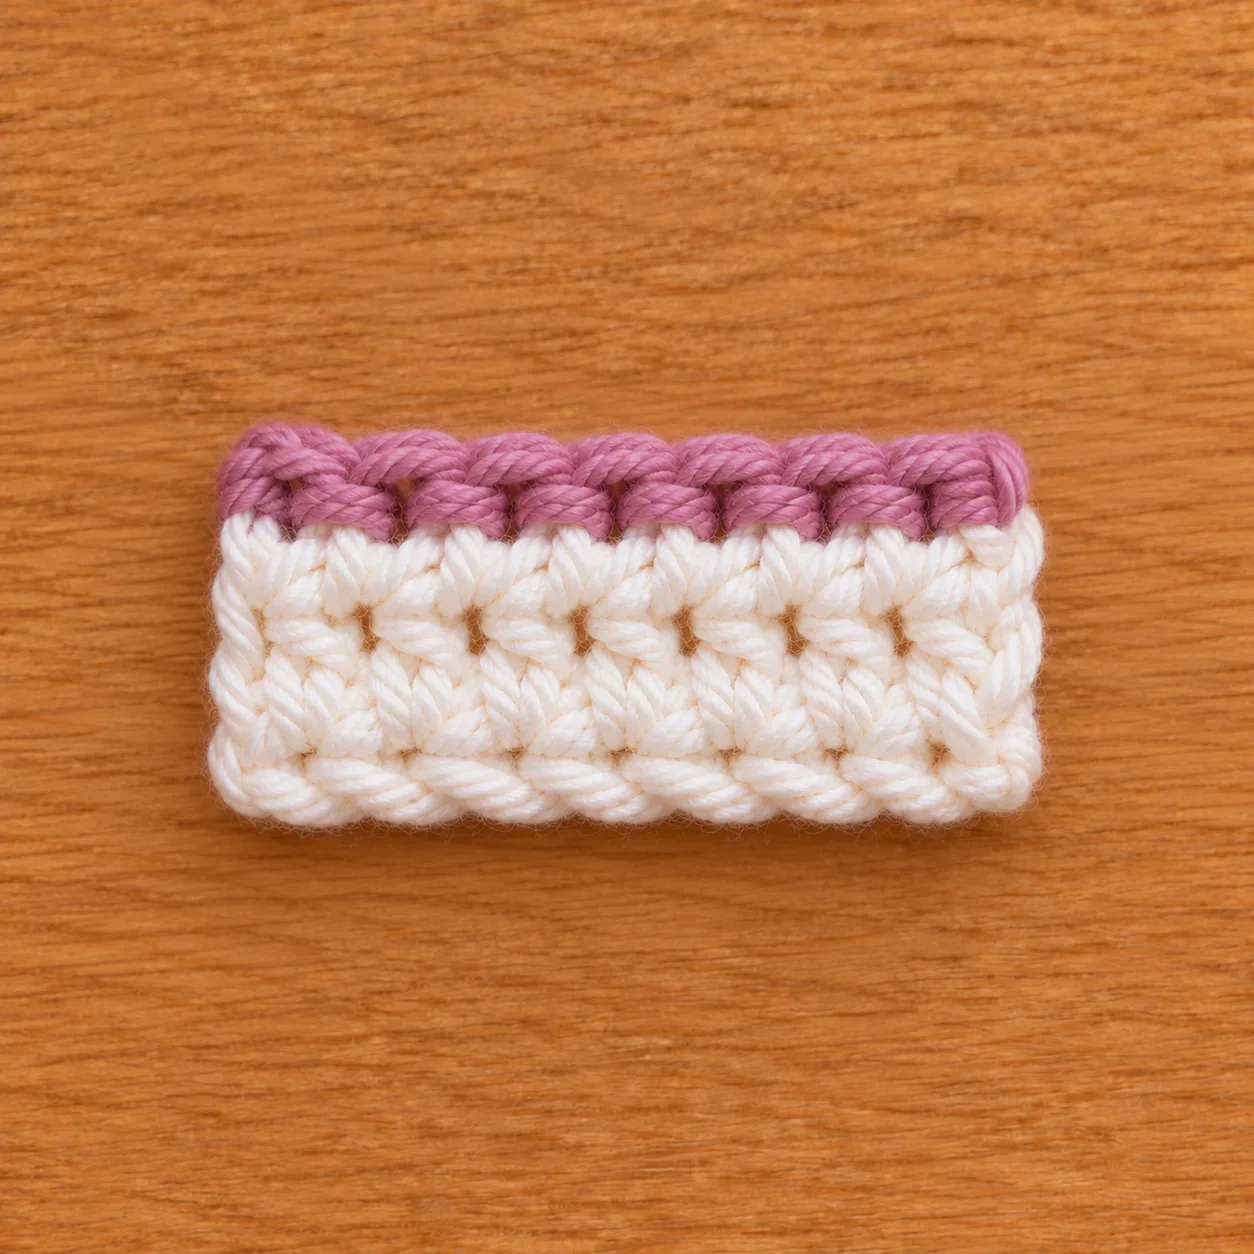
Finished result
Key facts
Details that prevent common beginner mistakes
Make the transition on the final pull-through
For sc color changes, work until two loops remain, then use the new color for the final yarn over and pull through. Carry or secure the old tail according to the fabric; a contrast strand behind openwork can show.
Make it easier
- Do not knot the two colors tightly at the join; this can distort the stitch.
- For stripes worked back and forth, decide which edge will carry unused yarn if you do not cut it.
What usually goes wrong
- Changing color after completing the full stitch
- Leaving the new-color tail too short to weave in
- Pulling the join so tight the edge puckers
Questions about how to change colors in crochet cleanly
How do you change colors cleanly in crochet?+
Begin the last stitch in the old color, then use the new color to complete the final pull-through. Continue the next stitch with the new yarn.
When should I switch yarn colors?+
Switch on the last pull-through of the stitch immediately before the new color is supposed to begin.
How do I avoid a loose color change?+
Keep both yarn tails controlled, make the first new-color stitch at normal tension, then gently snug the tails without distorting the fabric.
Do I cut the old yarn every time I change color?+
Not always. For short stripes you may carry the unused yarn up the edge. For distant color changes or separate motifs, cutting and weaving ends may be cleaner.
How do I change colors in the round?+
The same last-pull-through method works, but joined rounds may also need a clean join technique to reduce the visible step between colors.
Can I crochet over the yarn tails after a color change?+
Yes for many projects, but leave enough tail to secure the yarn properly. High-stress items may still benefit from weaving the tail back through the fabric.
Use this technique in a complete crochet project.
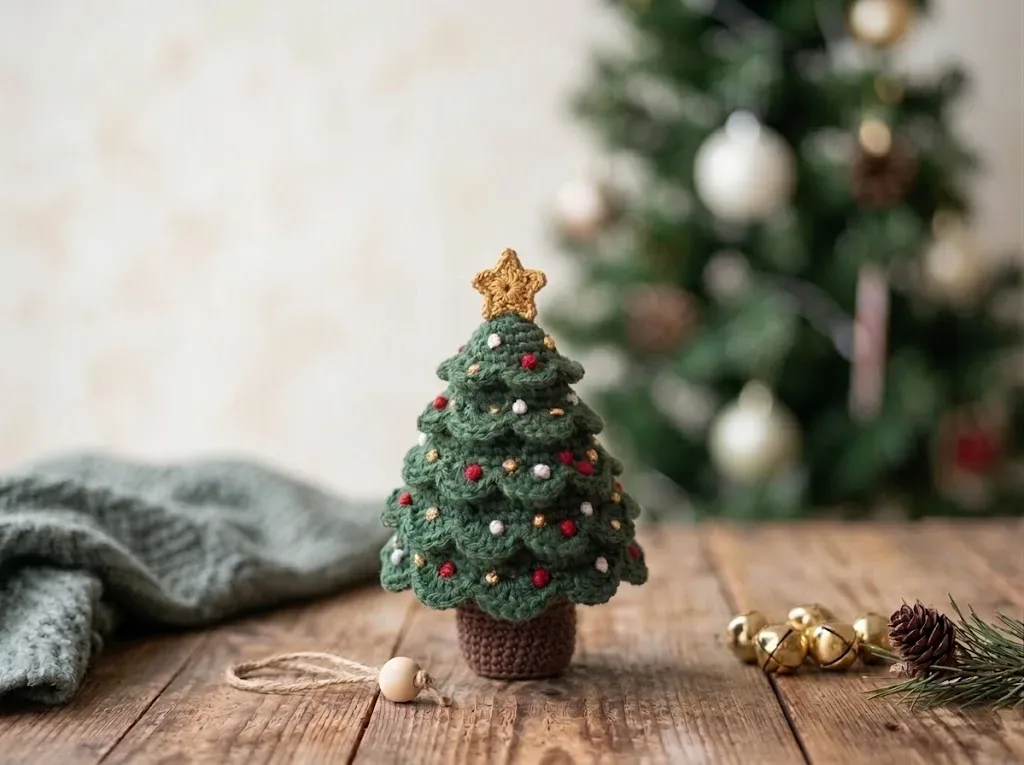
Mini Crochet Christmas Tree Ornament
A small beginner-friendly crochet Christmas tree with layered branches, a hanging loop, and optional tiny decorations for ornaments, gifts, or bag charms.
Make this project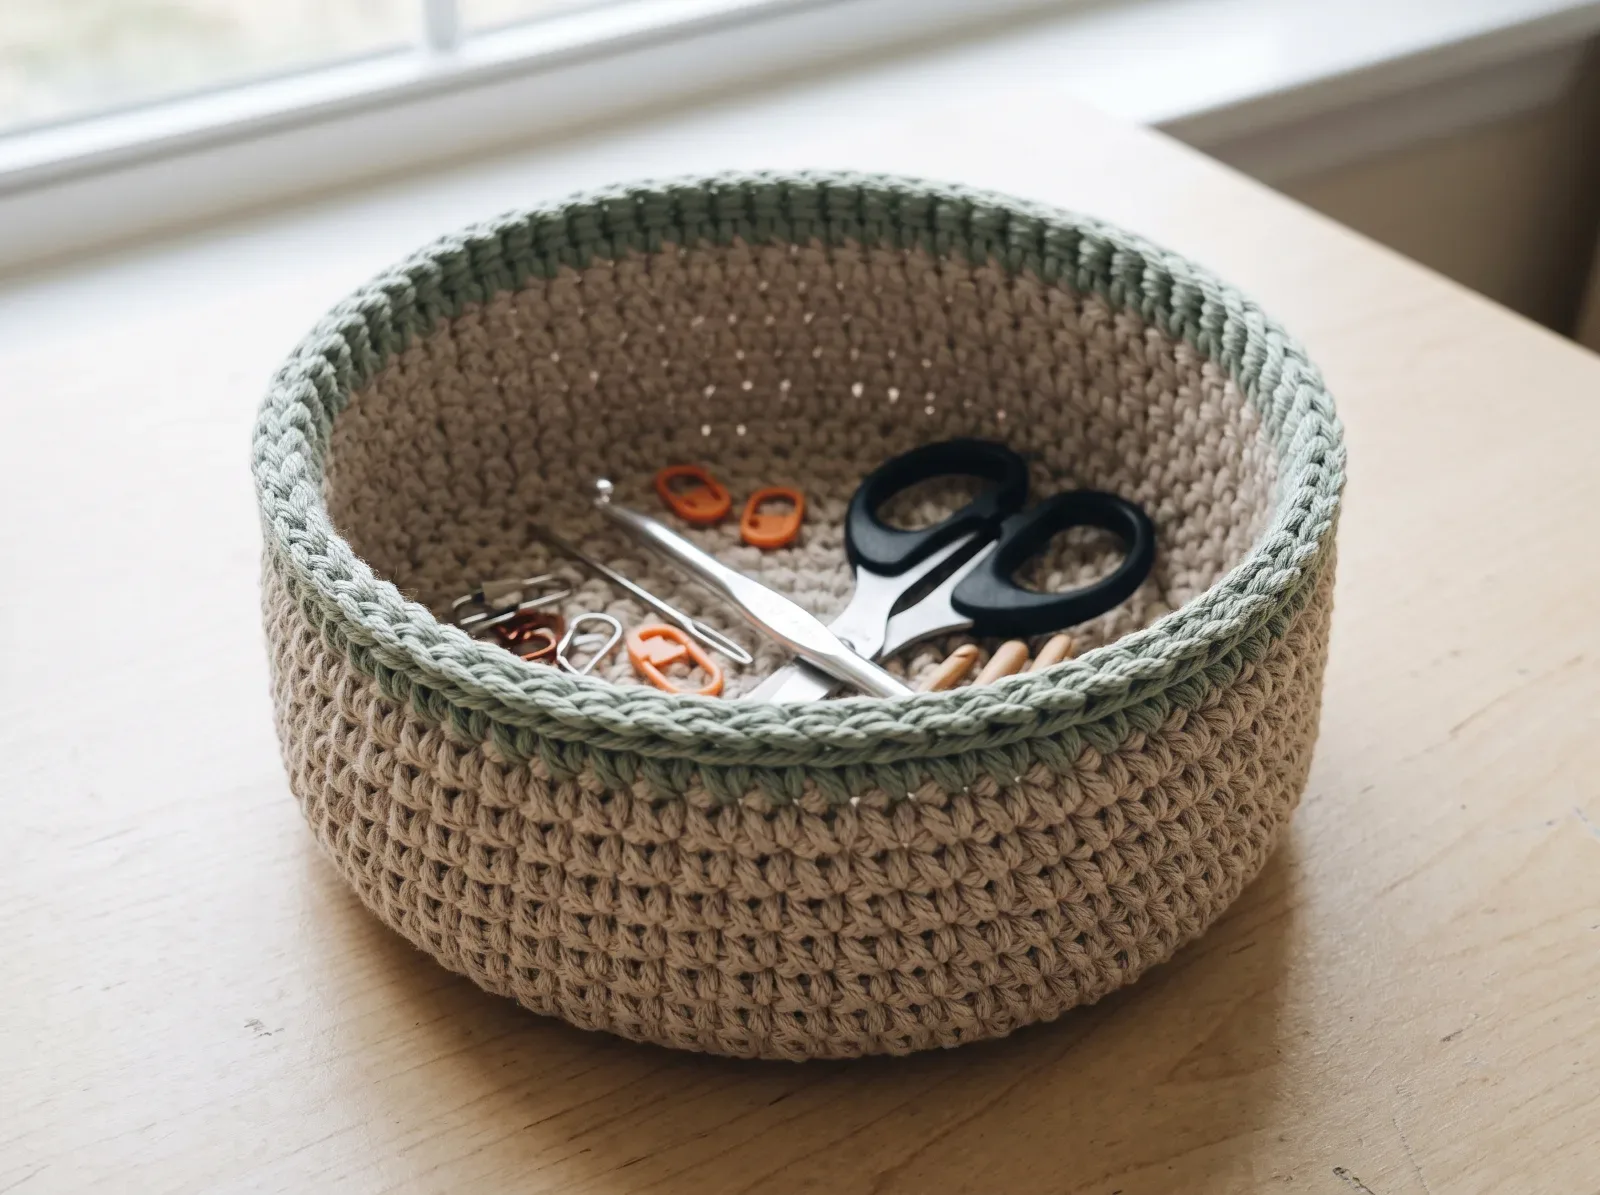
Minimal Catchall Basket
A clean round basket worked in soft cotton rope-style yarn for storing hooks, clips, or tiny craft supplies.
Make this project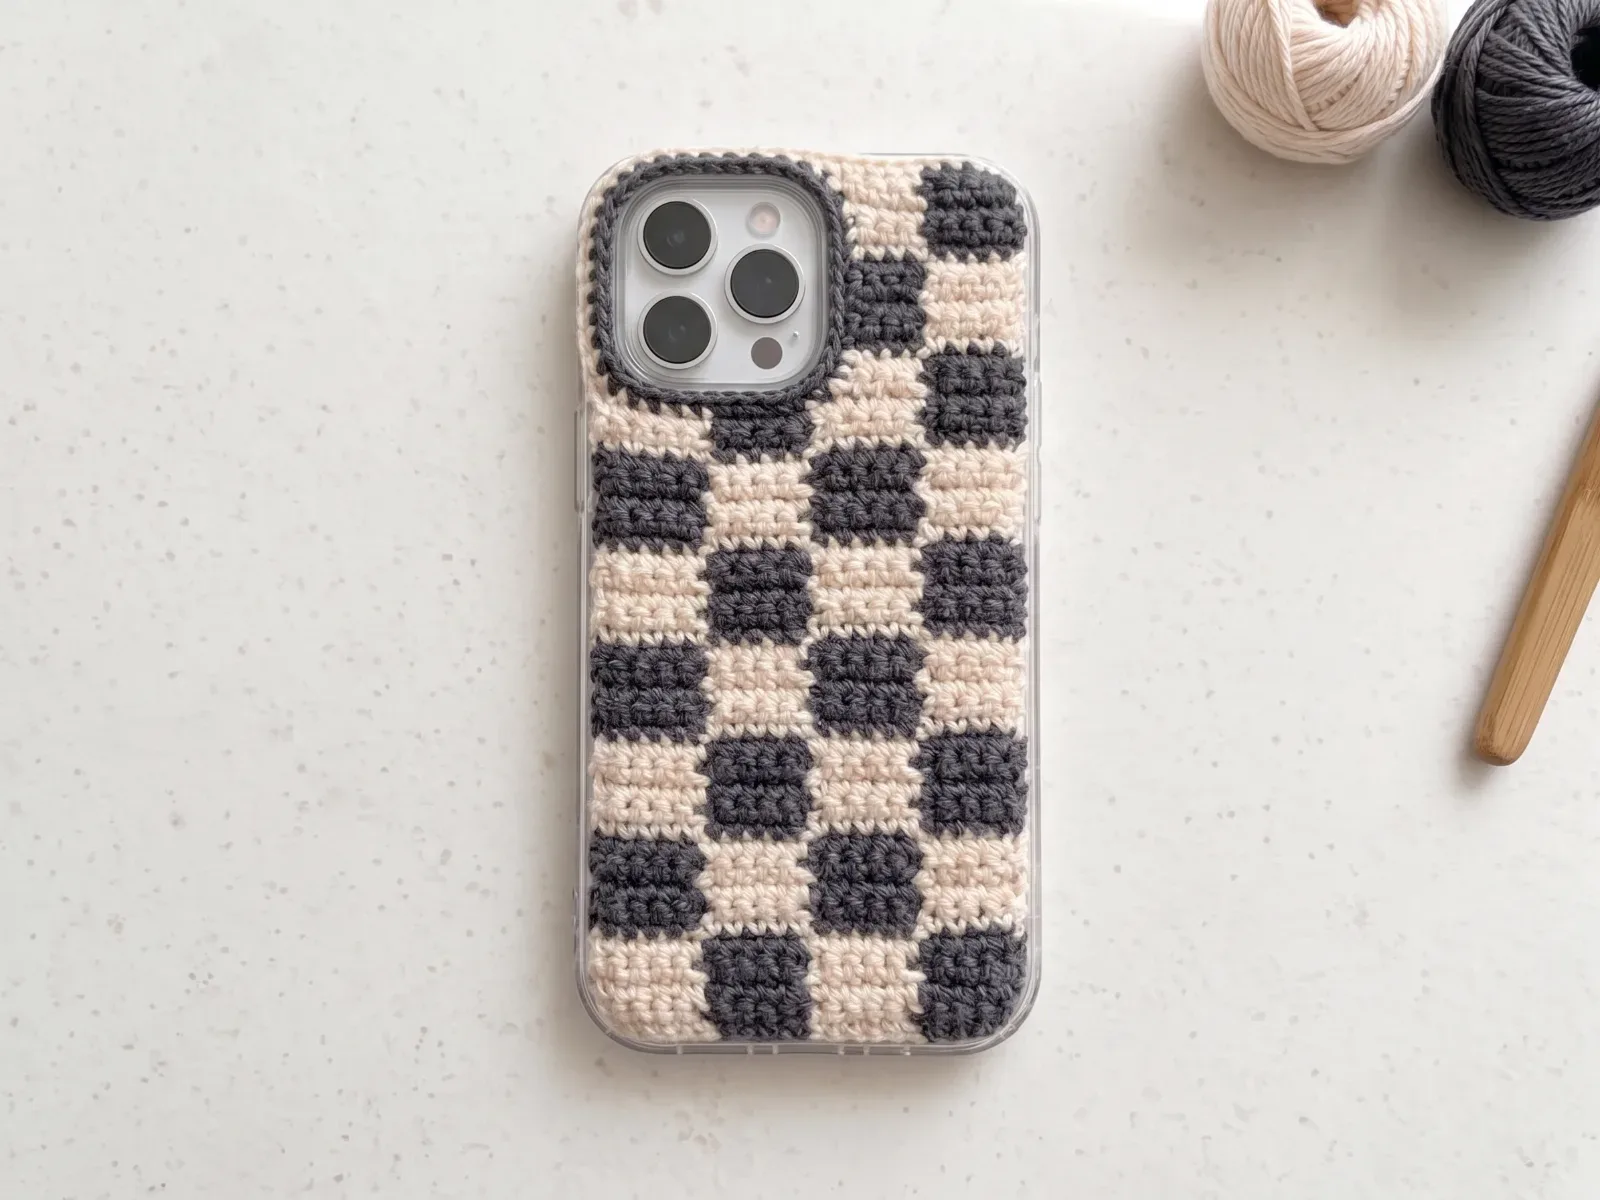
Checkerboard Crochet Phone Case for iPhone
A fitted checkerboard crochet phone-case cover attached to a thin clear plastic snap-on iPhone shell, with crisp cream-and-charcoal blocks, an exposed screen, and a camera opening sized to your own case.
Make this projectBuild the next connected skill.
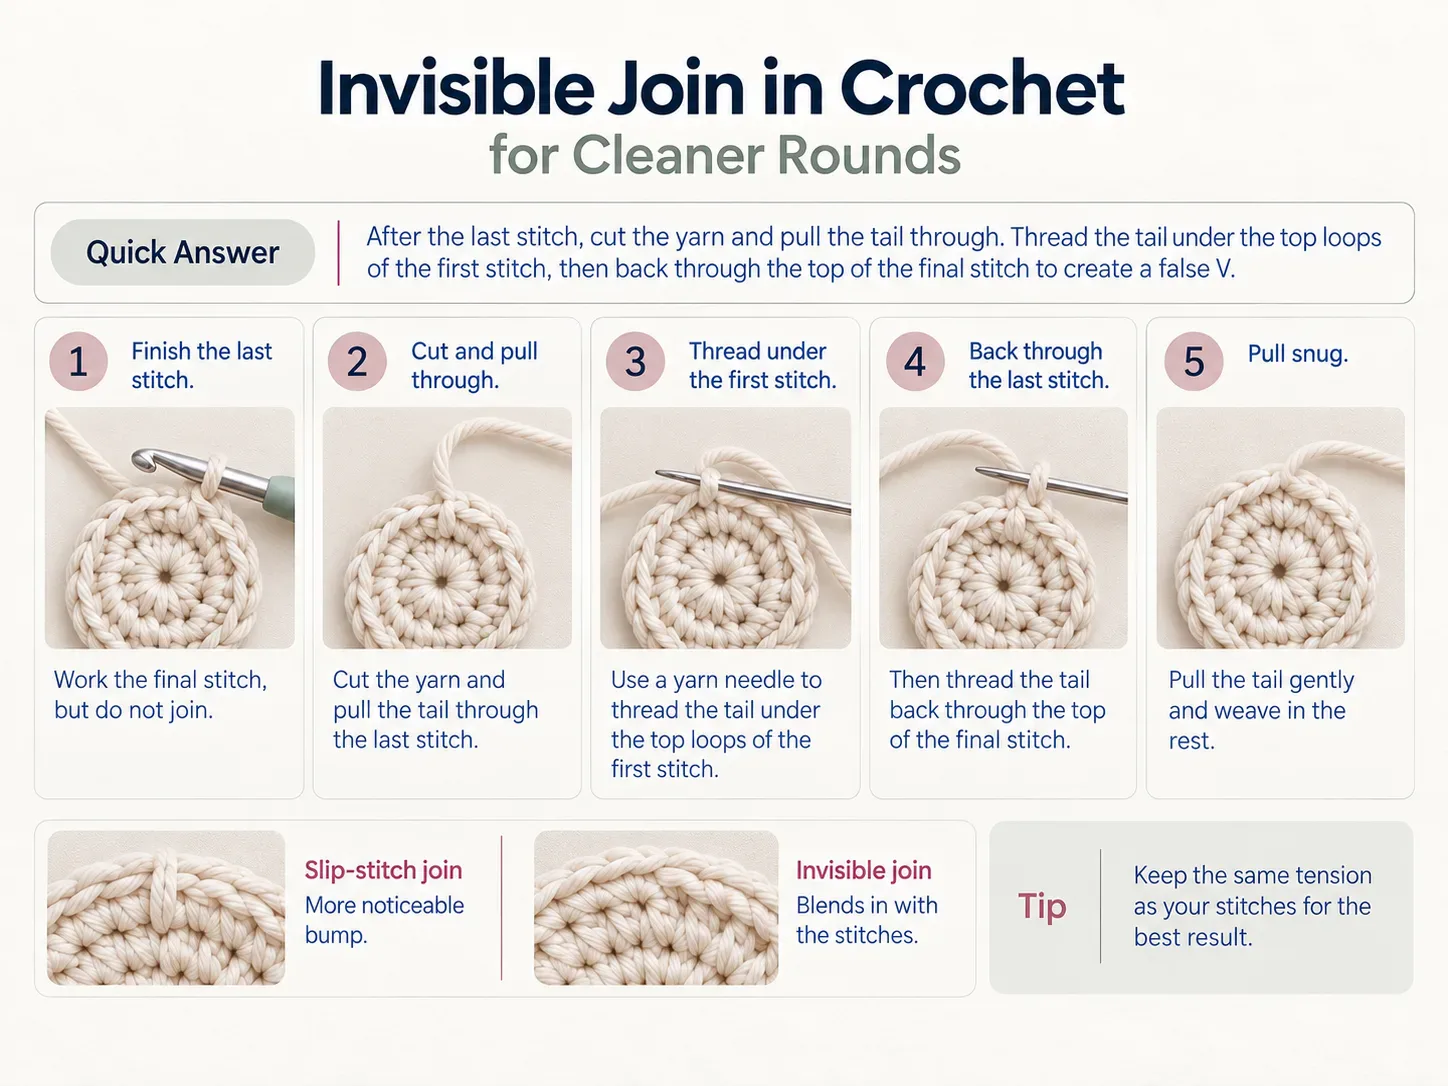
Invisible Join in Crochet for Cleaner Rounds
Use an invisible join to finish a crochet round so the final stitch resembles the top loops of neighboring stitches instead of a bulky slip-stitch join.
Open guide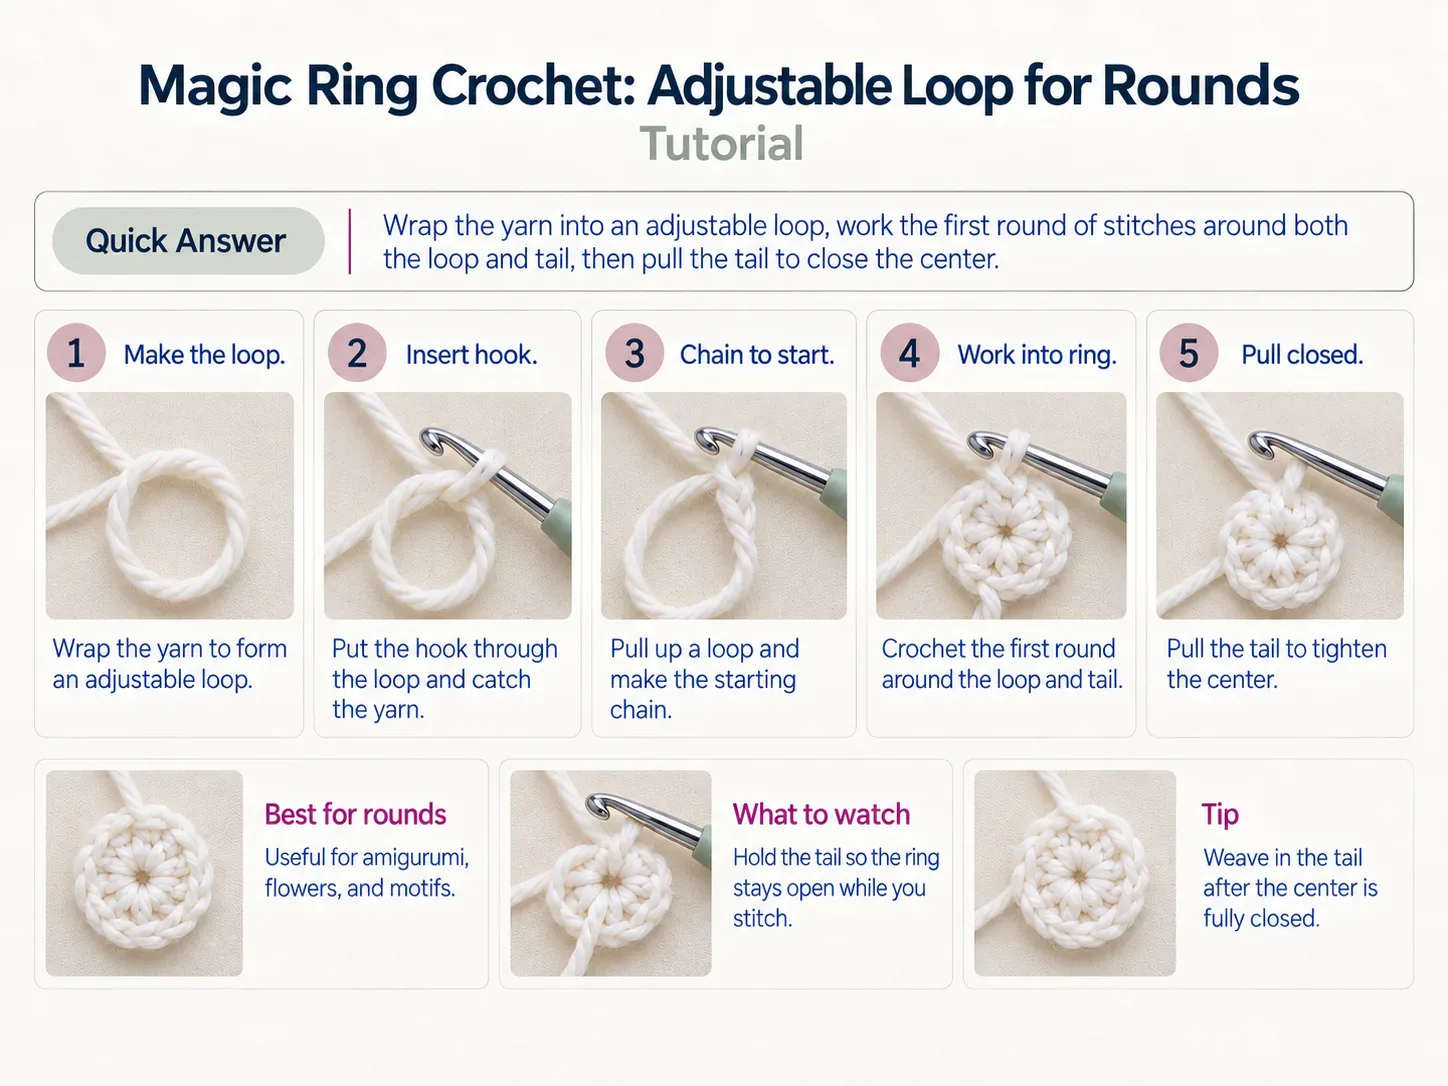
How to Crochet a Magic Ring (Magic Circle) for Beginners
Learn an easy crochet magic ring for starting amigurumi and motifs in the round, including how to close the center cleanly and avoid a stuck loop.
Open guide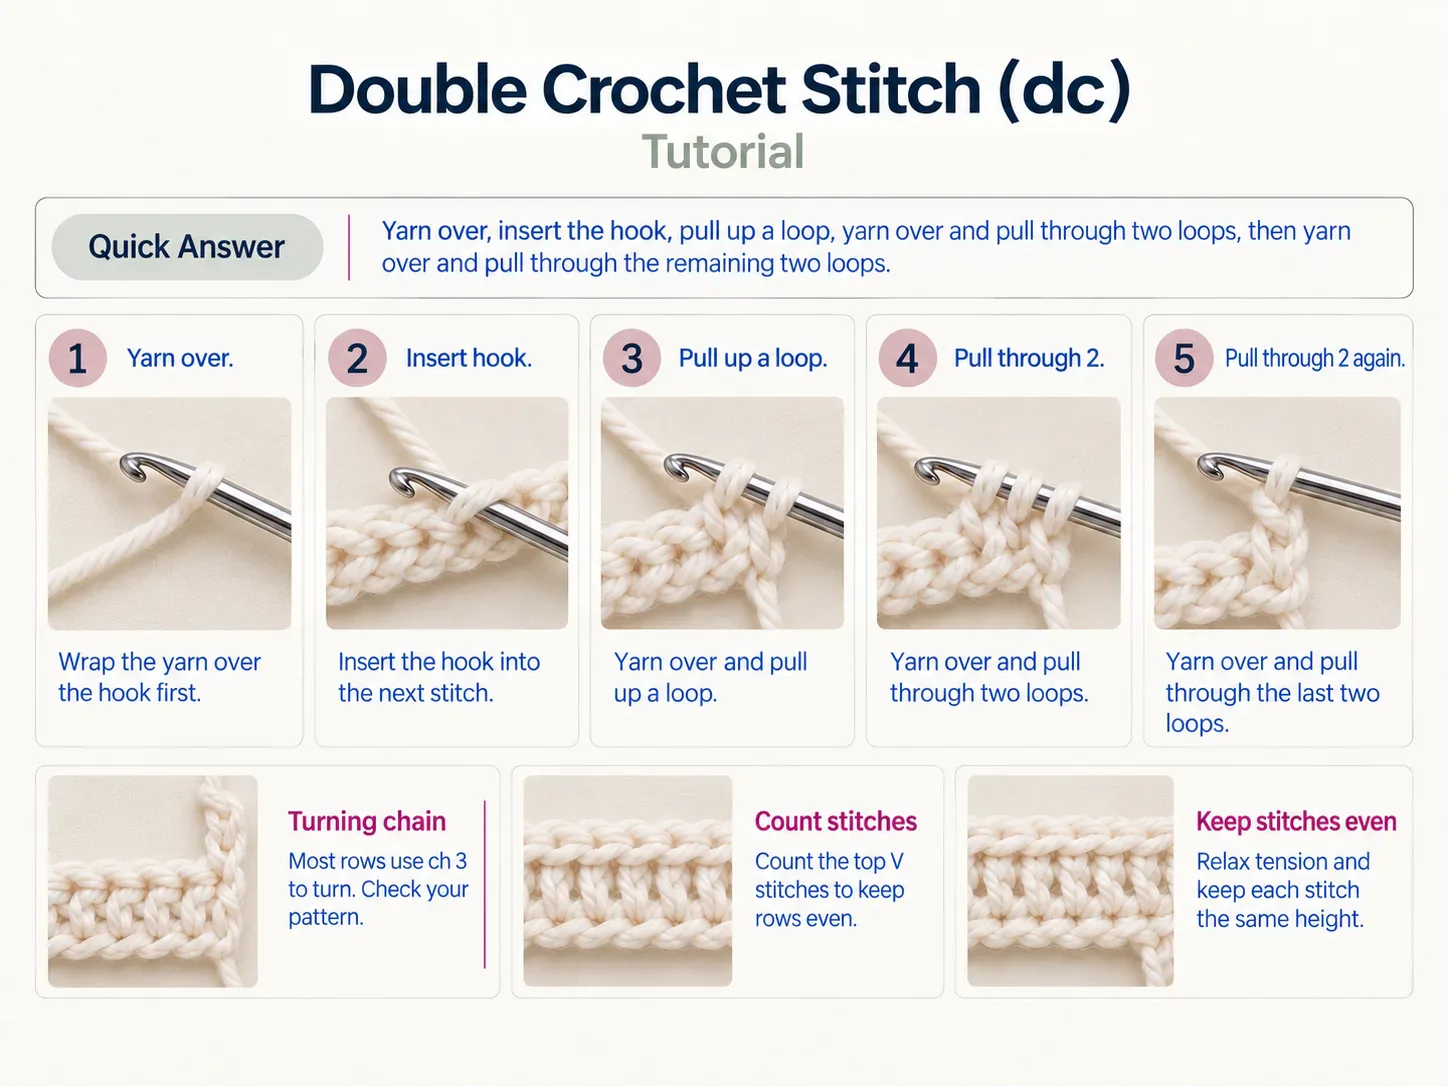
How to Double Crochet (dc): Step-by-Step
Learn how to double crochet with the correct yarn-over sequence, turning height, stitch counting, and simple fixes for gaps or uneven tall stitches.
Open guide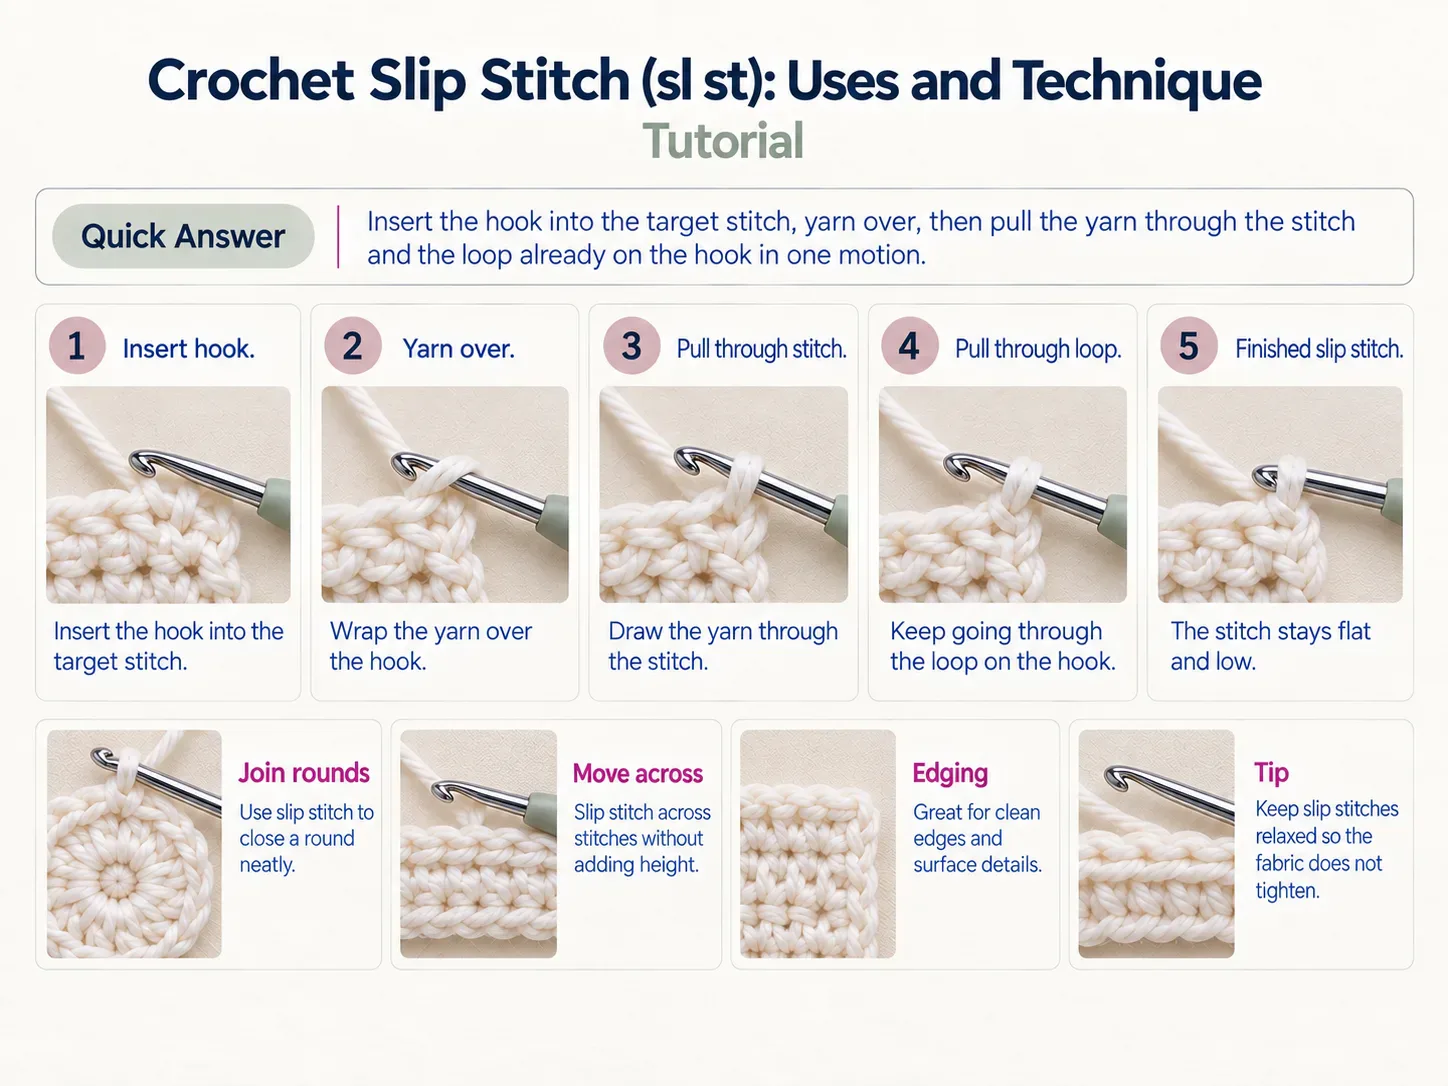
How to Slip Stitch in Crochet (sl st)
Learn how to make a crochet slip stitch and use it for joining rounds, moving across stitches, edging, surface details, and low-profile finishing.
Open guide