
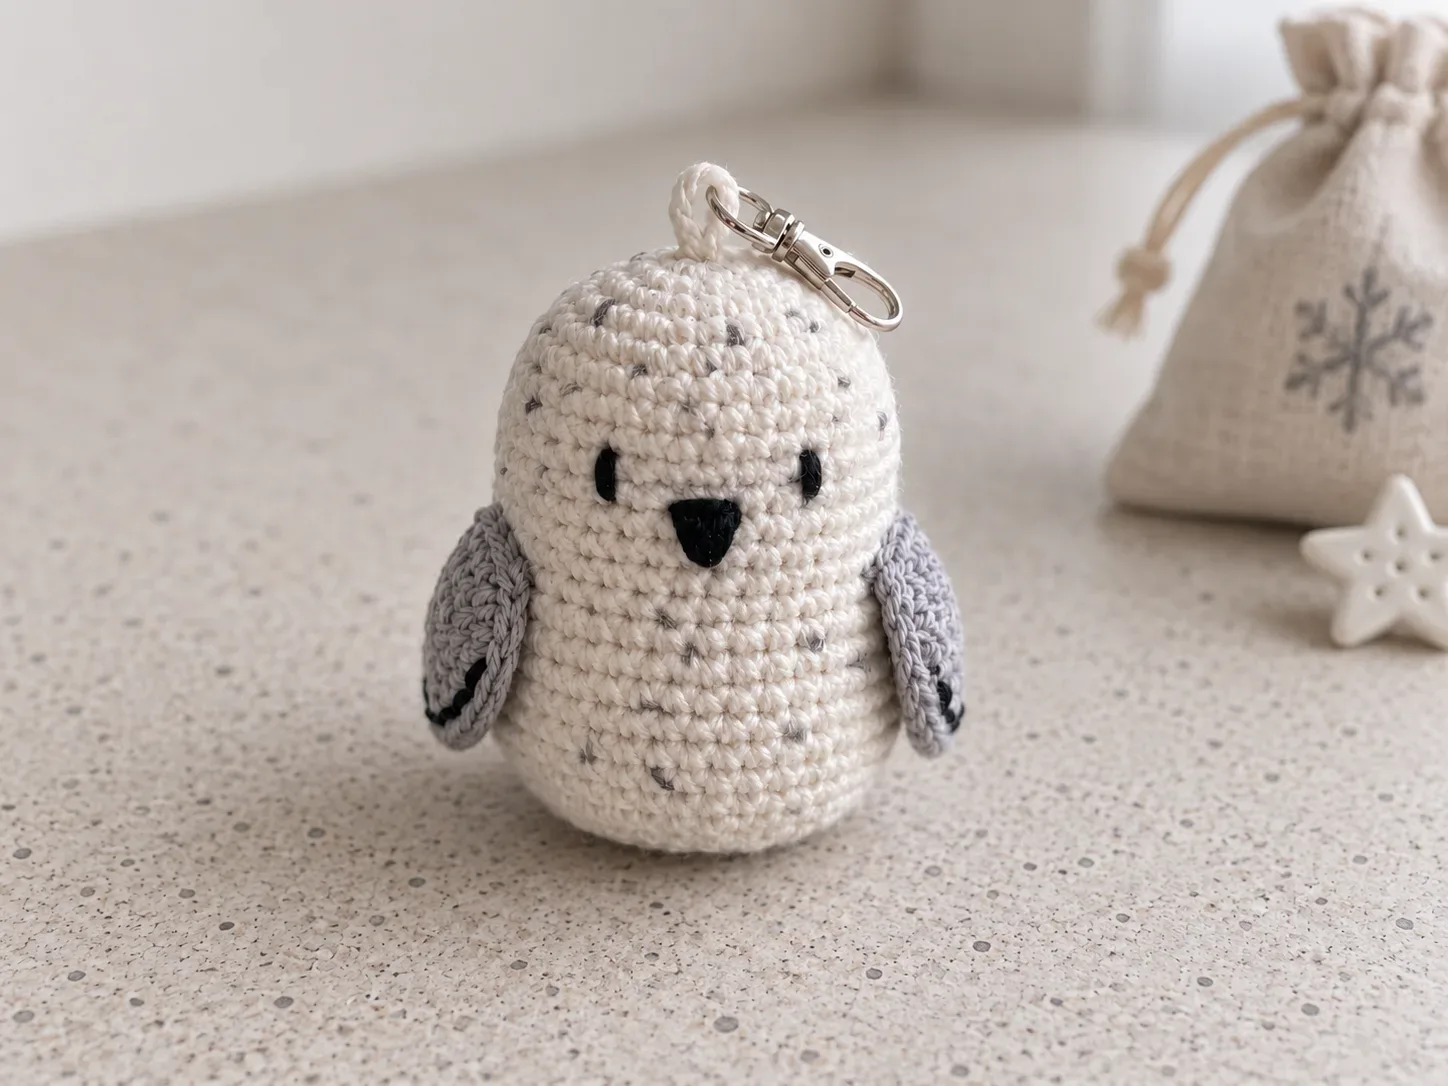
Snowy Owl Pocket Plush
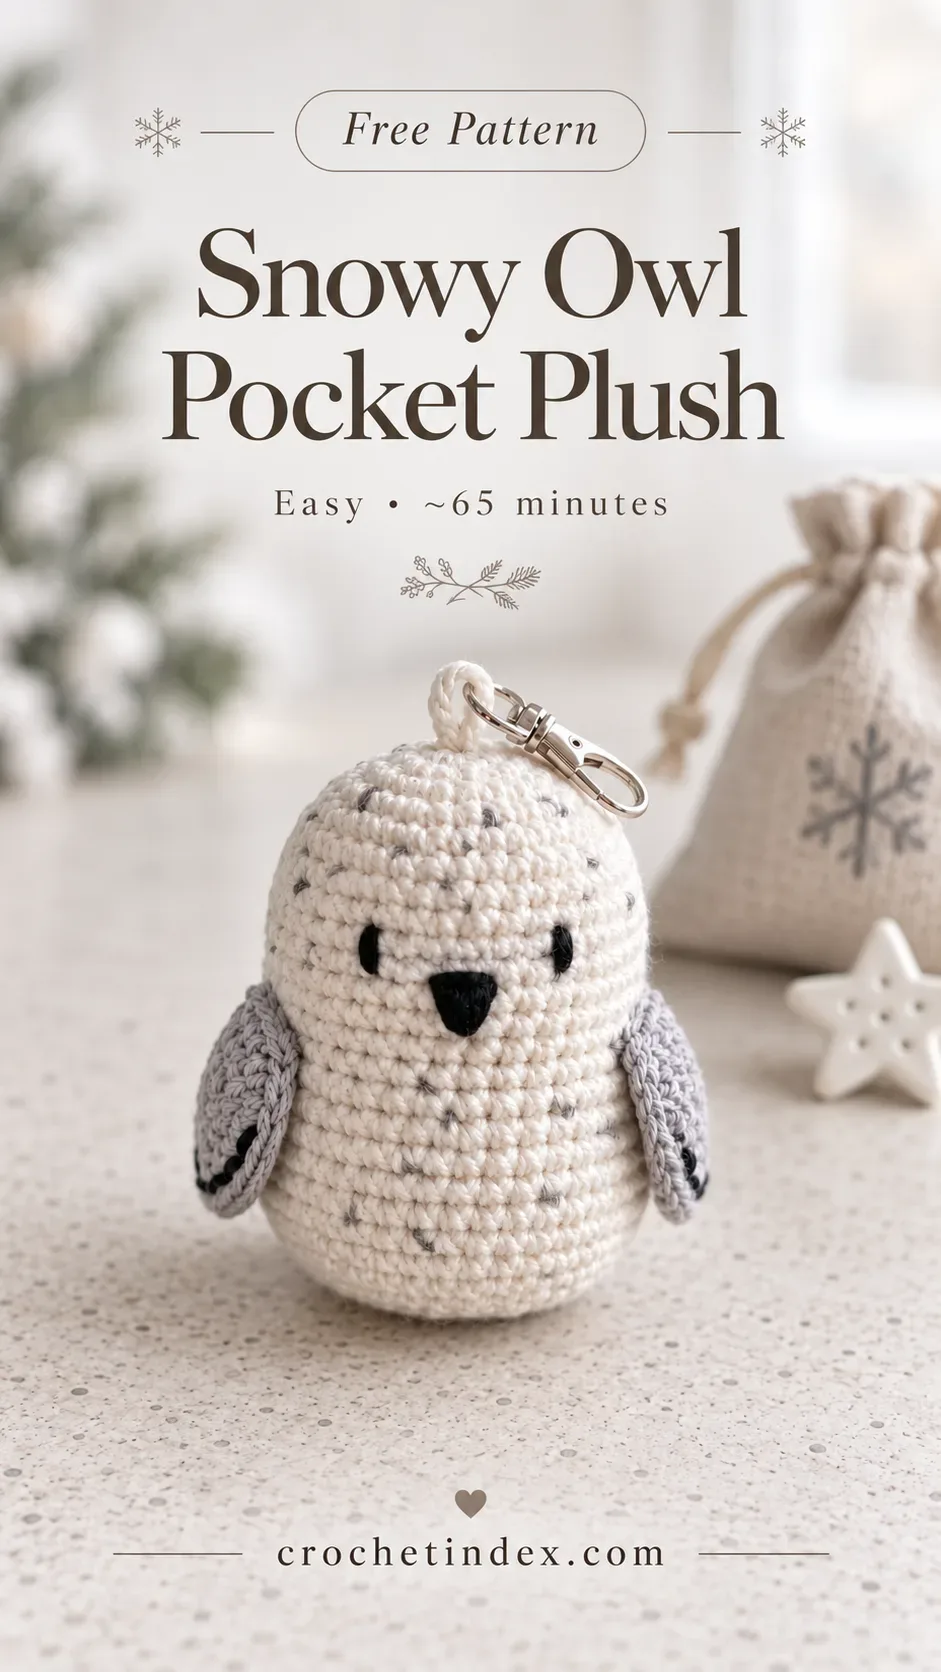
A small snowy owl with a rounded no-sew body, subtle speckle stitches, and tiny wings for winter shelves, desks, or gift bags.
What you'll make
Crochet a small snowy owl pocket plush with integrated ear and wing branches, embroidered face and step-by-step stitch counts.
Quick answer: Snowy Owl Pocket Plush is a easy crochet project with an estimated making time of ~65 minutes. Materials include Worsted or cotton yarn in the project palette, Crochet hook sized for a firm, even fabric, Locking stitch marker. See the full written instructions and construction steps below.
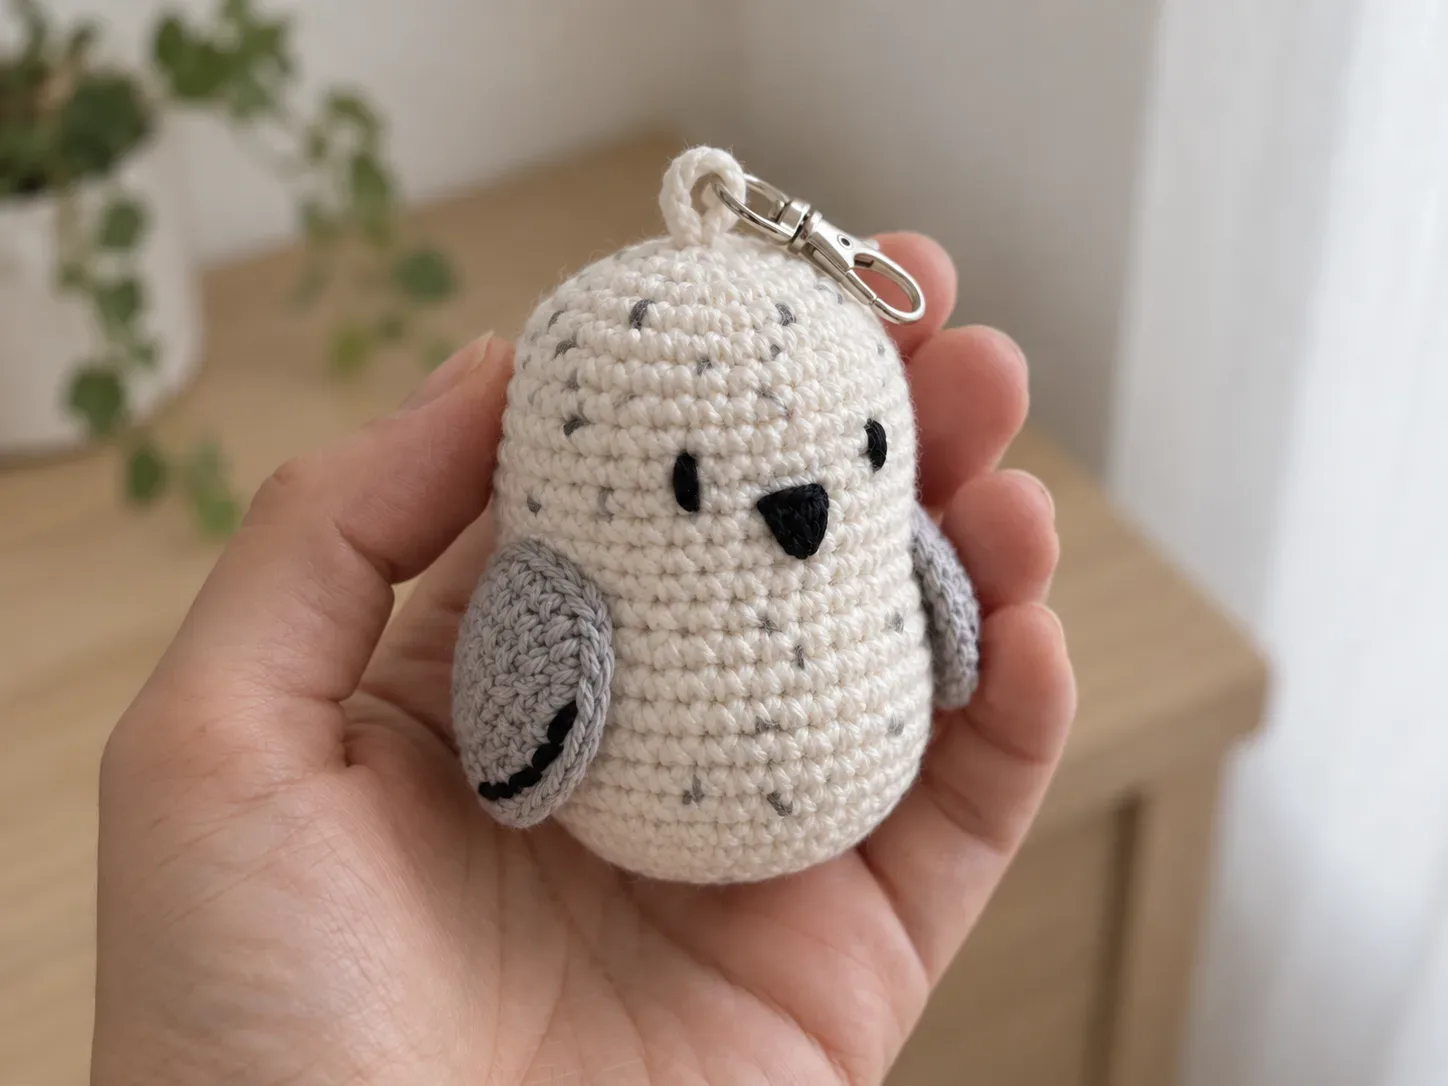
A closer look
A small snowy owl with a rounded no-sew body, subtle speckle stitches, and tiny wings for winter shelves, desks, or gift bags.
- Use smooth yarn for the first sample so stitch anatomy remains easy to see in close-up photos.
- Add stuffing in small amounts and shape the body as you go so the owl stays soft, compact, and evenly rounded.
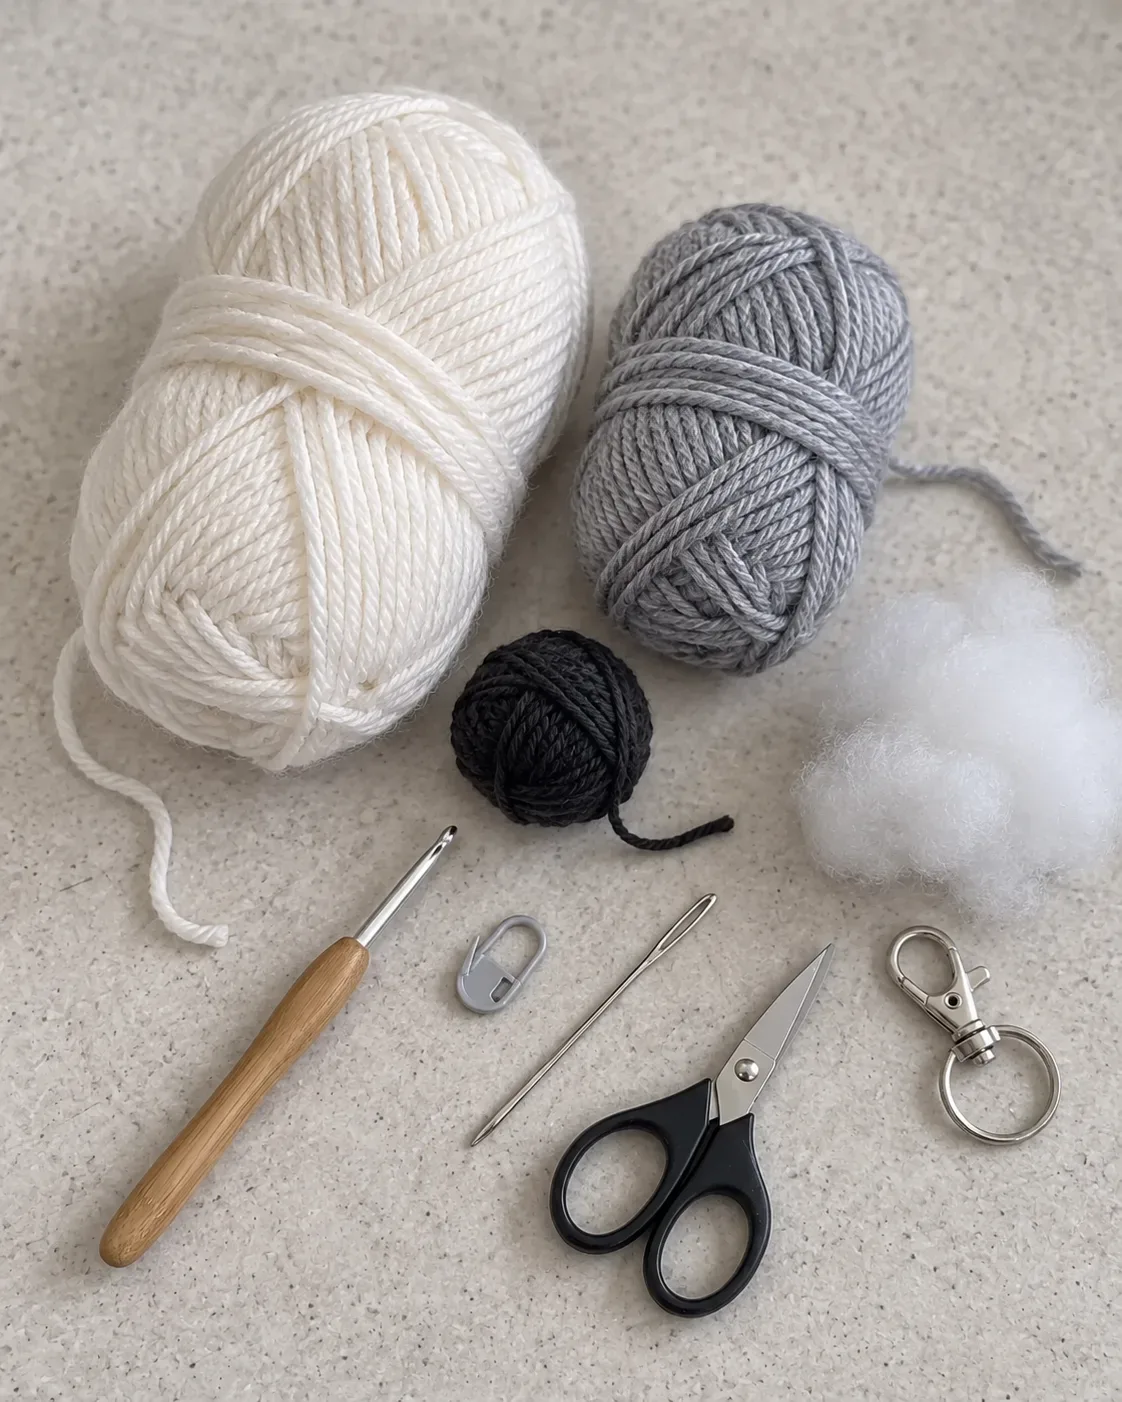
What you'll need
- Worsted or cotton yarn in the project palette
- Crochet hook sized for a firm, even fabric
- Locking stitch marker
- Yarn needle
- Small sharp scissors
- Polyester fiberfill
- Keyring or lobster clasp
Written crochet instructions and construction notes
Read the abbreviations first, check the notes, then work through the pattern in order. Detailed steps summarize the construction; the ordered written pattern below is the source for individual rounds and rows.
This version is a simple round owl with directly crocheted ear points and wing branches.
Use embroidered facial details instead of plastic eyes or beads. This plush is intended as a decoration, not a child toy.
Construction overview
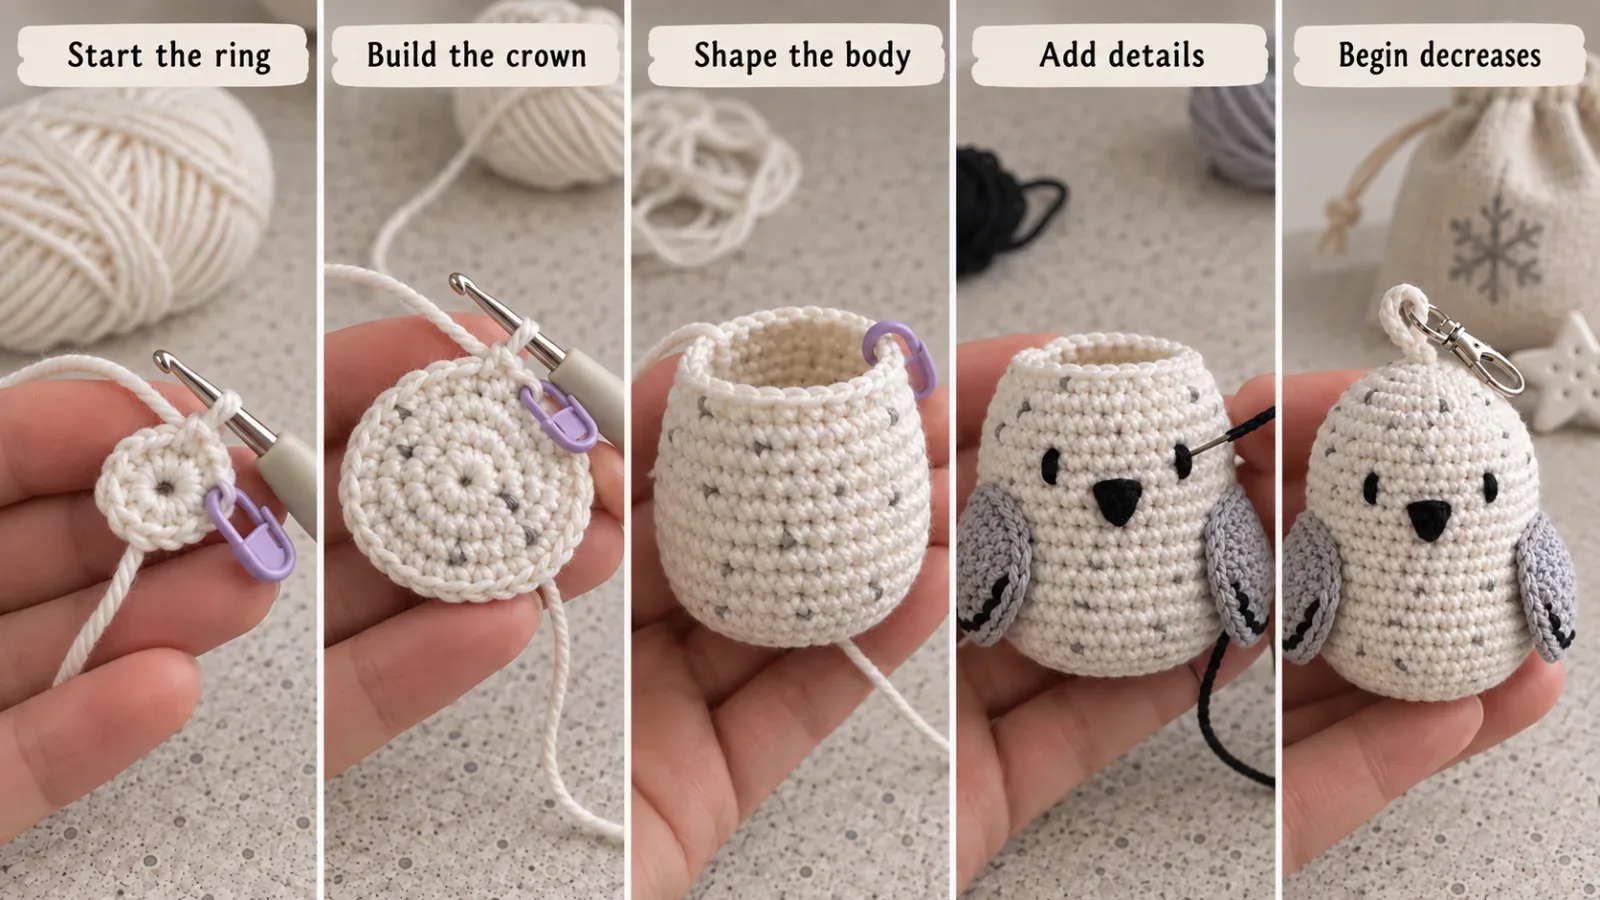
Make the snowy owl pocket plush step by step.
Follow the construction steps in order, using the written pattern above for exact stitches, rows, rounds and finishing details.
Start the owl crown
Begin in white yarn with six sc in a magic ring.
Increase to 24 body stitches
Increase by six per round to twelve, eighteen and twenty-four stitches.
Crochet two little ear points
On the next round work two short chain ear branches without counting their stitches into the body round.
Work the sides and two wings
Crochet an even body round, then add two short wing branches on opposite sides during the next round. Keep the body stitch count at twenty-four.
Reduce to eighteen stitches
Work the next even round, then decrease to eighteen.
Add the owl face
Embroider two eyes and a beak before the opening narrows to twelve stitches.
Stuff and close
Decrease from twelve to six; stuff and close firmly.
Small details that make the finish better
- Use smooth yarn for the first sample so stitch anatomy remains easy to see in close-up photos.
- Add stuffing in small amounts and shape the body as you go so the owl stays soft, compact, and evenly rounded.
Ways to adapt the project
Change the yarn color, finishing touches, or small embellishments while keeping the same core construction.
Common questions before you start
Is the Snowy Owl Pocket Plush beginner friendly?
How long does the Snowy Owl Pocket Plush take?
What do I need for this crochet project?
Can I customize the design?
Can I save this project for later?
Save this crochet project for later
Save this project so you can come back to the pattern, materials list, and steps later.
Pick the next thing to make
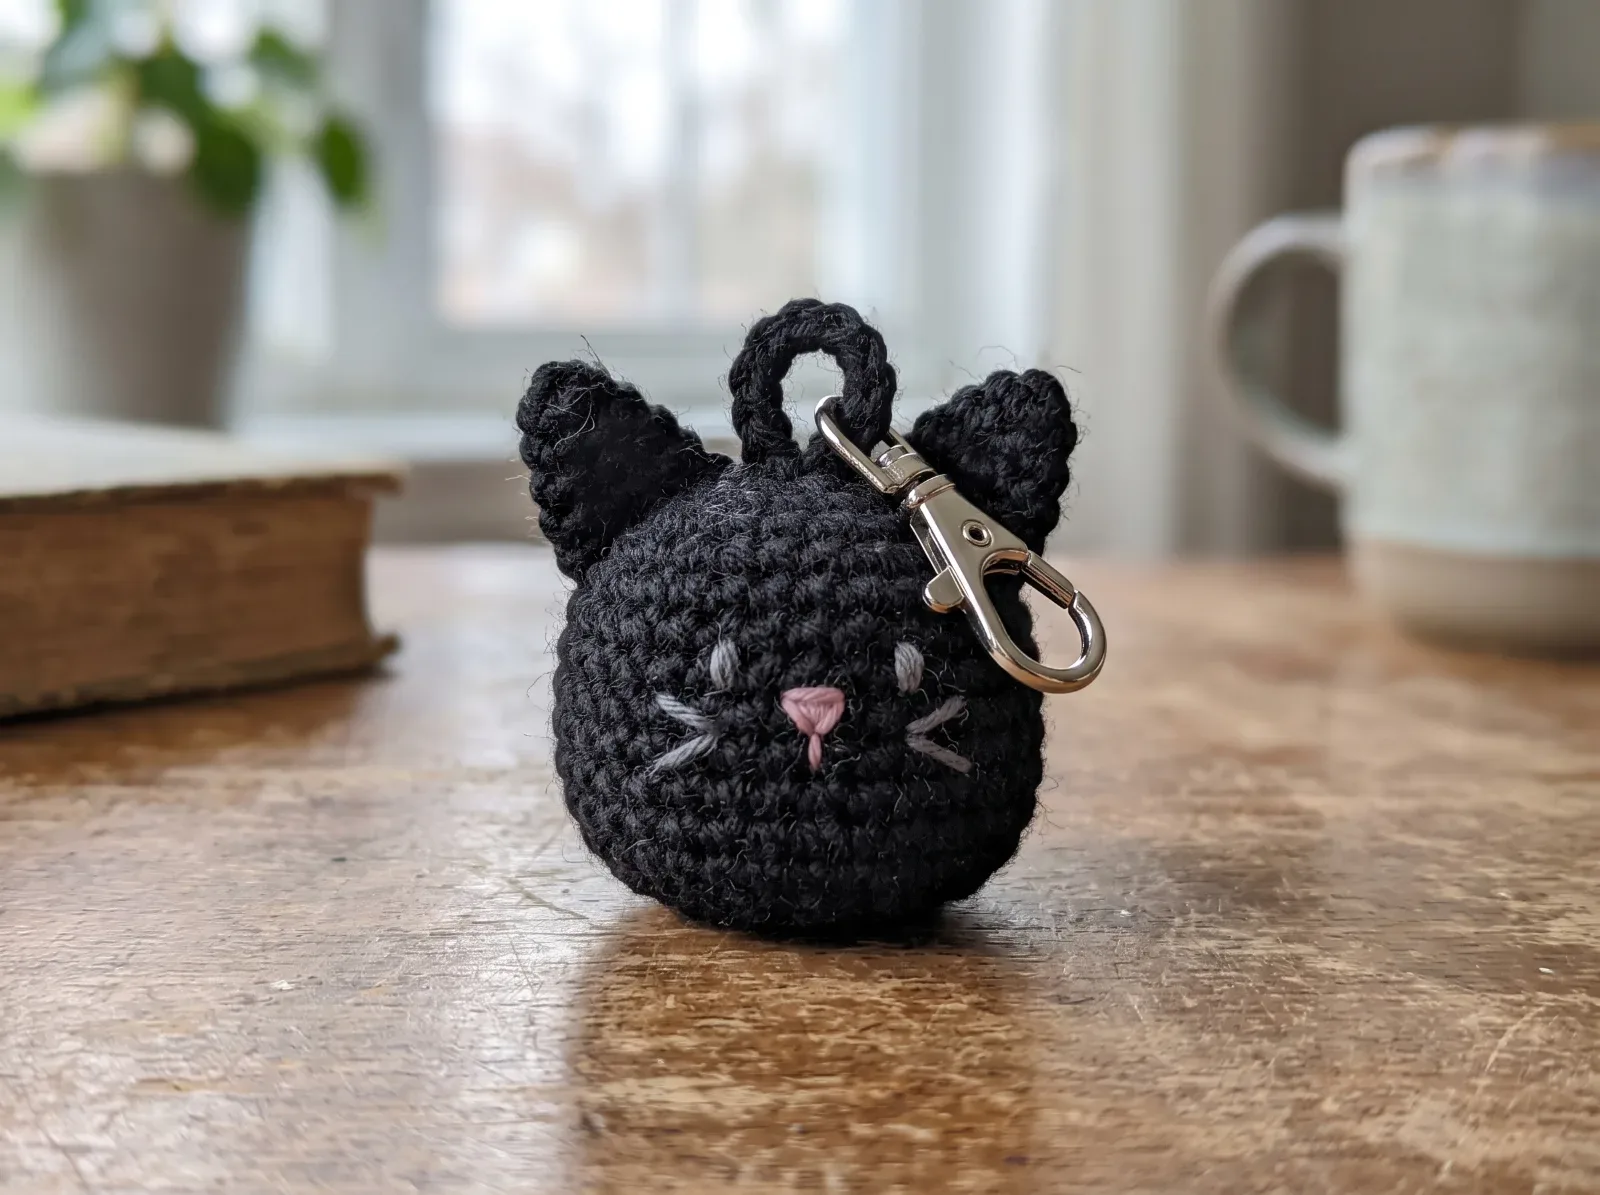
No-Sew Black Cat Bag Charm
A tiny black cat charm with pointy ears, a compact rounded body, and a clip loop for Halloween bags, keys, or backpacks.
Make this project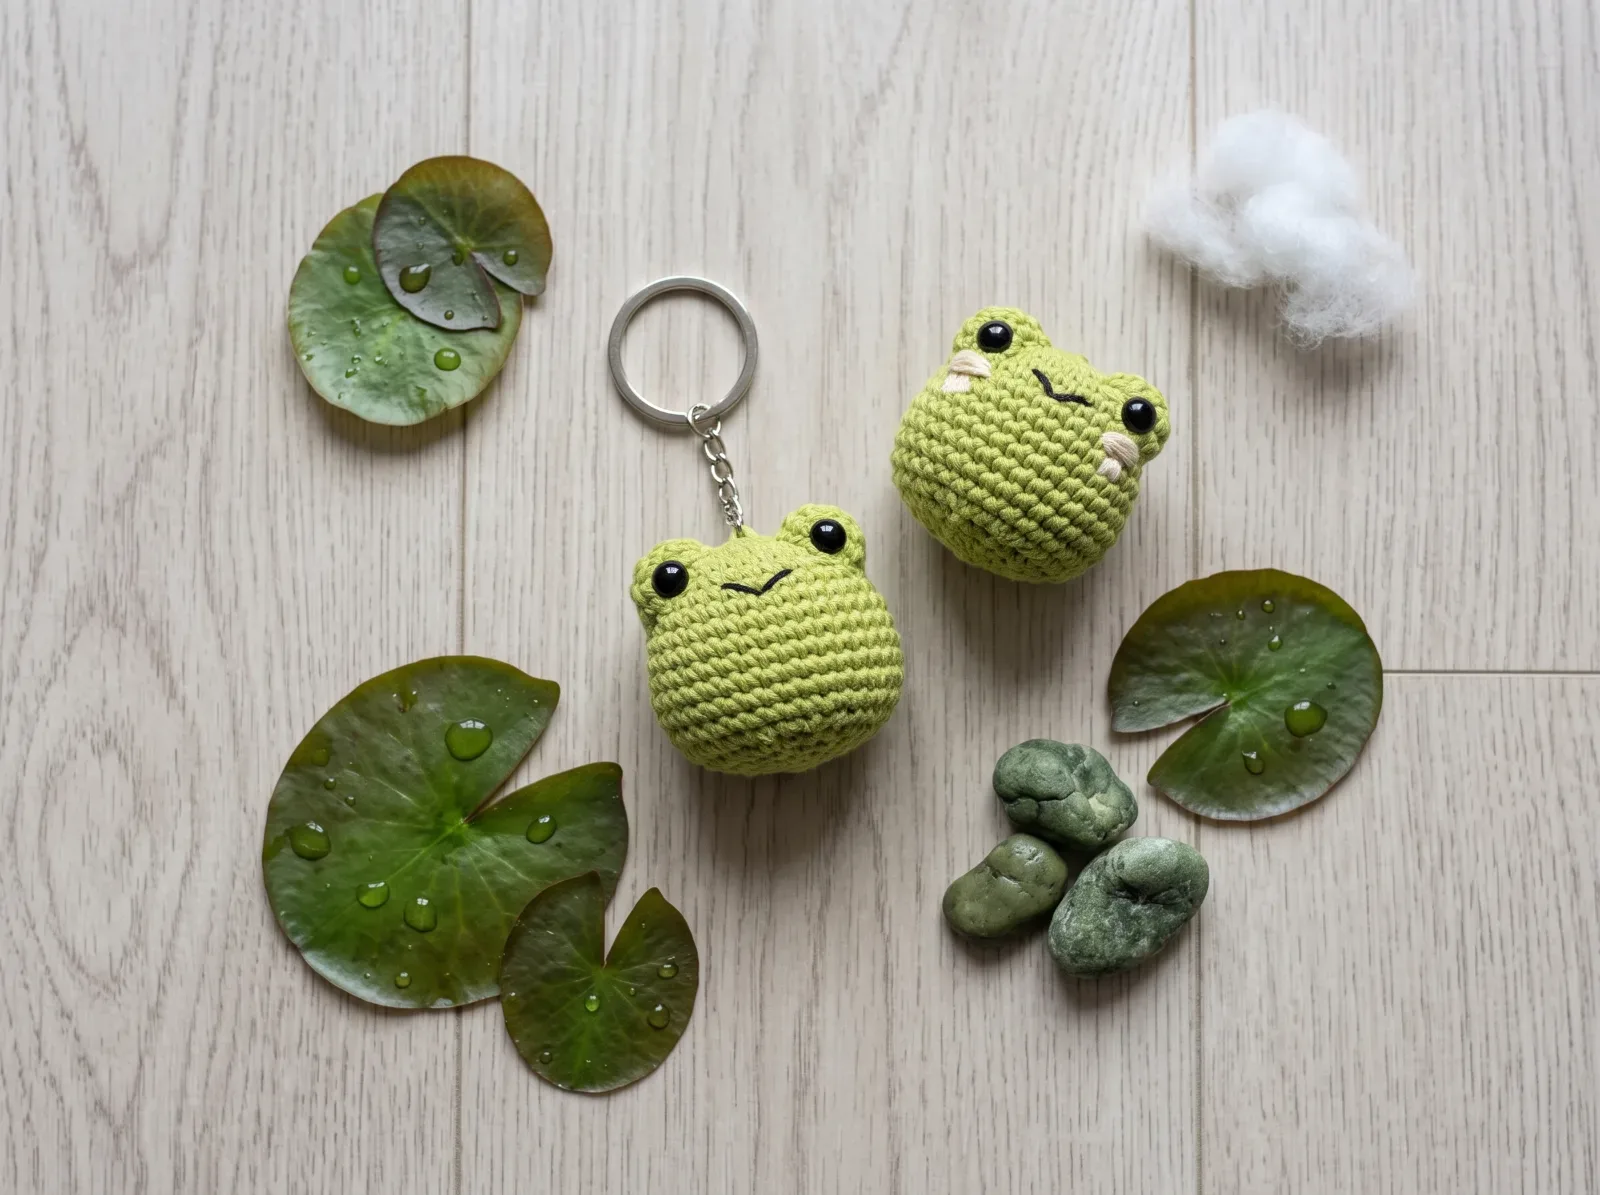
No-Sew Mini Frog Keychain
A tiny round frog with no-sew eyes and simple embroidered features, sized for bags and keys and built around the strongest mini-amigurumi trend.
Make this project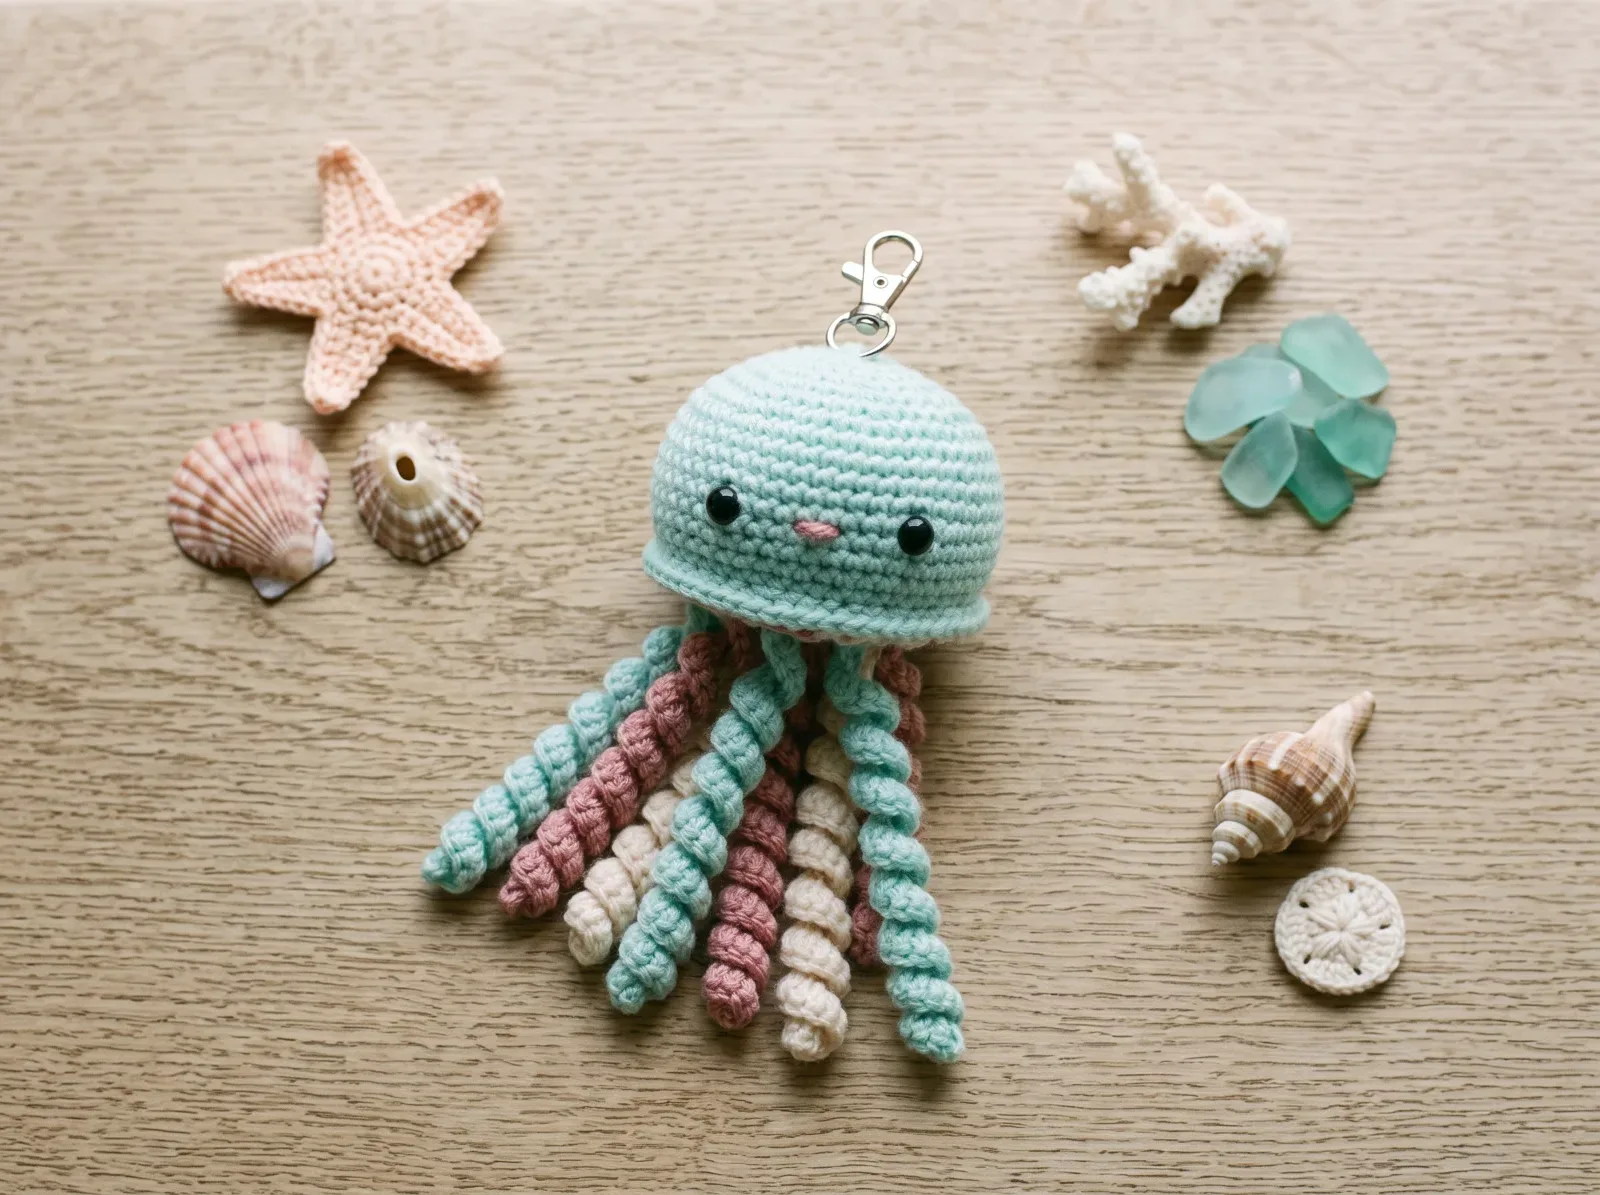
Spiral Jellyfish Keychain
A palm-size jellyfish with a simple dome and springy spiral tentacles, designed for bags, keys, and the tactile mini-amigurumi trend.
Make this project