Magic Ring Crochet: Adjustable Loop for Rounds
Learn the magic ring method for starting crochet in the round with a center that can be pulled closed, especially useful for amigurumi and motifs.

Wrap the yarn into an adjustable loop, work the first round of stitches around both the loop and tail, then pull the tail to close the center.
Mini lesson sheet
Keep the short row instructions on one side and the visual target on the other.
- Use this as a quick check before the full lesson.
- Keep it nearby while you practice the stitch or technique.
Finished result

Key facts
How to do it
 01Step 1
Lay the yarn tail across your fingers and cross the working yarn over it to form a loop.
 02Step 2
Insert the hook under the loop and pull the working yarn through.
 03Step 3
Chain as needed to secure the loop or create stitch height for the first round.
 04Step 4
Work the required stitches around both the ring and the yarn tail.
 05Step 5
Hold the stitches and pull the tail firmly to shrink the center opening.
 06Step 6
Join or continue in a spiral according to the pattern, then weave the tail in securely.
Video walkthrough from Bella Coco
Use this as a second explanation after the written steps. Pause, replay, and compare the motion with the close-up images above.
Make it easier
- Use a longer starting tail than you think you need so it is easy to weave in.
- If slippery yarn makes the ring loosen, weave the tail back in multiple directions.
What usually goes wrong
- Crocheting only around the loop but not the tail
- Cutting the tail too short
- Pulling the working yarn instead of the tail when closing the center
Questions about magic ring crochet: adjustable loop for rounds
Is a magic ring required for amigurumi?+
No. A short chain joined into a ring can also work, but the magic ring usually makes it easier to close the center tightly.
Use this technique in a complete crochet project.
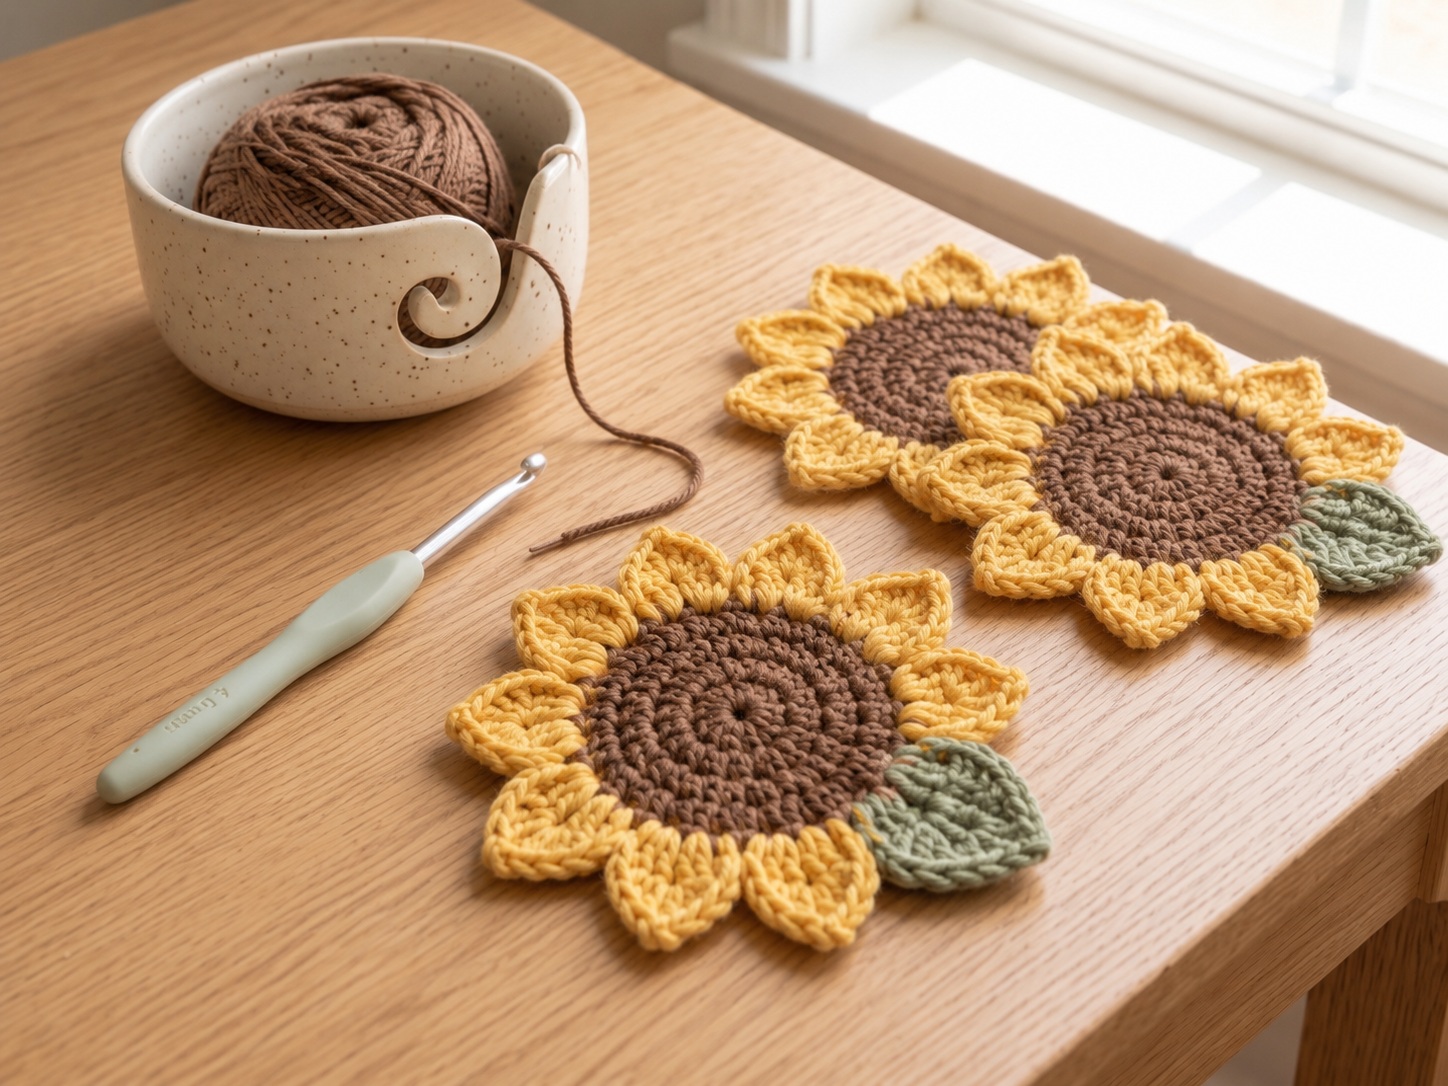
Sunlit Petal Coaster Set
A cheerful sunflower-inspired coaster with a warm brown center, golden petals, and an optional sage leaf accent.
Make this project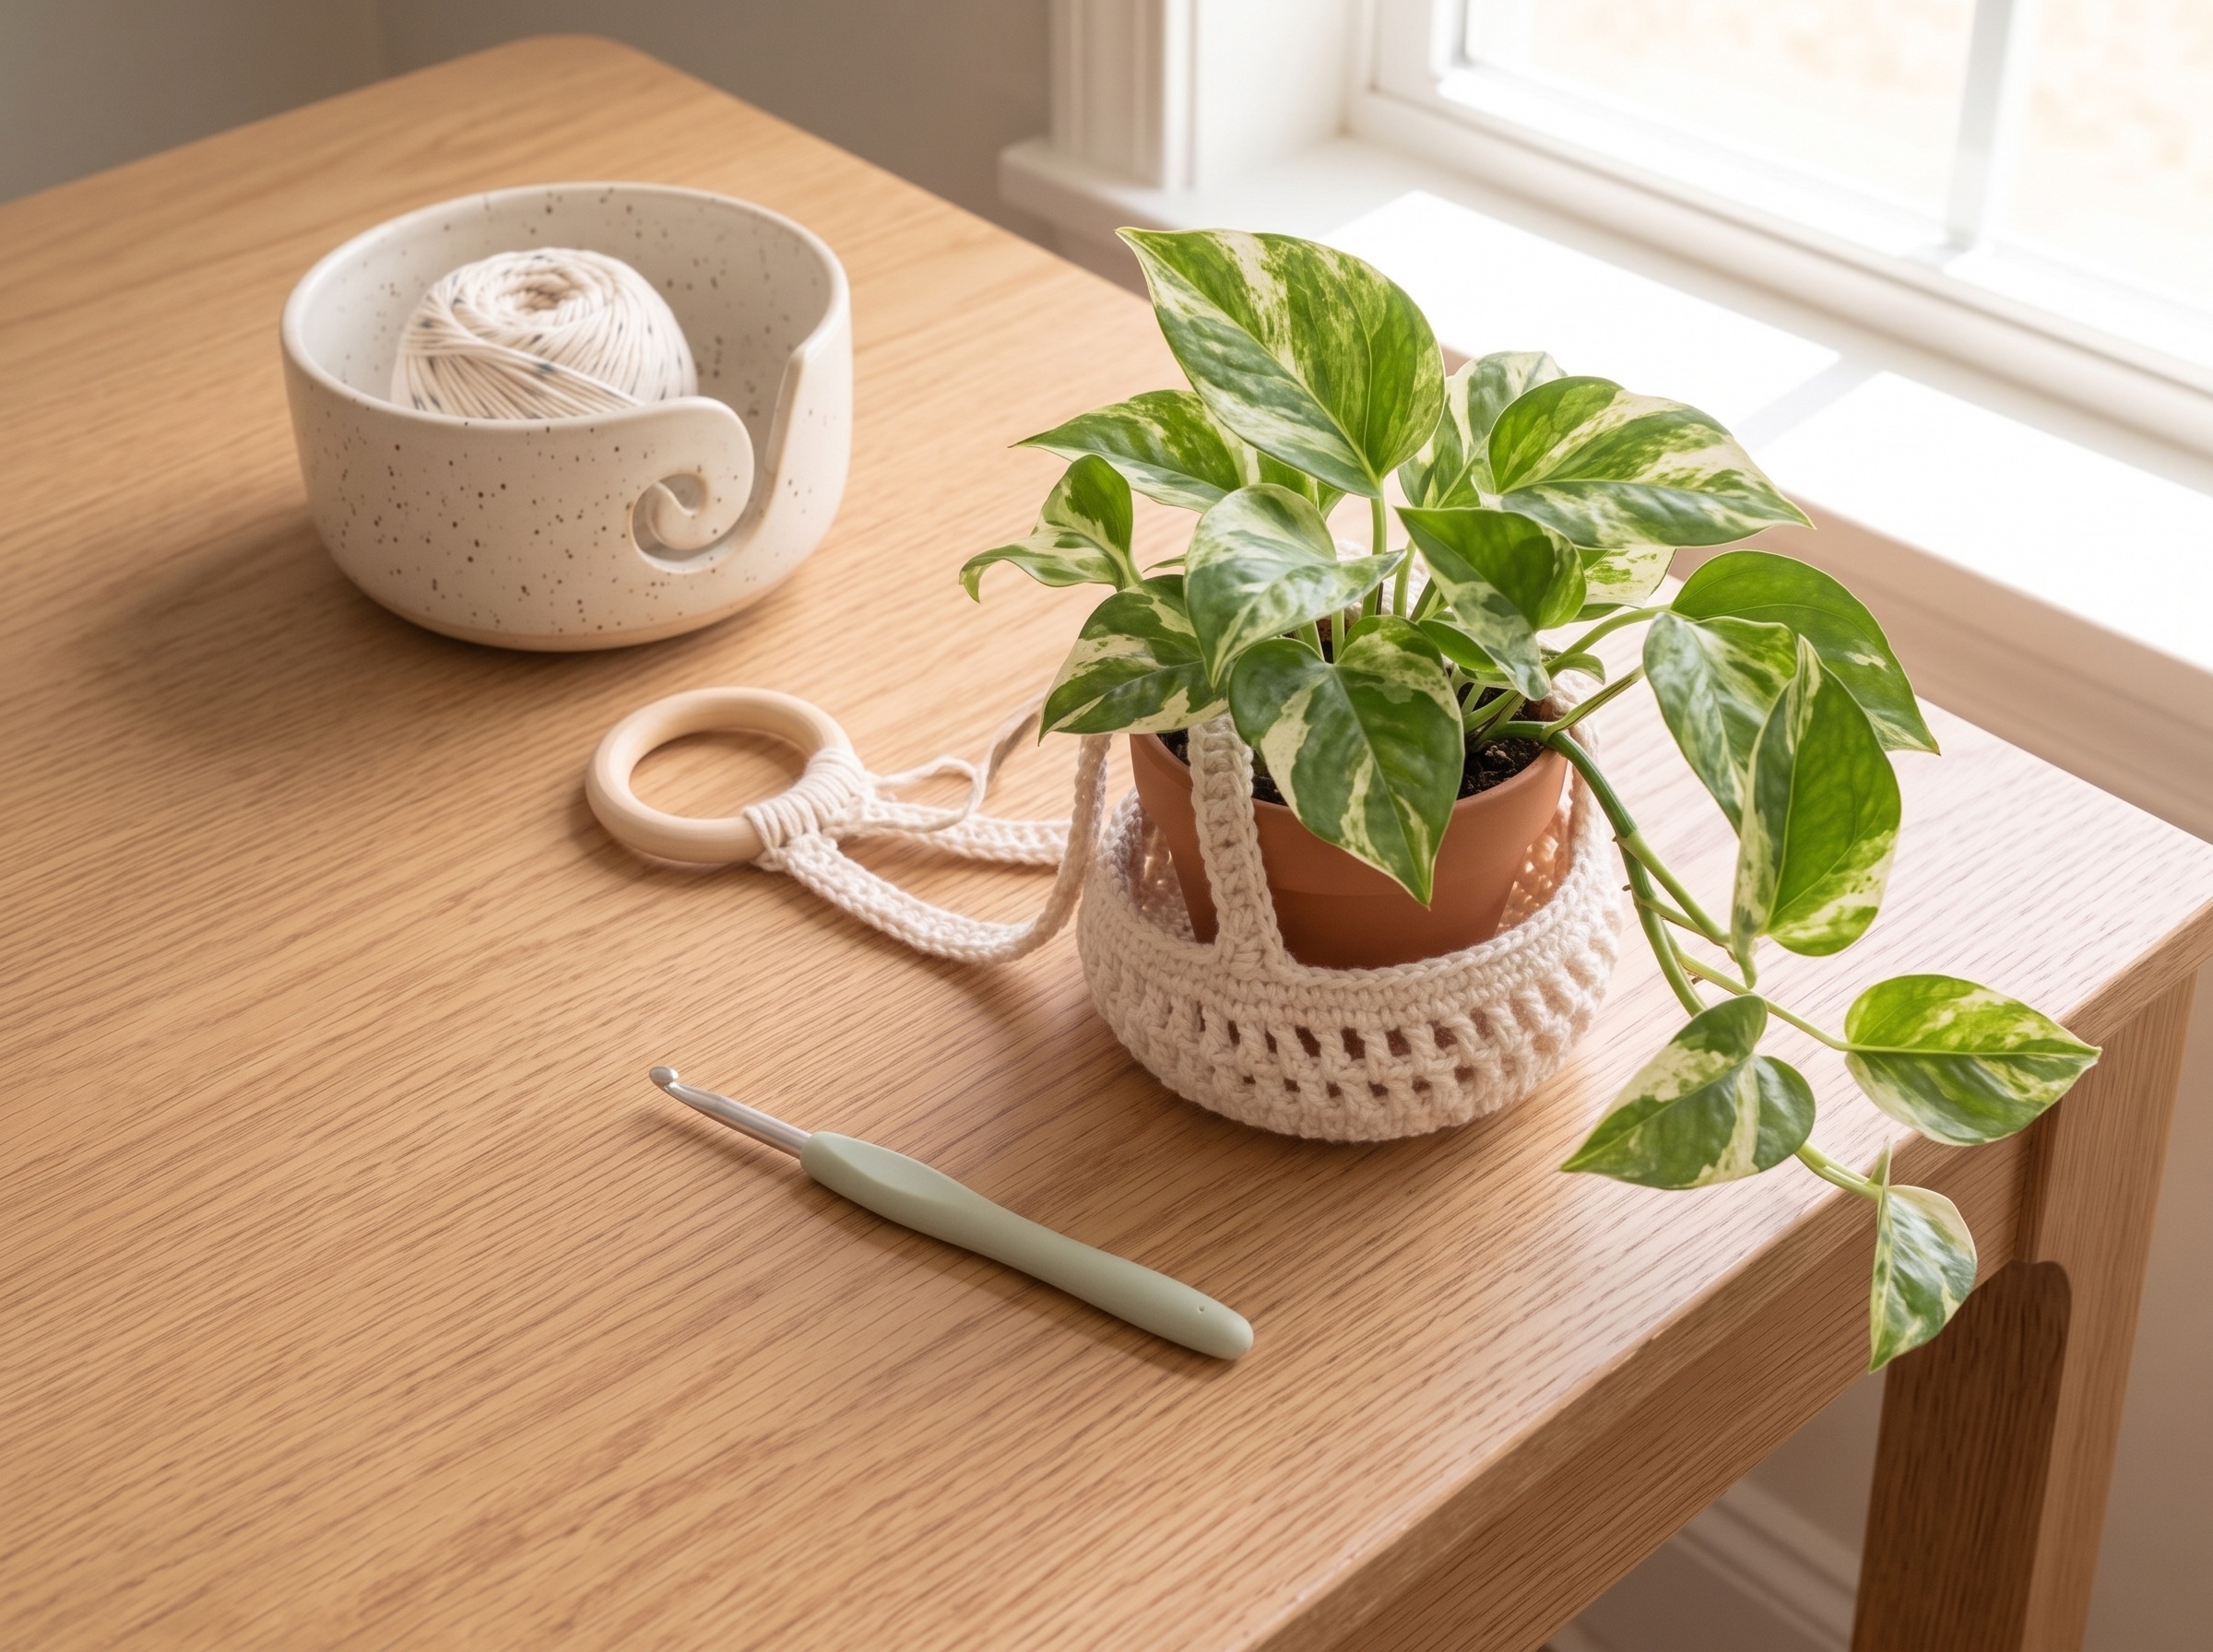
Boho Plant Hanger
A simple hanging plant holder with a handmade look that adds texture to a shelf, window, or reading corner.
Make this project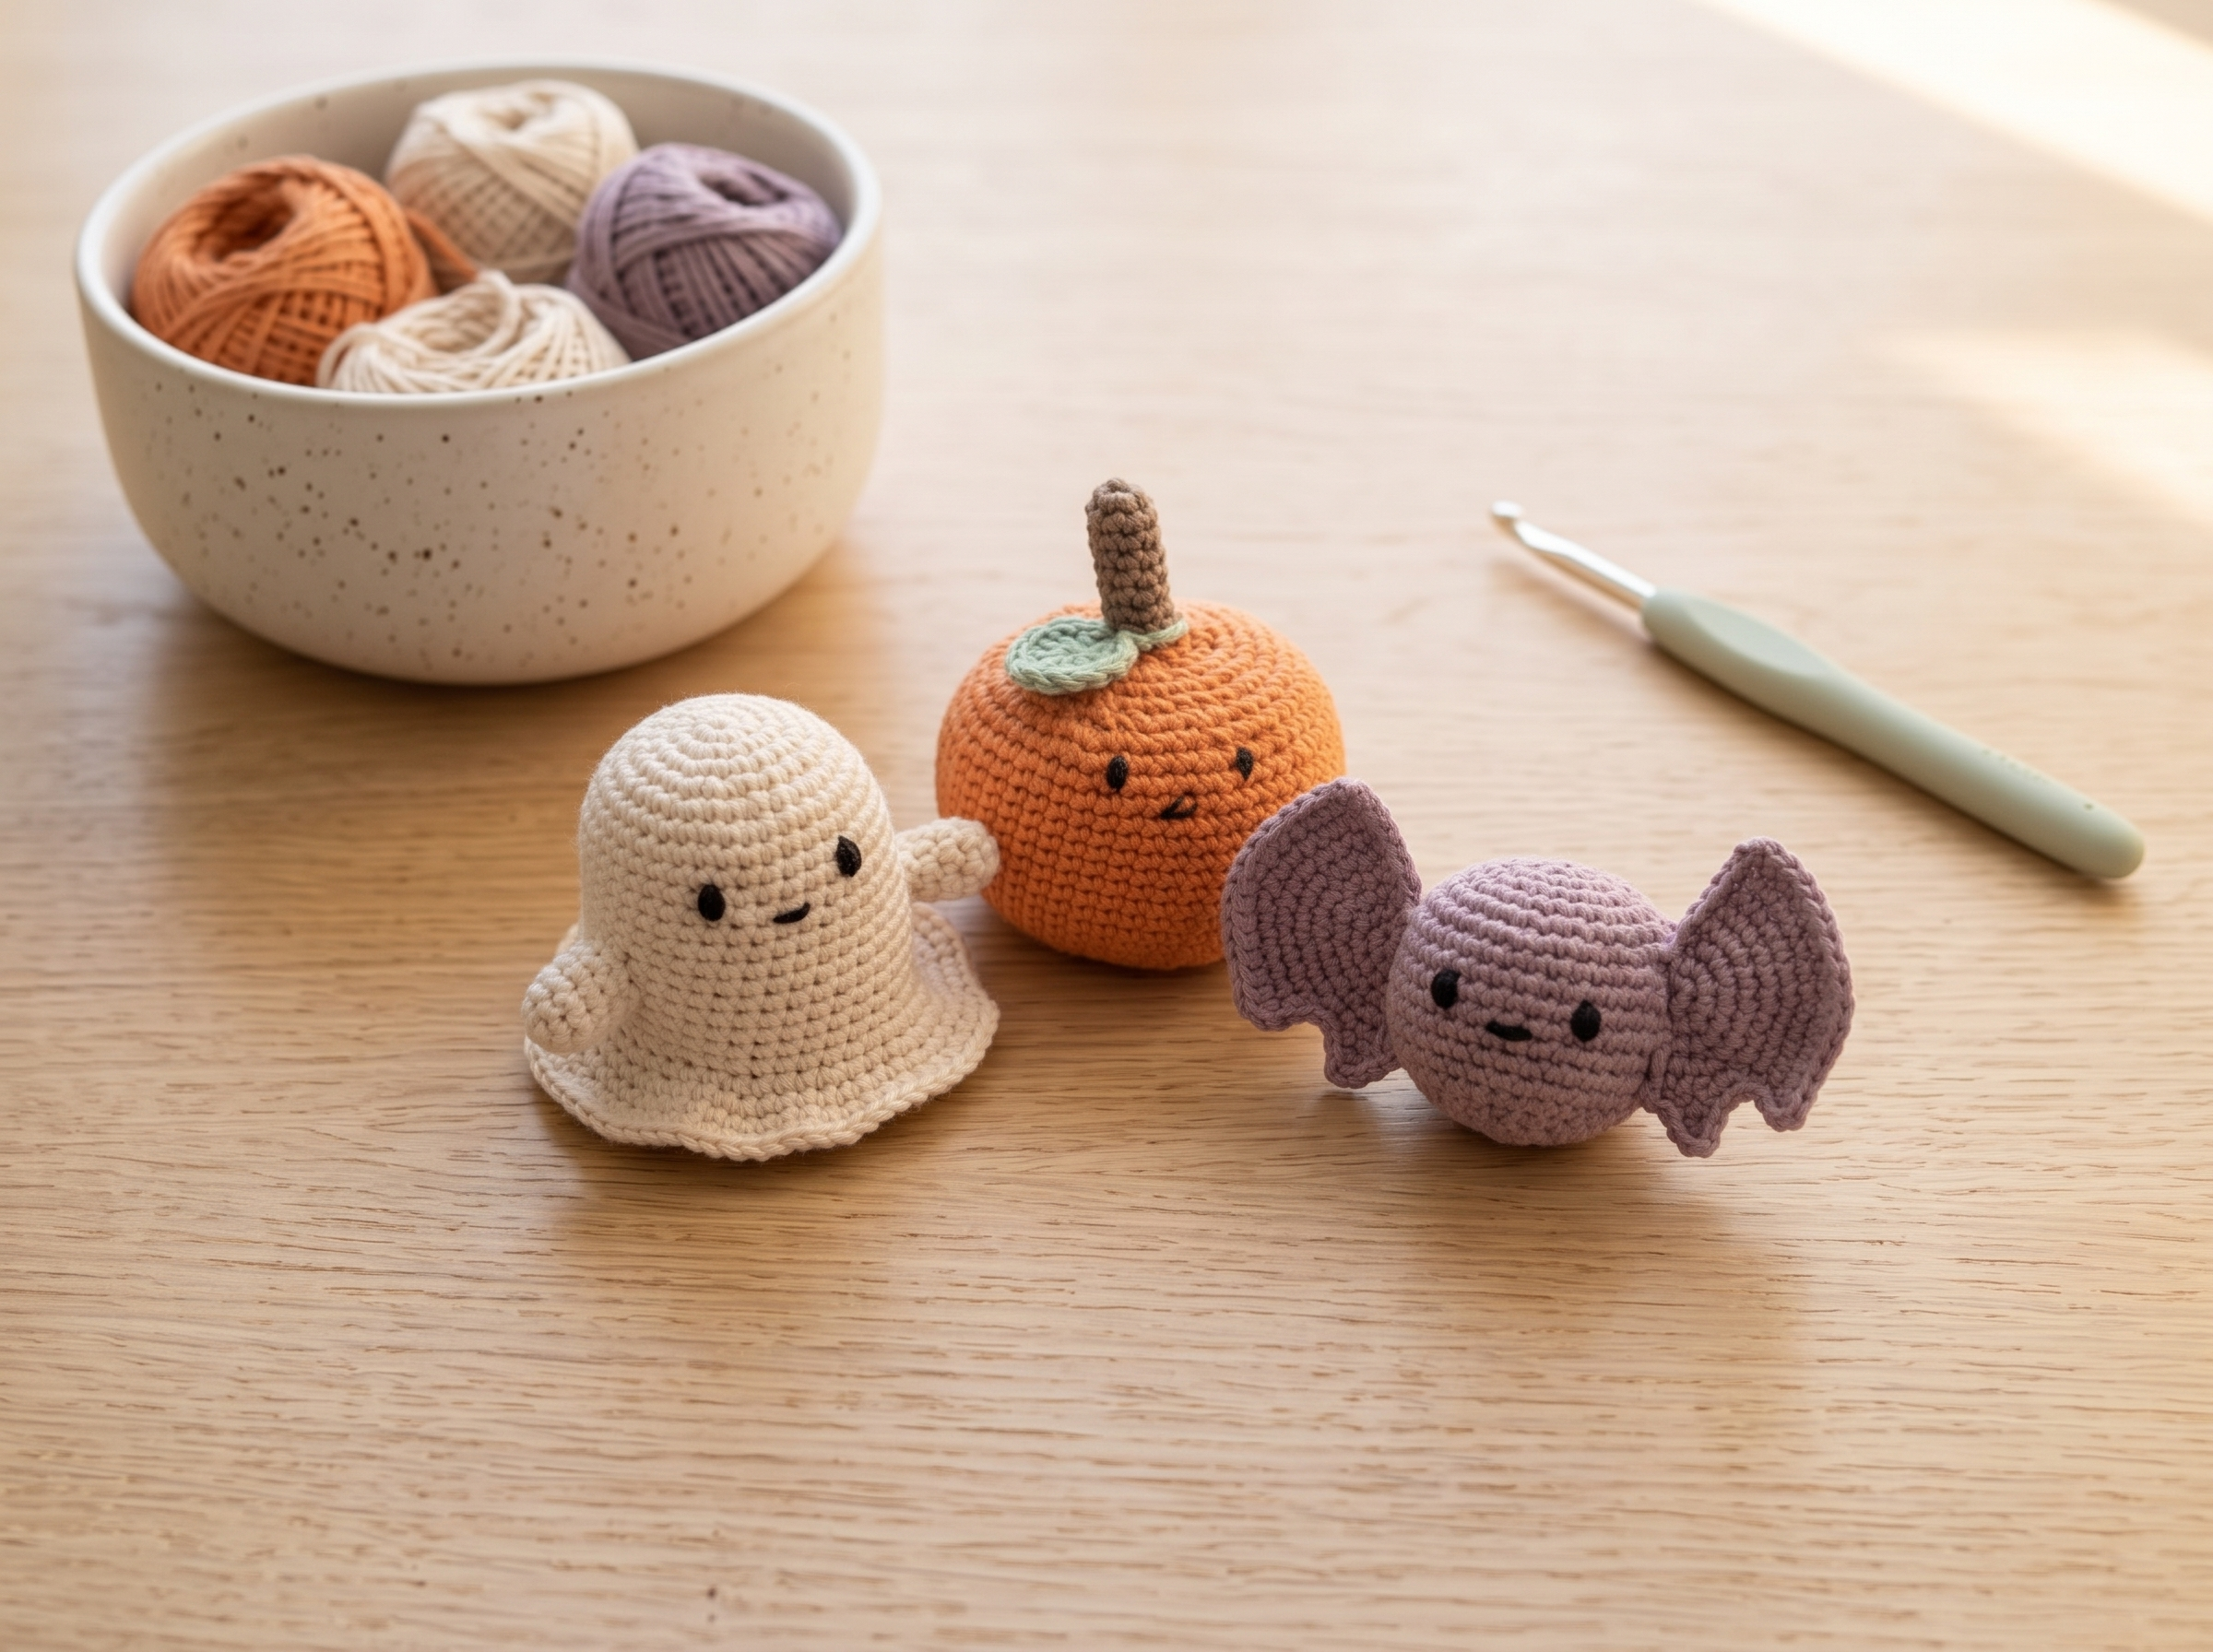
Halloween Crochet Mini Trio
An easy amigurumi-style ghost, pumpkin, and bat set for Halloween shelves, treat tables, gift toppers, or playful fall decor.
Make this projectBuild the next connected skill.

How to Crochet a Chain Stitch (ch)
Learn the crochet chain stitch, how to hold the hook and yarn, where to count chains, and how to keep the foundation edge even.
Open guide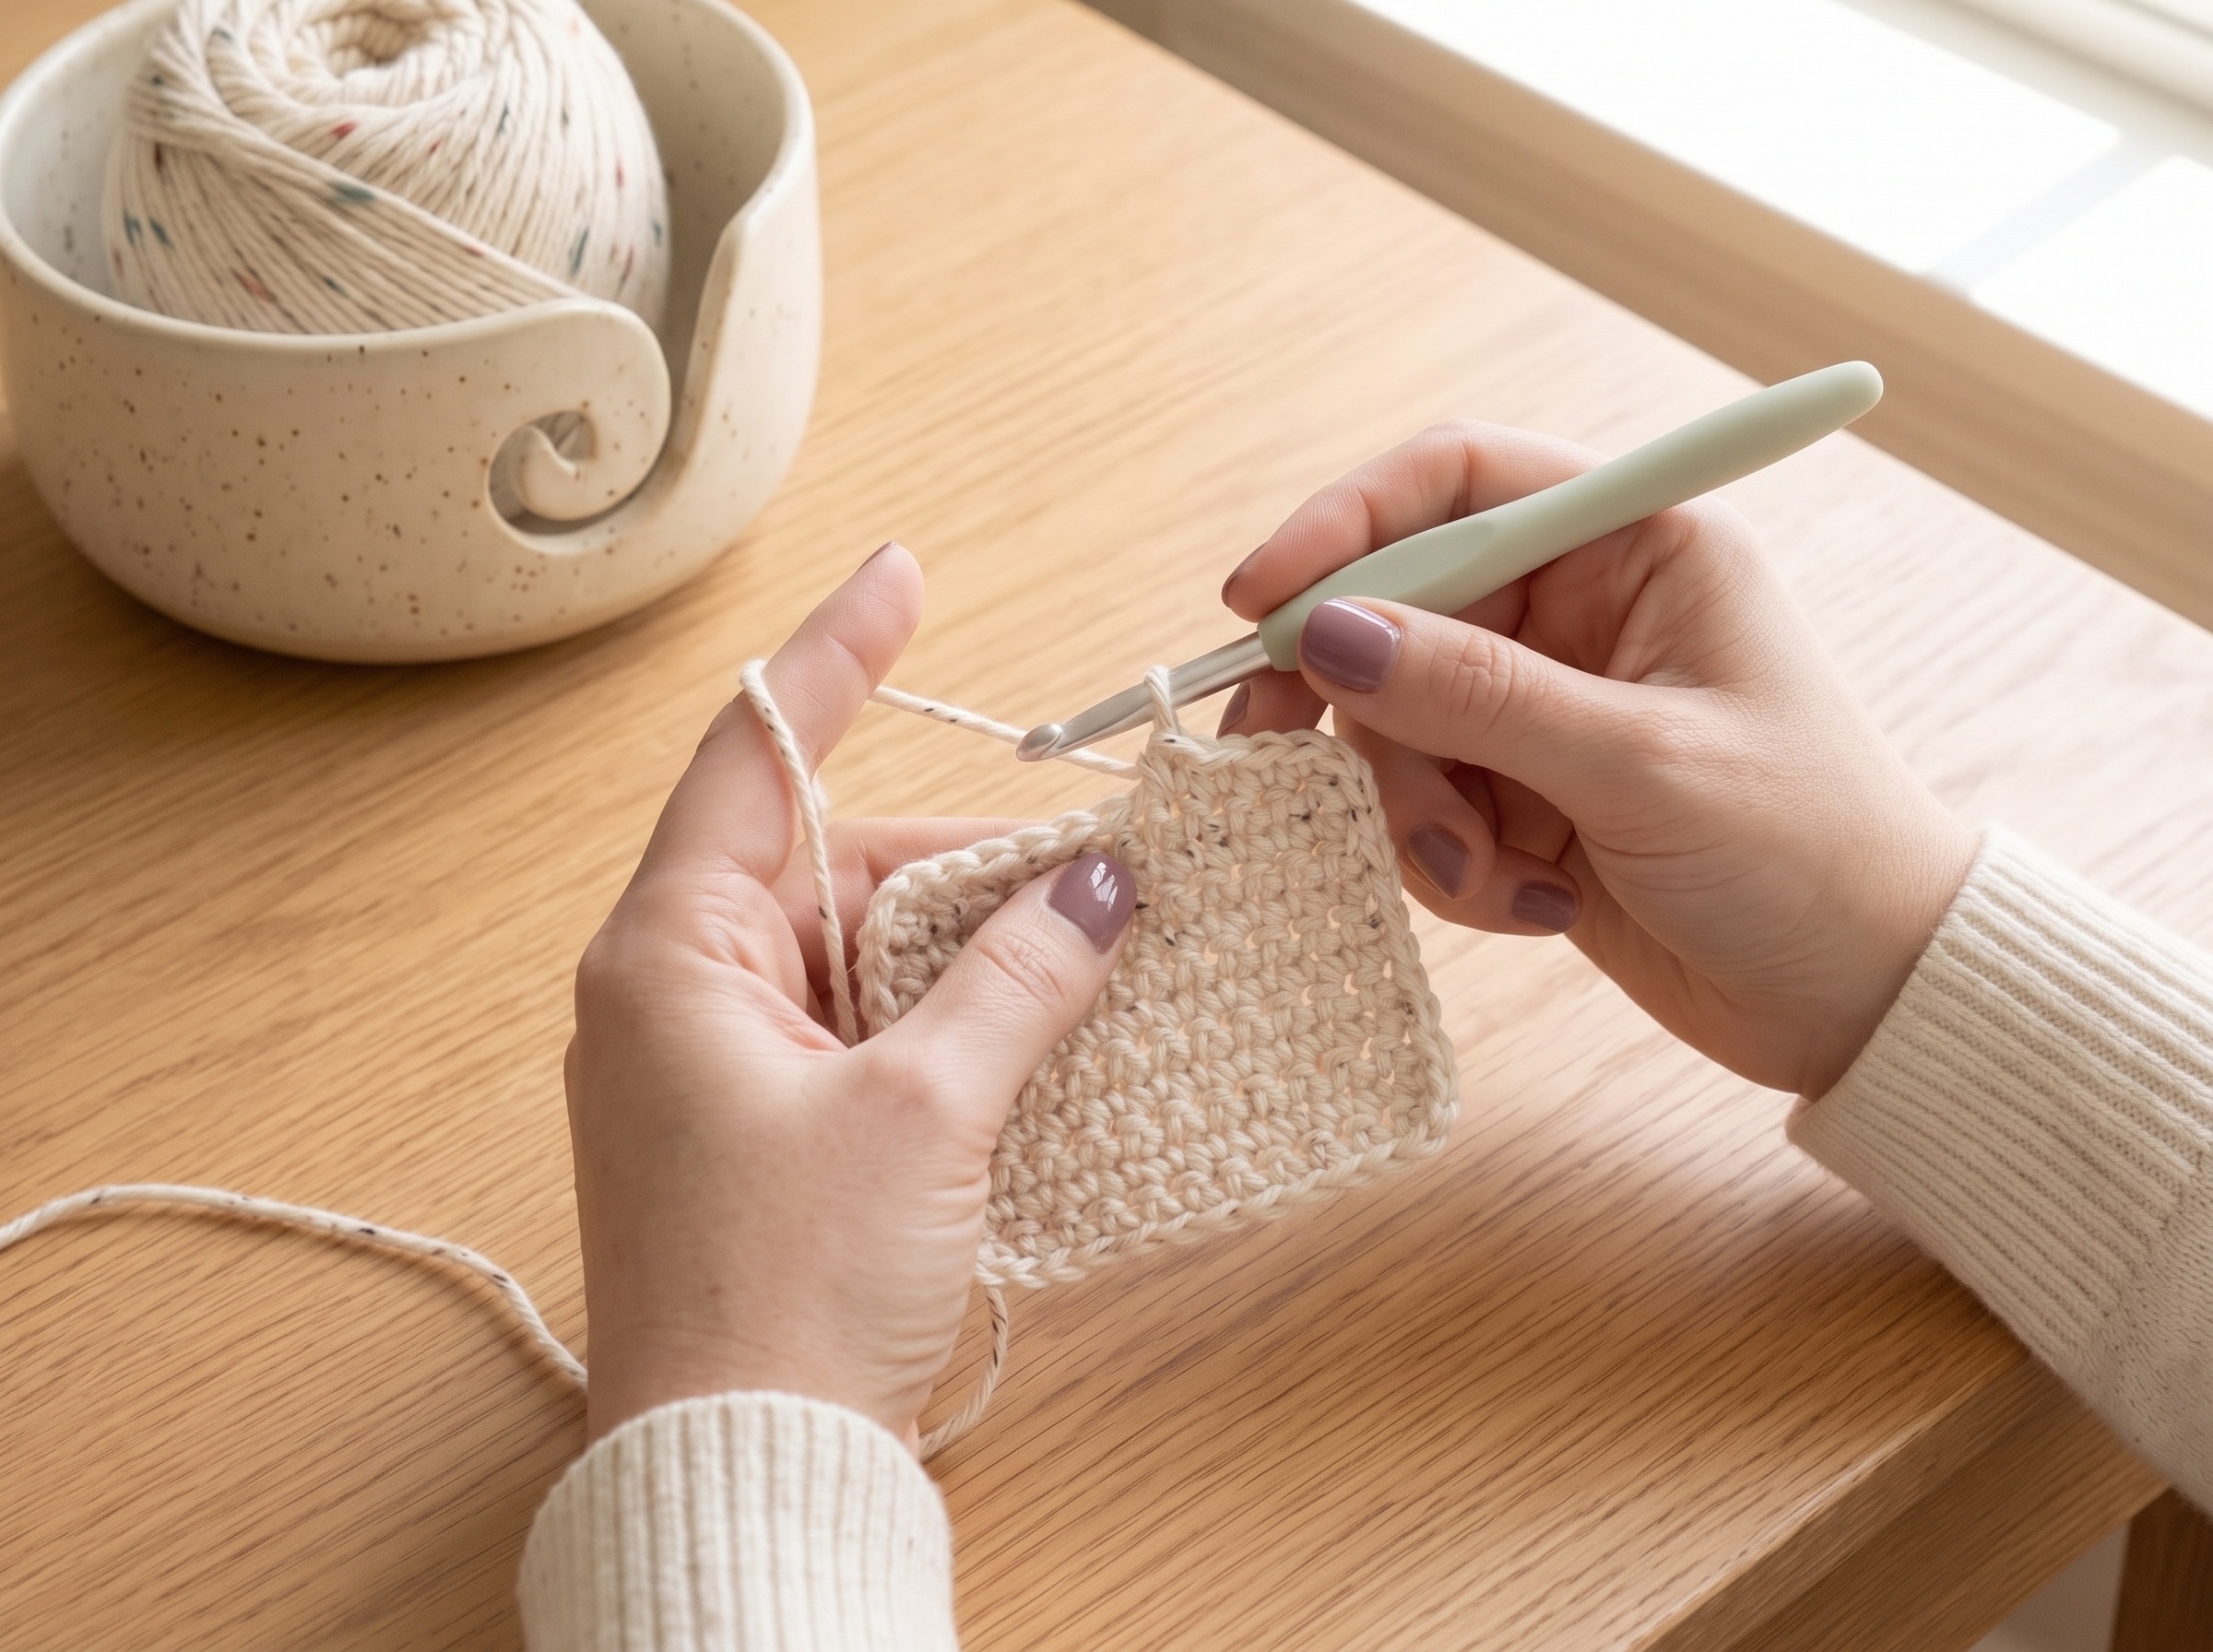
Single Crochet Stitch (sc): Step-by-Step
A clear single crochet tutorial covering insertion, yarn overs, turning chains, stitch counting, and how to avoid shrinking rows.
Open guide
Double Crochet Stitch (dc) Tutorial
Master US double crochet, including the yarn-over sequence, turning height, stitch counting, and tips for consistent tall stitches.
Open guide
Half Double Crochet (hdc) Tutorial
Learn half double crochet with the correct yarn-over sequence, stitch anatomy, turning guidance, and fixes for uneven rows.
Open guide