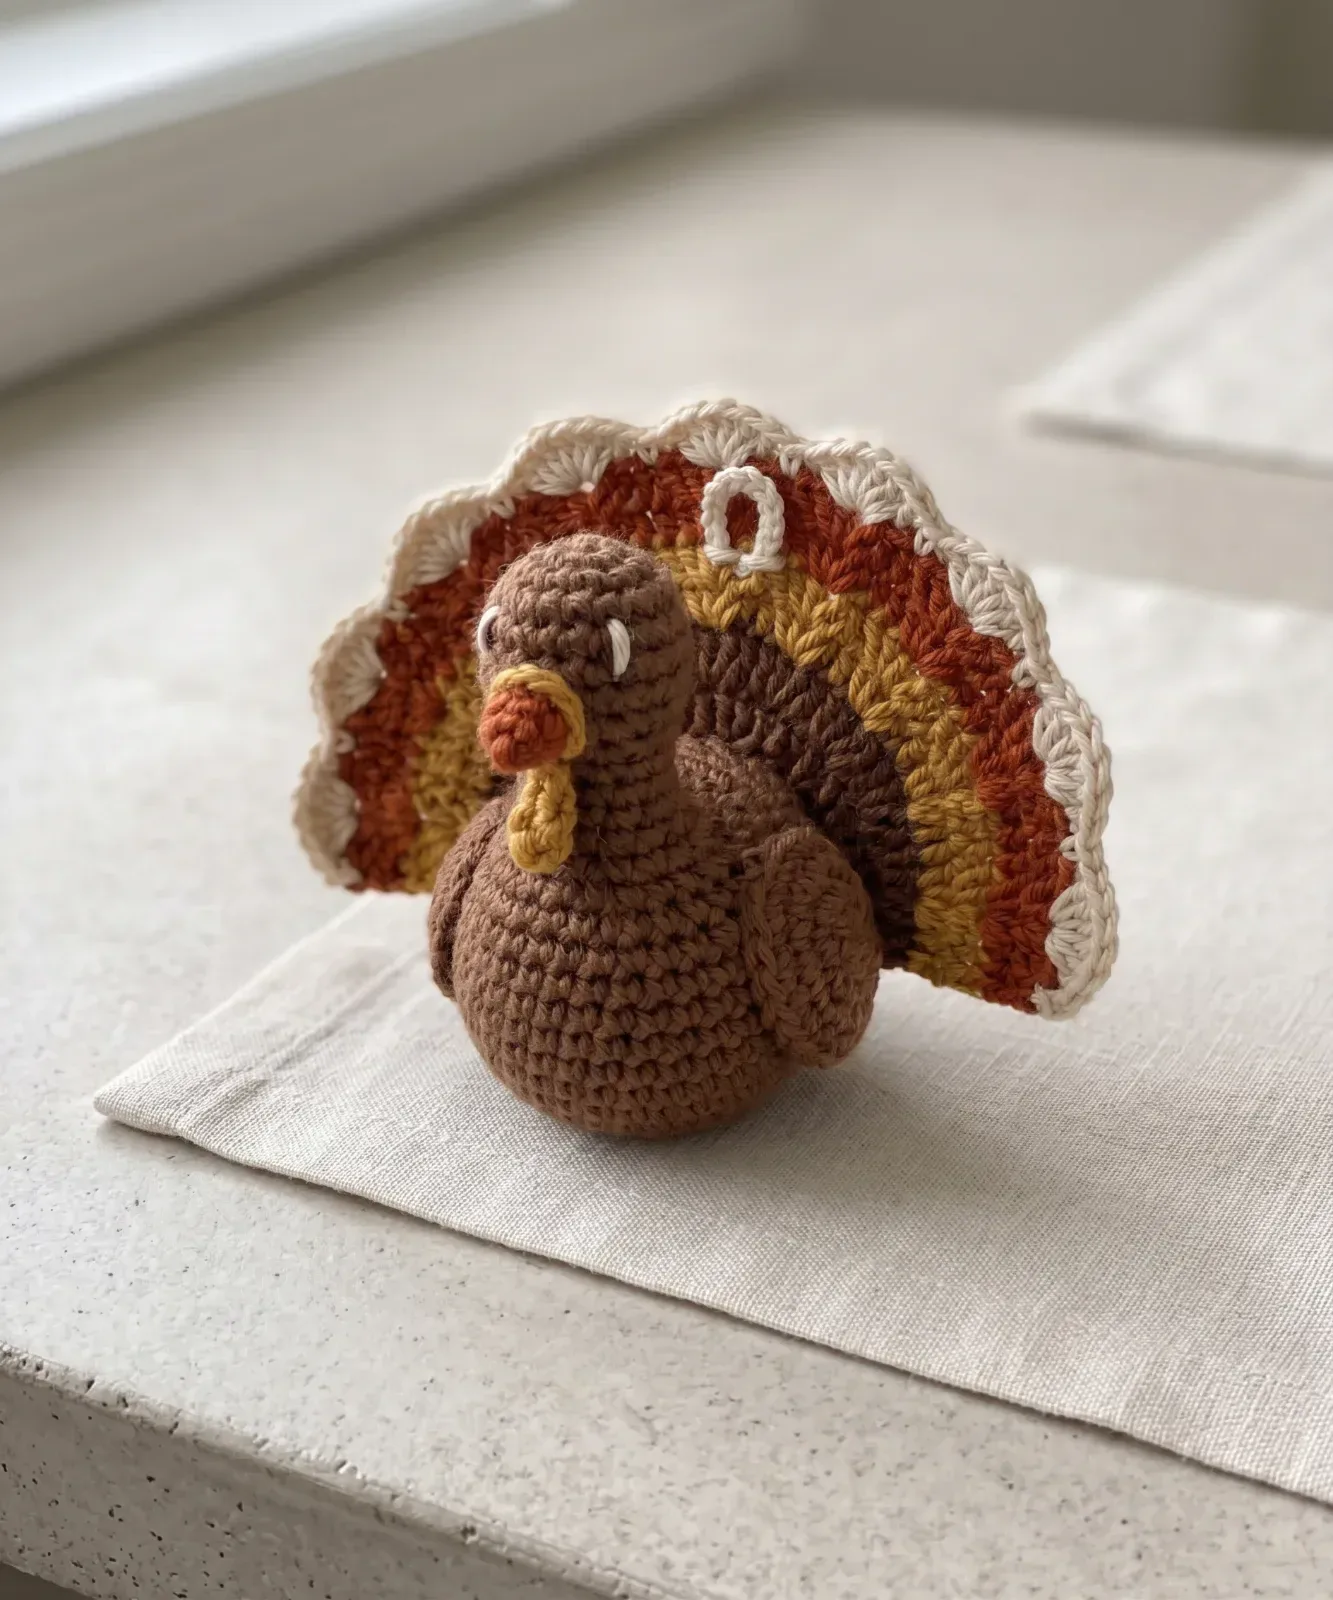
Crochet Turkey Ornament Free Pattern
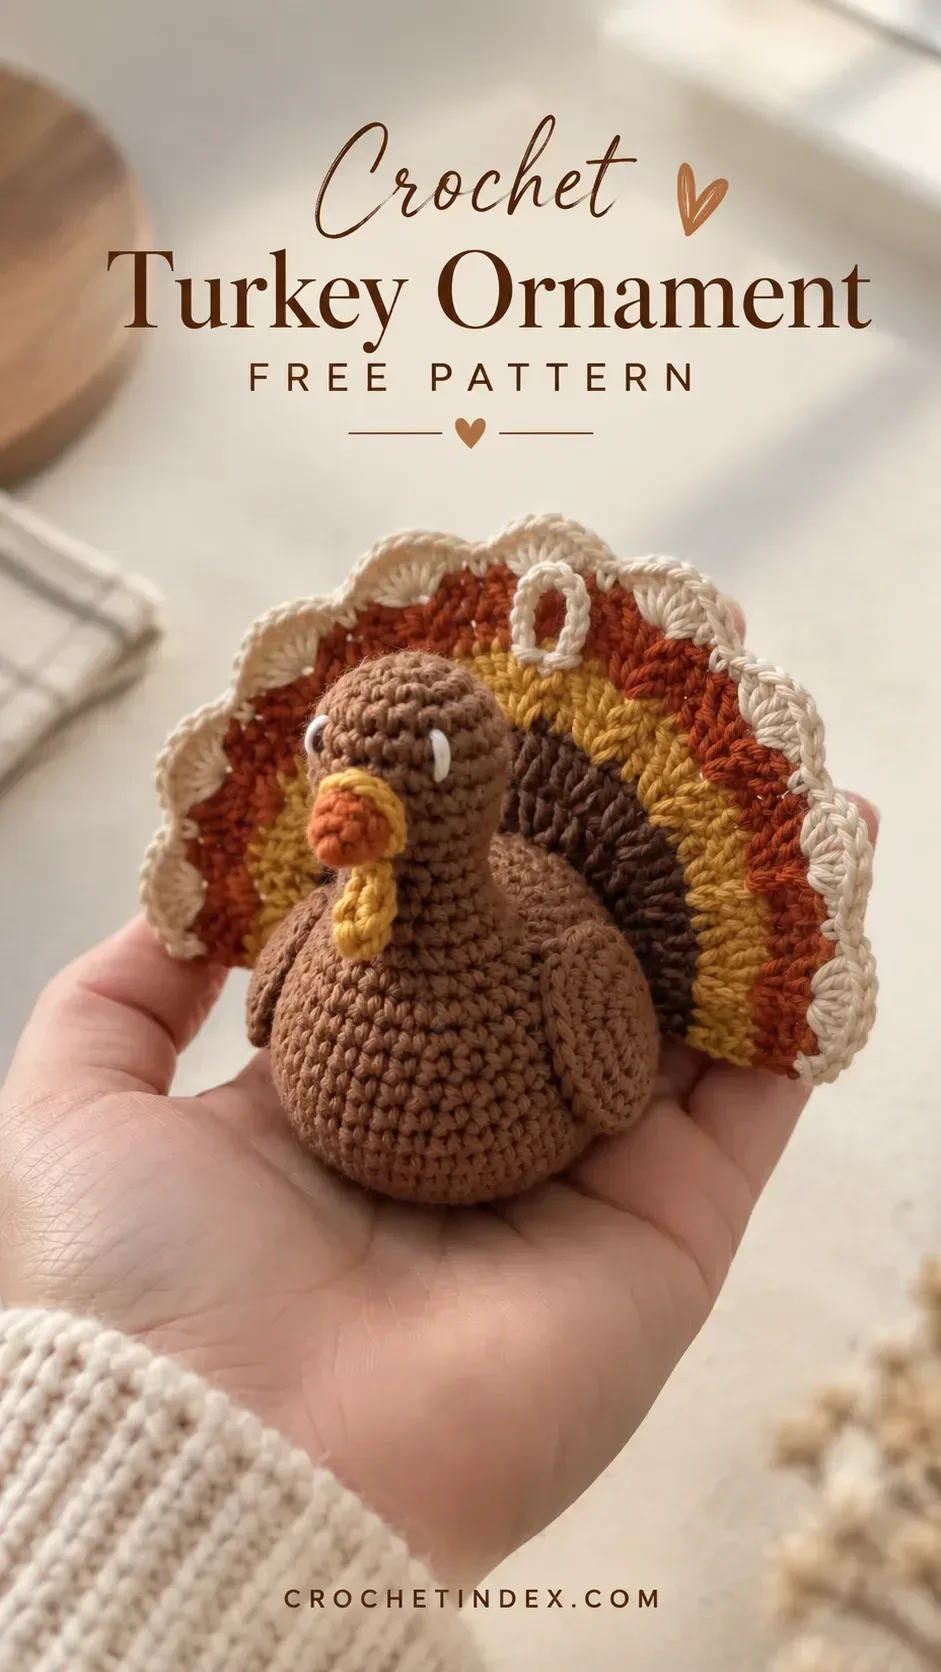
A small stuffed crochet turkey ornament with a rounded brown body, striped fan tail, embroidered face, and a hanging loop for Thanksgiving trees, garlands, gift toppers, and autumn decor.
What you'll make
Make a crochet turkey ornament with a striped fan tail and hanging loop. Includes materials, abbreviations, written pattern, step guidance, and Thanksgiving decor ideas.
What you'll need
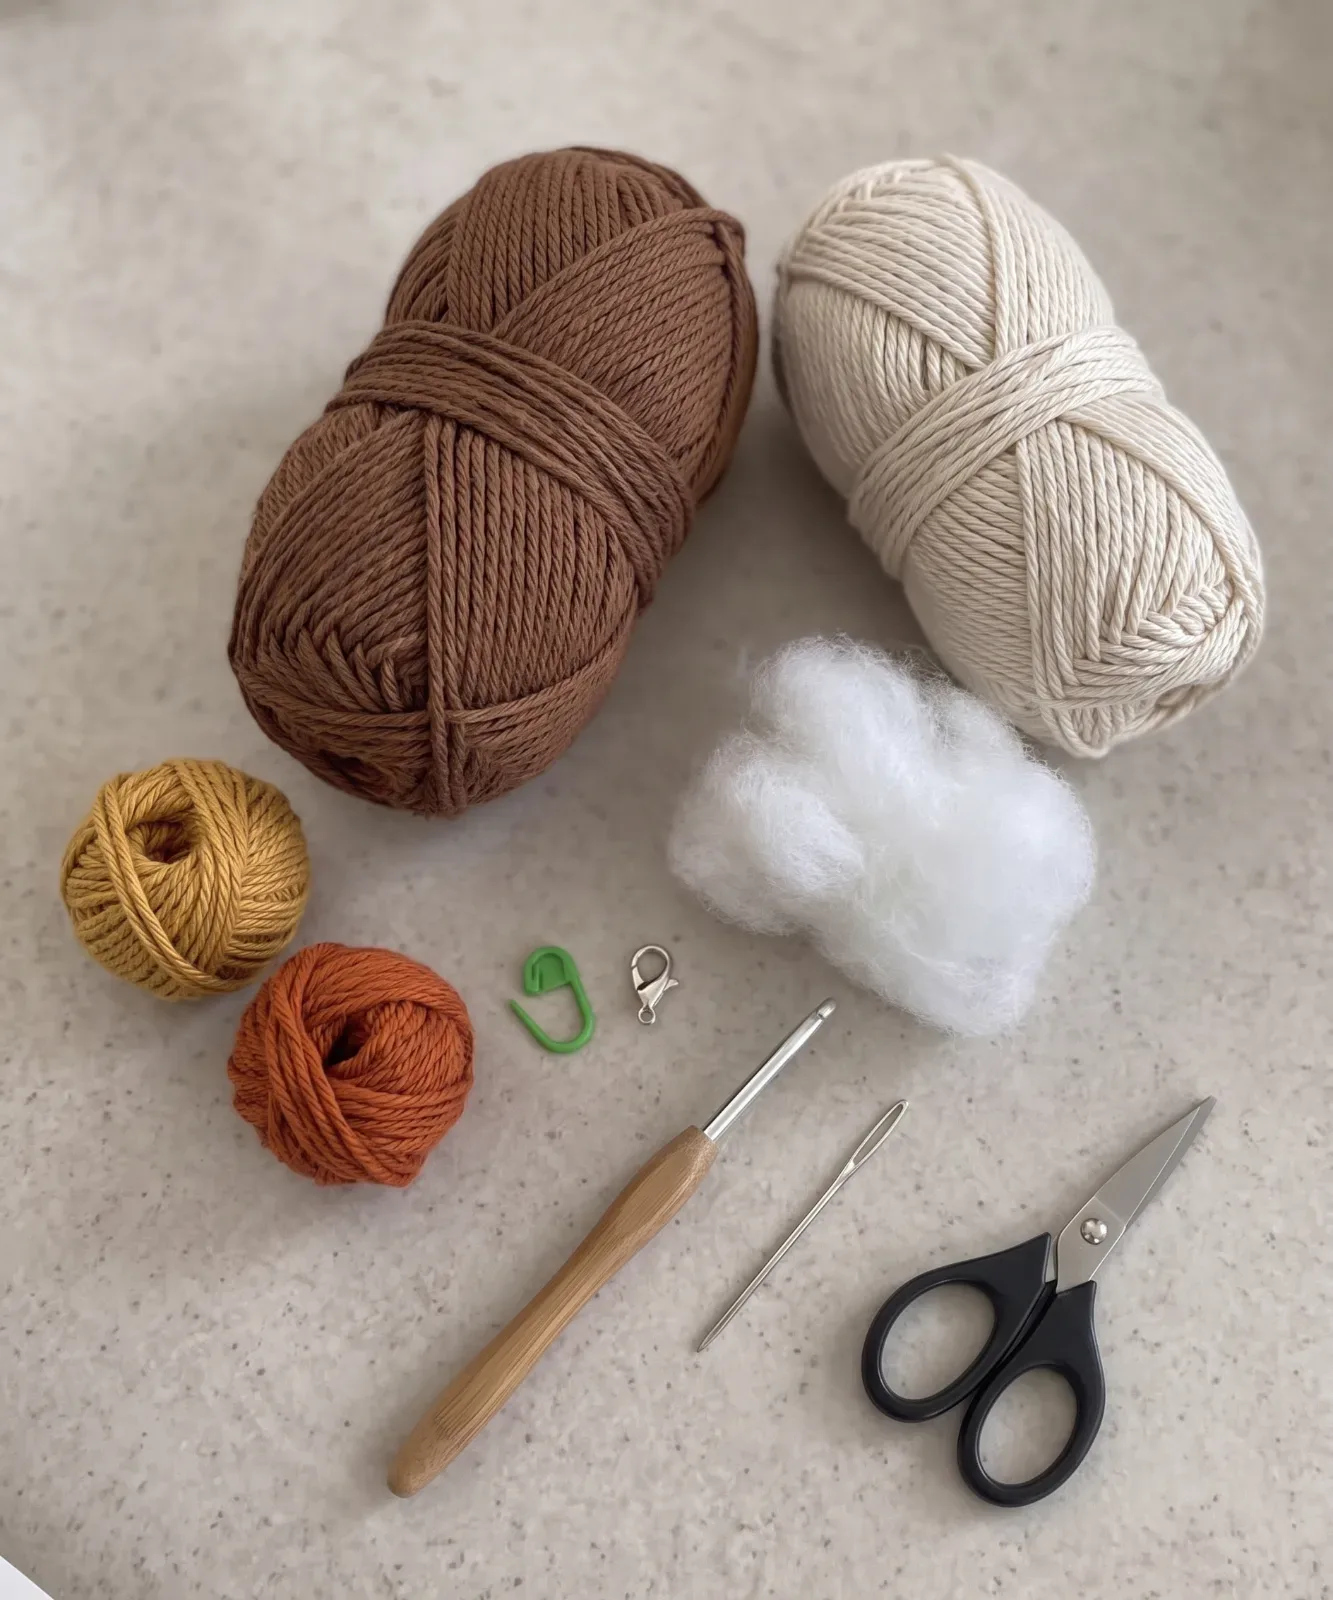
- DK or light worsted cotton yarn in medium brown for the body
- Small amounts of dark brown, mustard, rust, and cream yarn for the fan tail
- Small amounts of orange and golden yellow yarn for the beak and wattle
- 3.5 mm crochet hook
- Locking stitch marker
- Yarn needle
- Small sharp scissors
- Polyester fiberfill
- Cream yarn or thin cord for the hanging loop
Follow the pattern from start to finish
Read the abbreviations first, check the notes, then work through the pattern in order.
The finished turkey should be firmly stuffed so the body stays round while the tail remains flat behind it.
Increase at both outer edges of the tail rows so the fan spreads gradually instead of forming a narrow strip.
Attach the hanging loop at the top center of the fan tail rather than the head so the ornament hangs more evenly.
Before sewing the tail permanently, pin it in place and check the ornament from the front to keep both sides symmetrical.
From first stitches to finishing
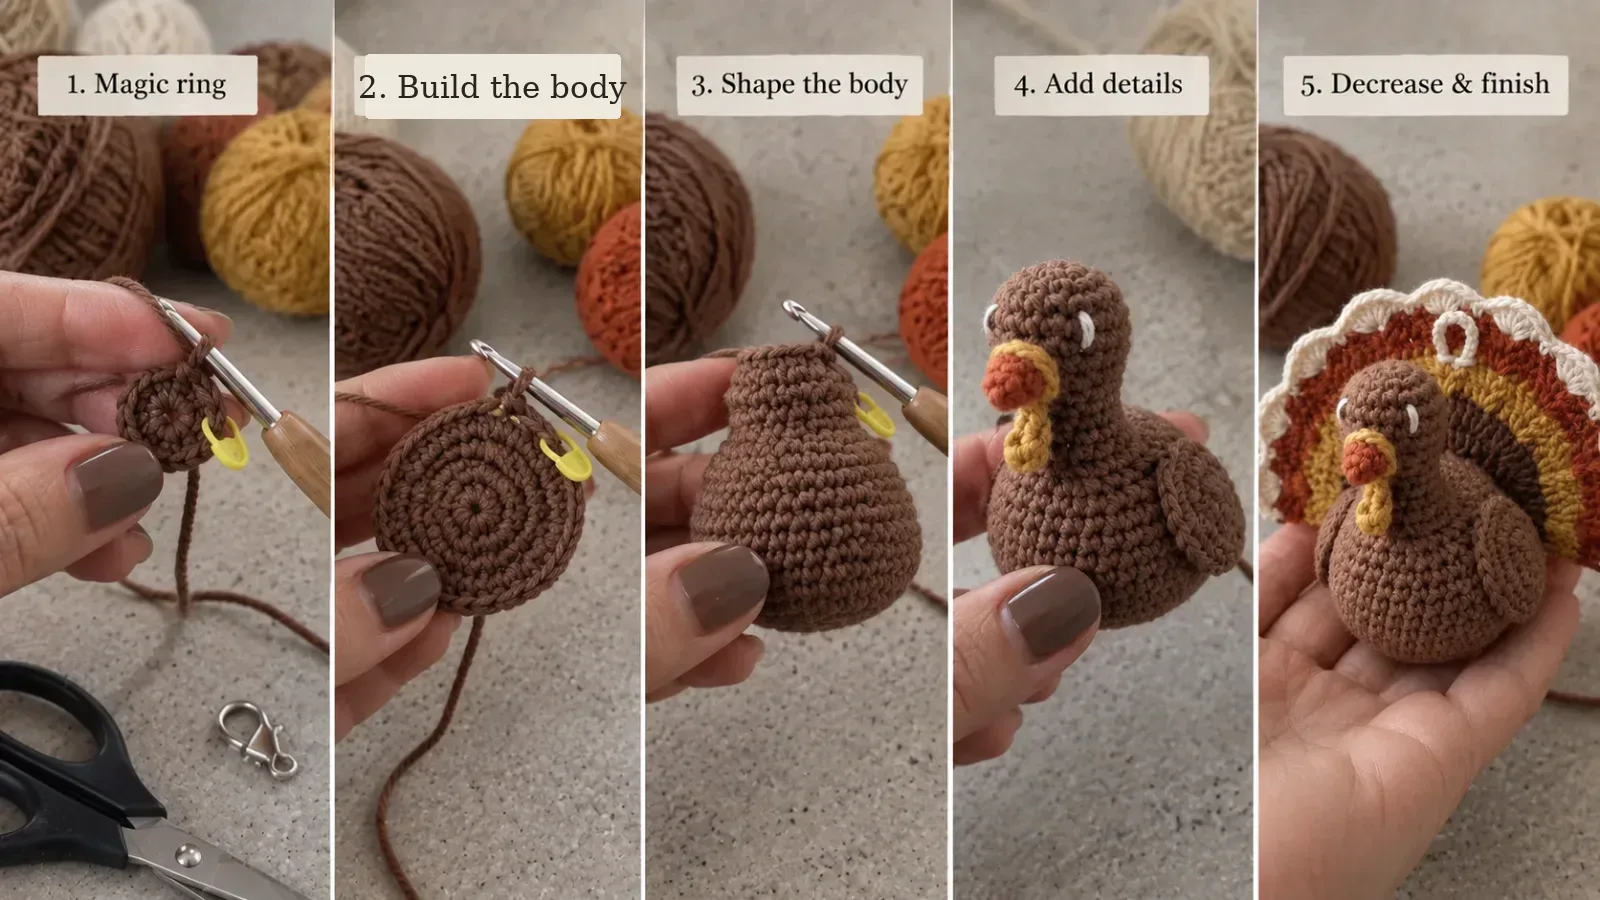
Make the crochet turkey ornament from body to hanging loop.
Start with the rounded body, shape the neck and head, add the tail and facial details, then finish with a secure hanging loop so the turkey sits neatly on a Thanksgiving tree, garland, hook, or gift.
Start the magic ring
With medium-brown yarn, make a magic ring and work 6 single crochet into the ring. Tighten the center and place a stitch marker in the first stitch so the round start stays easy to track.
Build the body base
Increase evenly through the next rounds to form a flat circle, then continue increasing until the body reaches the planned width. Keep the circle flat and count every shaping round before moving the marker.
Shape the body and neck
Work even single-crochet rounds to build the rounded body, then begin controlled decreases while continuing upward into the neck and head. Add stuffing in small pinches so the turkey stays firm without stretching the stitches.
Add the tail, wings, and face
Crochet the striped fan tail in dark brown, mustard, rust, and cream, then attach it securely to the back. Add the small wings, orange beak, golden wattle, and simple embroidered eyes, keeping the details balanced and flat.
Finish the ornament
Close the remaining opening, weave in the yarn tails, and attach a cream hanging loop at the top center of the tail. Tug-test the loop and make sure the ornament hangs upright before trimming the final ends.
Small details that make the finish better
- Use smooth cotton or cotton-blend yarn so the small stitches and tail color bands stay crisp.
- Keep the tail lightly blocked and fairly flat before attaching it to the stuffed body.
- Use embroidery for the eyes if you want a soft ornament without hard safety-eye parts.
- If the ornament tilts when hanging, move the loop slightly toward the heavier side until it balances.
Ways to adapt the project
- Use forest green and cream instead of rust for a more Christmas-leaning color palette.
- Skip the hanging loop and use the turkey as a small Thanksgiving shelf or table decoration.
- Add a tiny bow or name tag to turn the ornament into a handmade Thanksgiving gift topper.
Common questions before you start
Is this crochet turkey ornament beginner friendly?
What yarn works best for a crochet turkey ornament?
How do I make the turkey ornament hang straight?
Can I use this turkey as Thanksgiving table decor instead of an ornament?
How do I keep the fan tail flat?
Can I use safety eyes instead of embroidery?
How can I turn this into a Christmas turkey ornament?
Save this crochet project for later
Save this project so you can come back to the pattern, materials list, and steps later.
More crochet patterns and skills in this collection
Pick the next thing to make
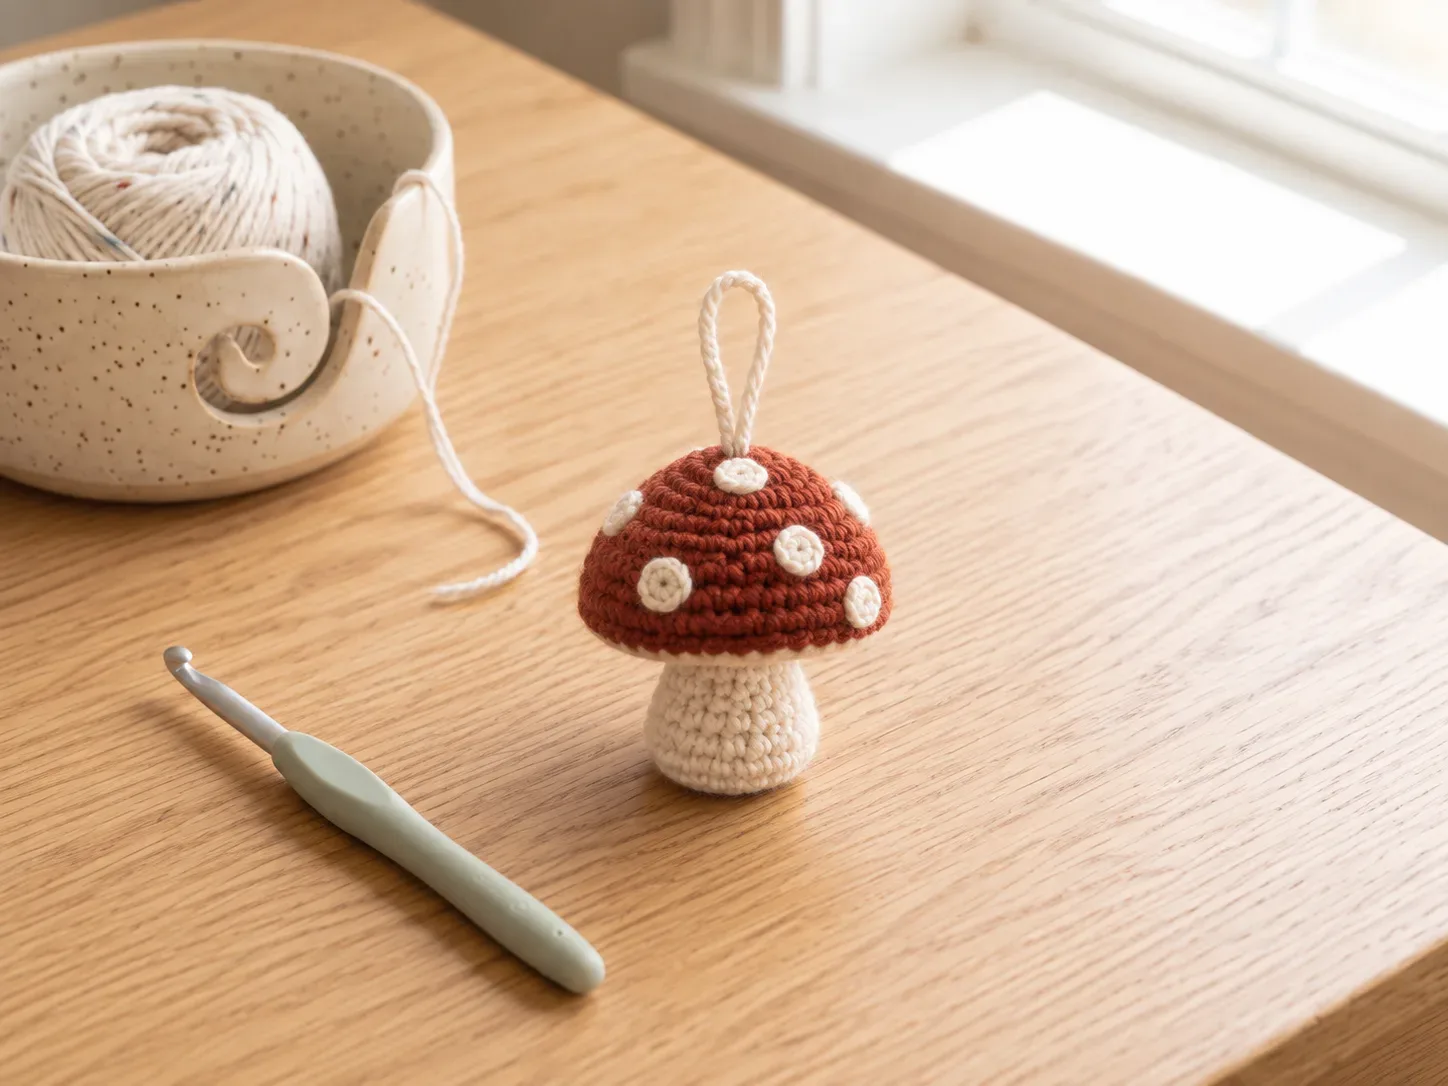
Woodland Mushroom Christmas Ornament
A tiny spotted woodland mushroom with a hanging loop, designed for cottagecore Christmas trees, gift wrapping, and nature-inspired ornament sets.
Make this project
Mini Crochet Snowman Ornament & Keychain
A small two-ball snowman with a tiny scarf and hanging loop, sized for a Christmas ornament, keychain, or winter bag charm.
Make this project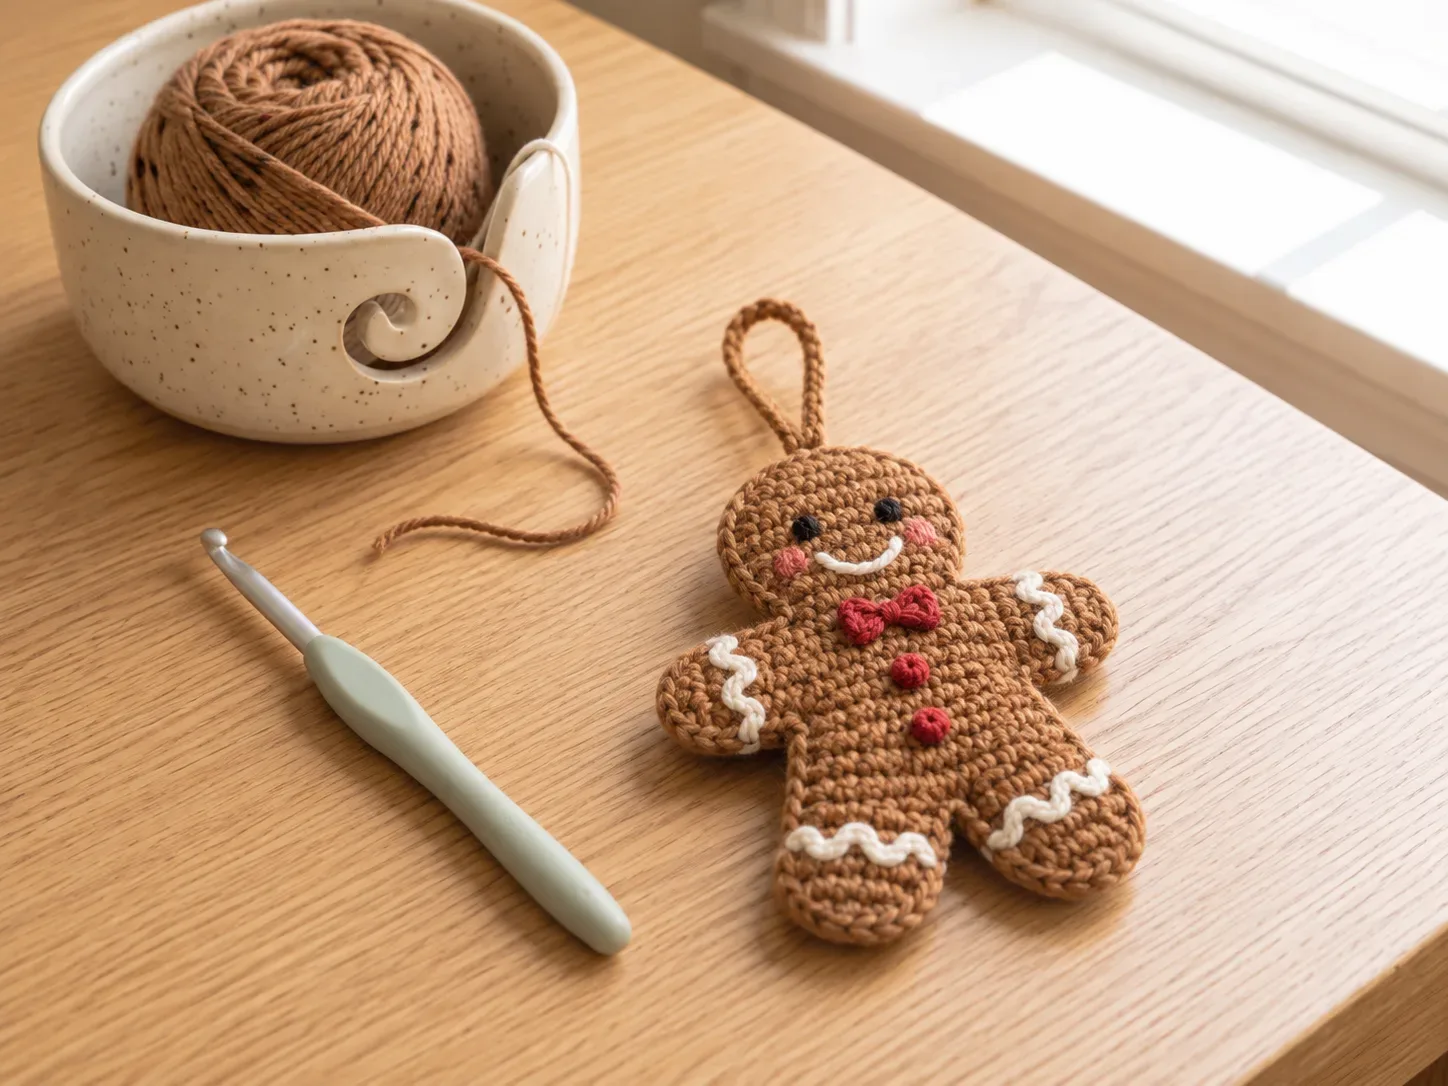
No-Sew Mini Gingerbread Man Ornament & Bag Charm
A tiny gingerbread person with simple embroidered icing details that works as a Christmas ornament, keychain, bag charm, or gift topper.
Make this project