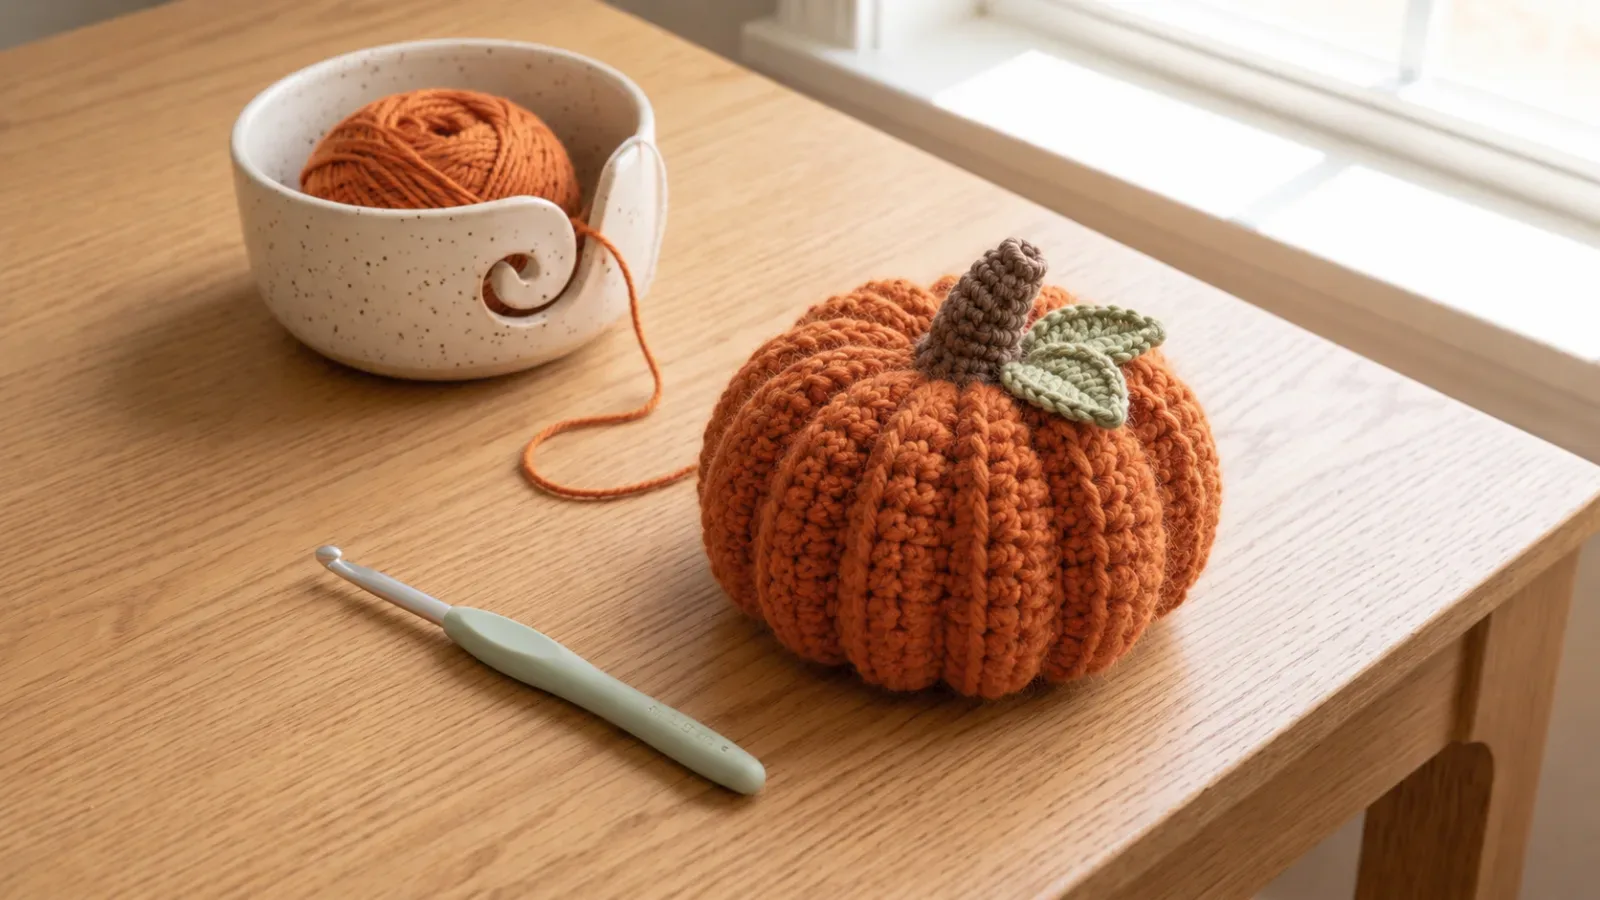
Easy Ribbed Crochet Pumpkin Free Pattern
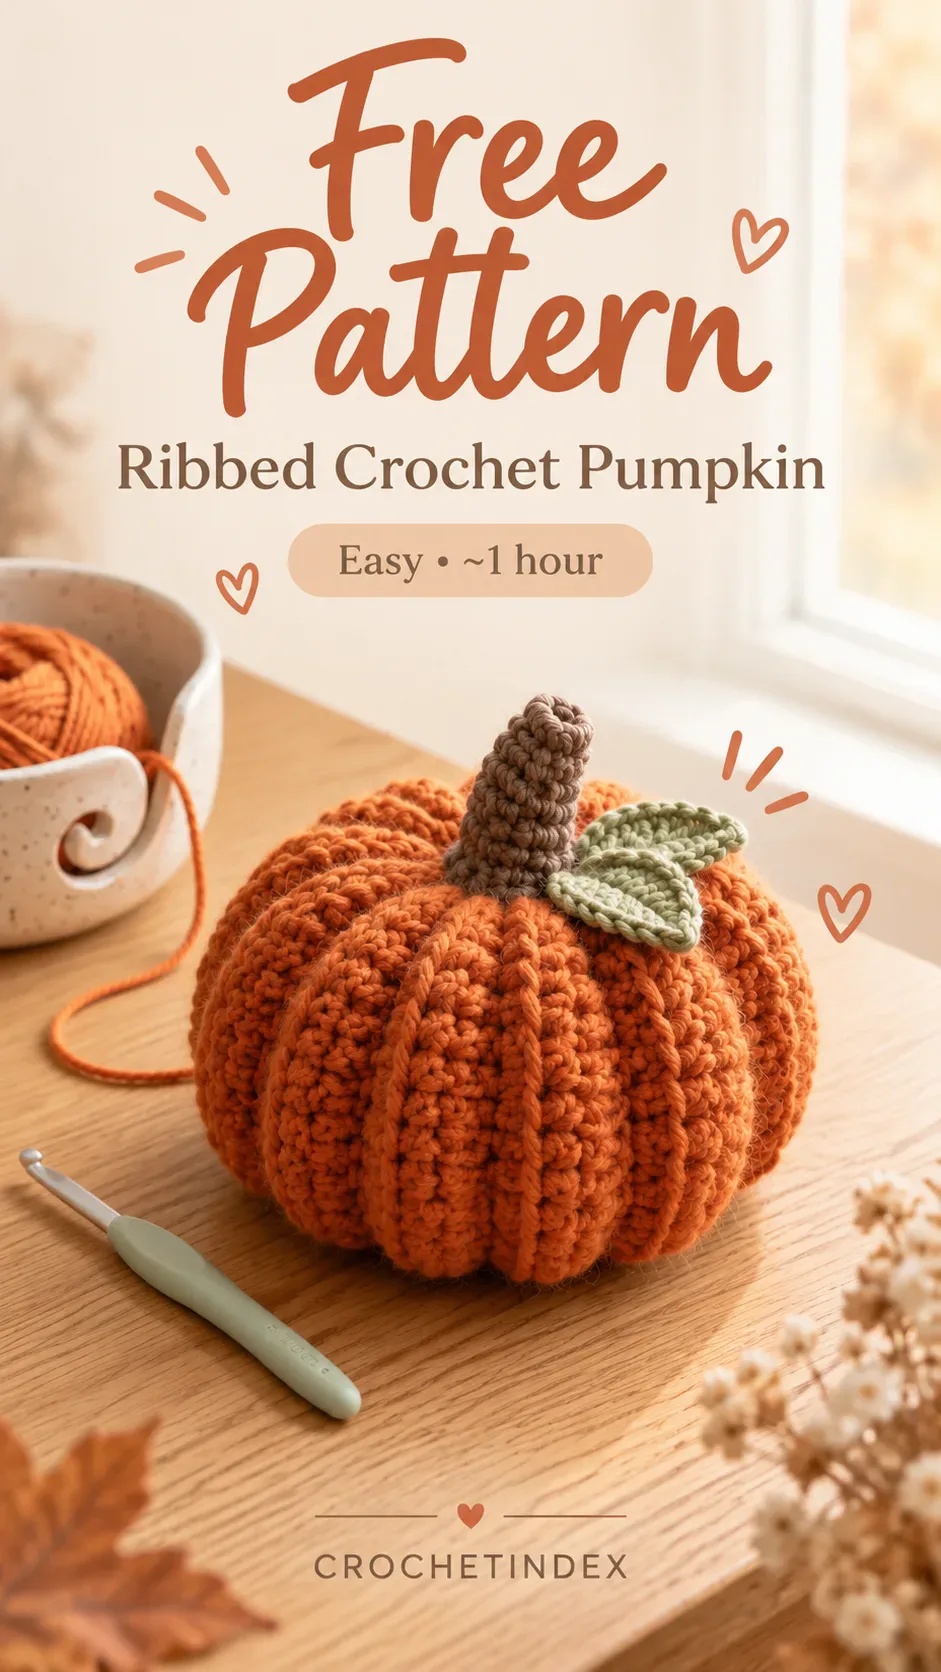
A soft beginner-friendly ribbed crochet pumpkin worked as a textured rectangle, gathered into shape, and finished with a stem and leaf.
Skills used in this project
Review any stitch you do not know yet, then come back here and follow the project in order.
Follow the rows exactly.
This compact written pattern works alongside the close-up photo steps so readers can reproduce the project more confidently.
Crochet a rectangle first, then shape the pumpkin.
This pumpkin is simple to reproduce because the body starts as straight rows before you seam and gather it into the final rounded form.
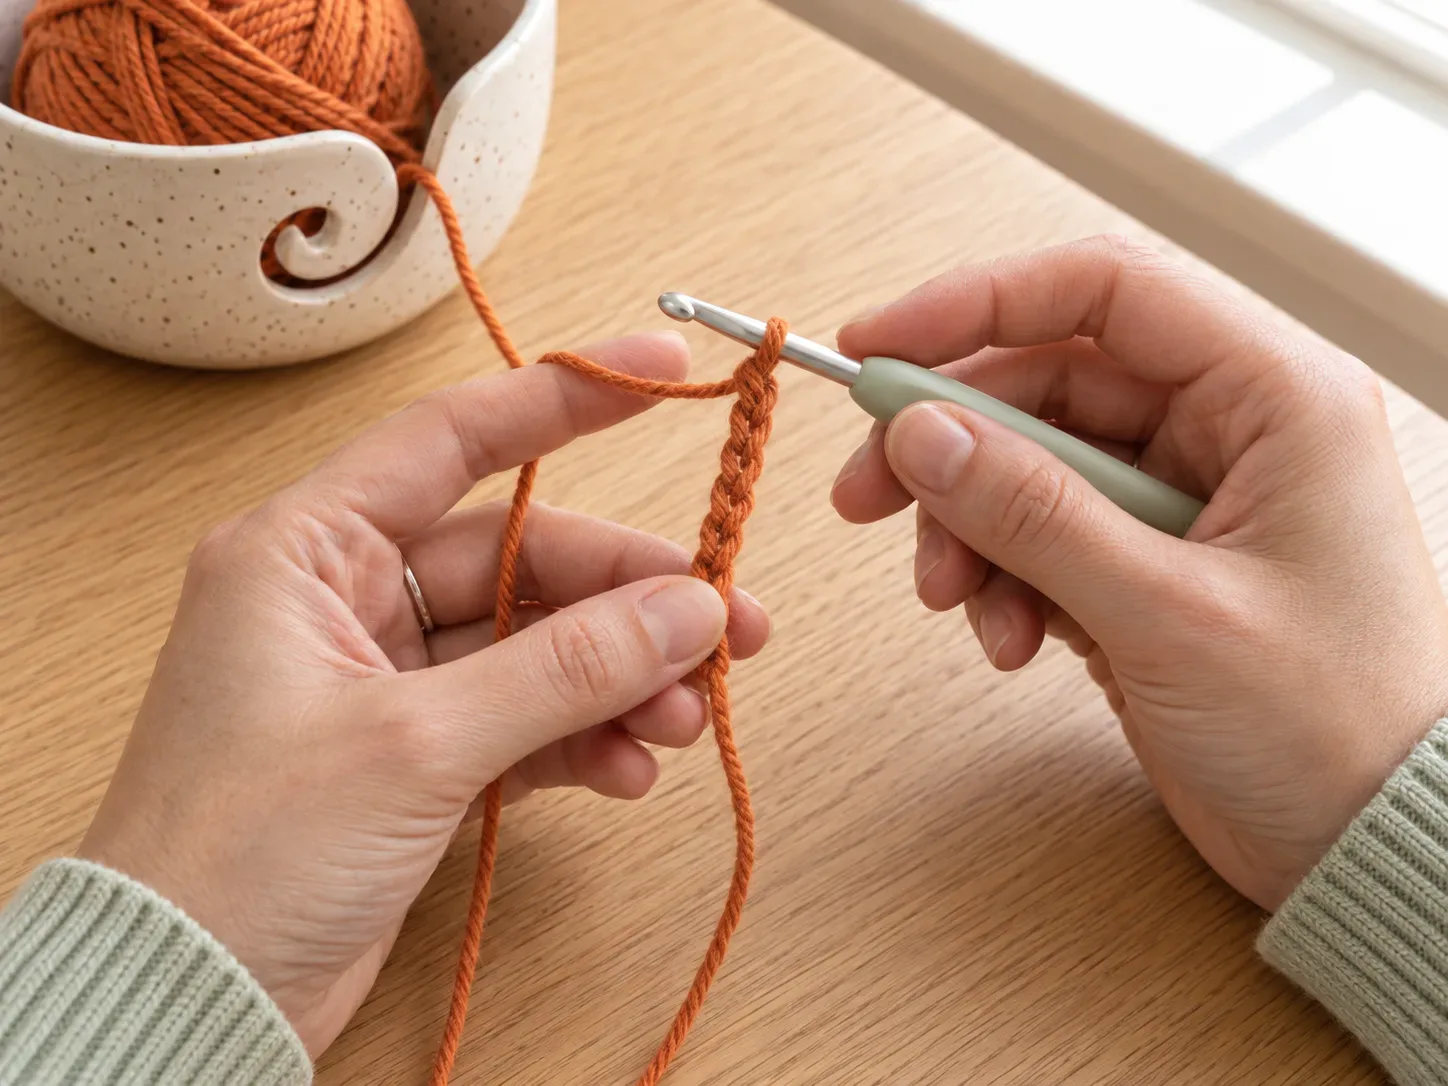 1
1Chain the width
Make the starting chain that sets the height of the ribbed pumpkin body.
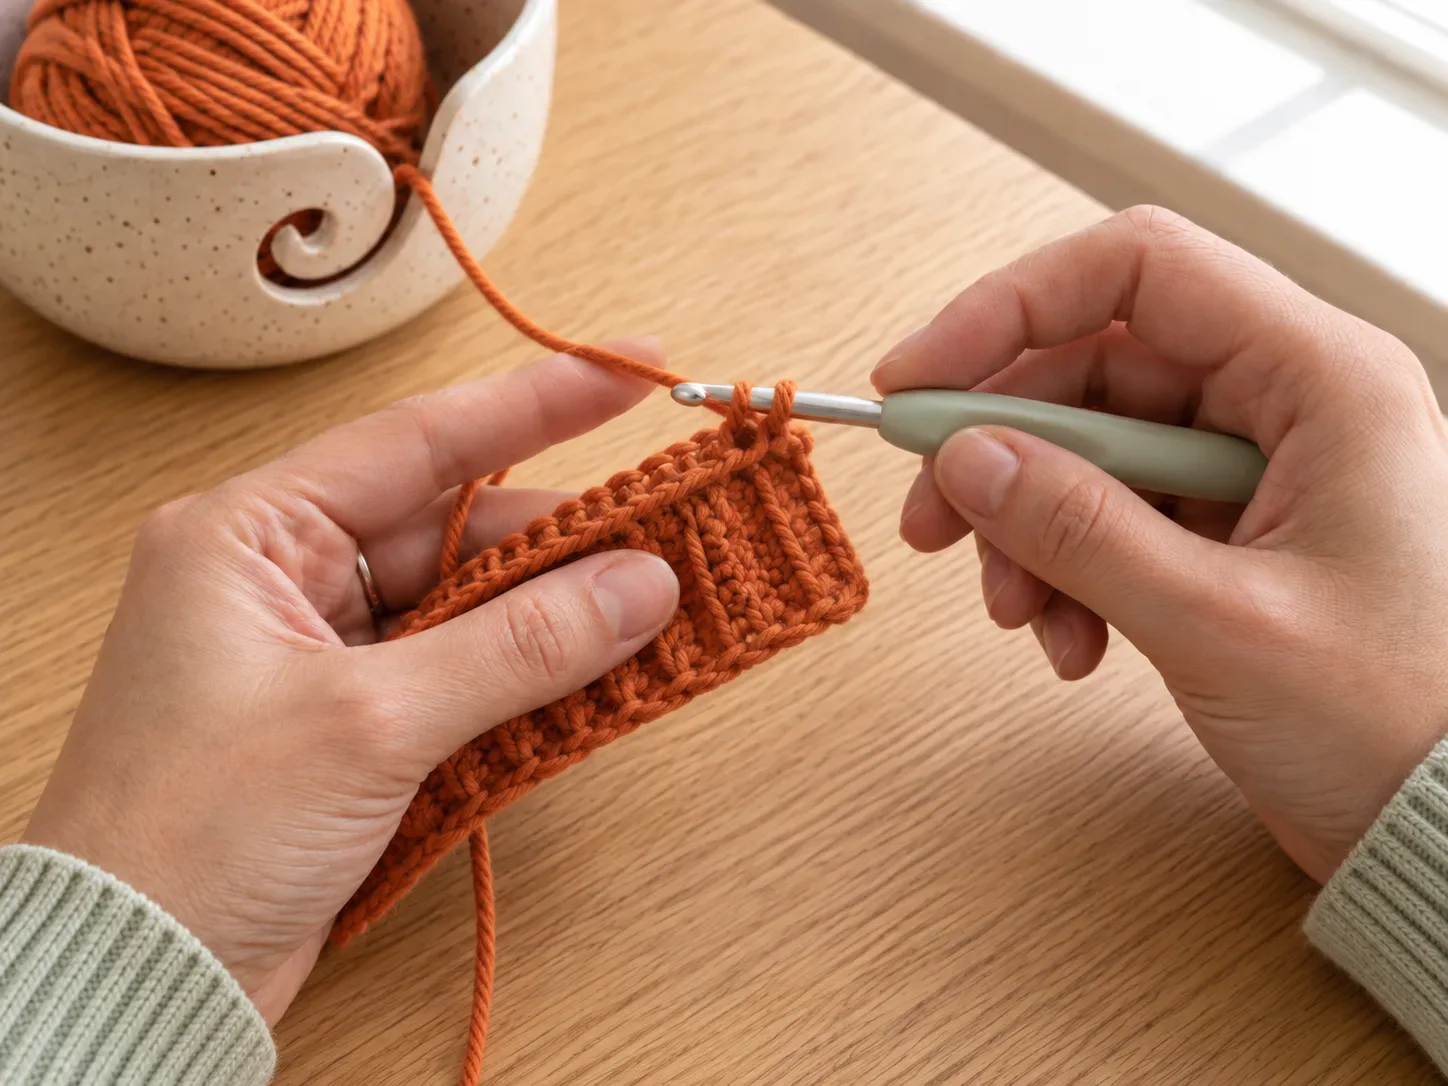 2
2Work the first ribbed rows
Crochet back-loop rows to build the stretchy ribbed texture.
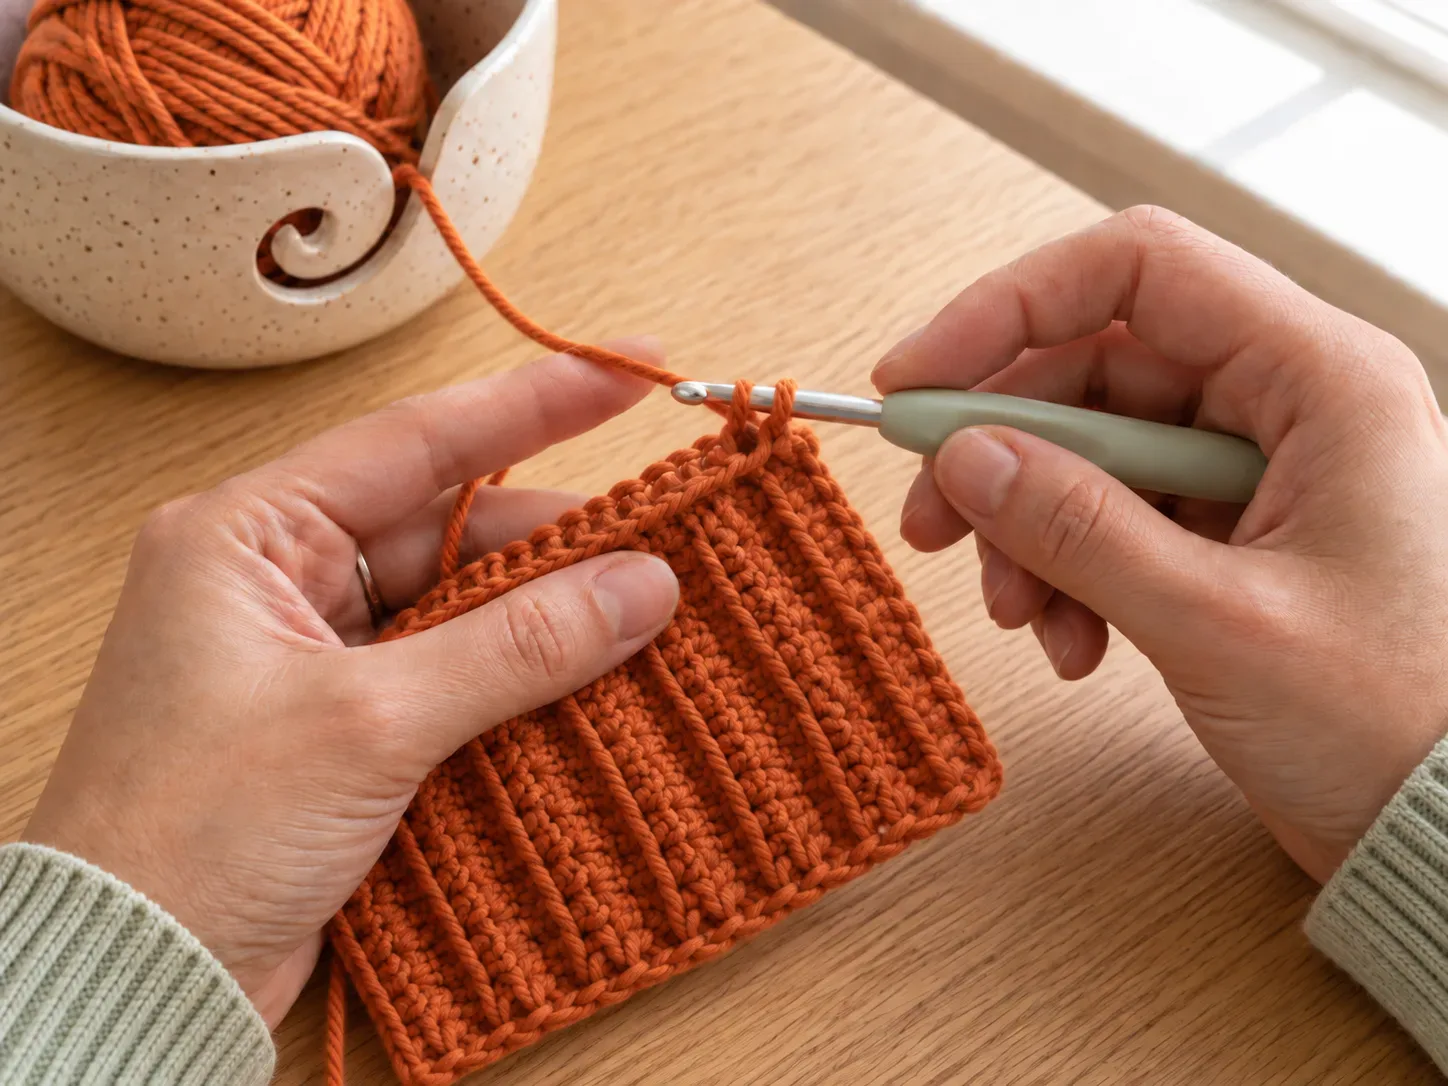 3
3Finish the rectangle
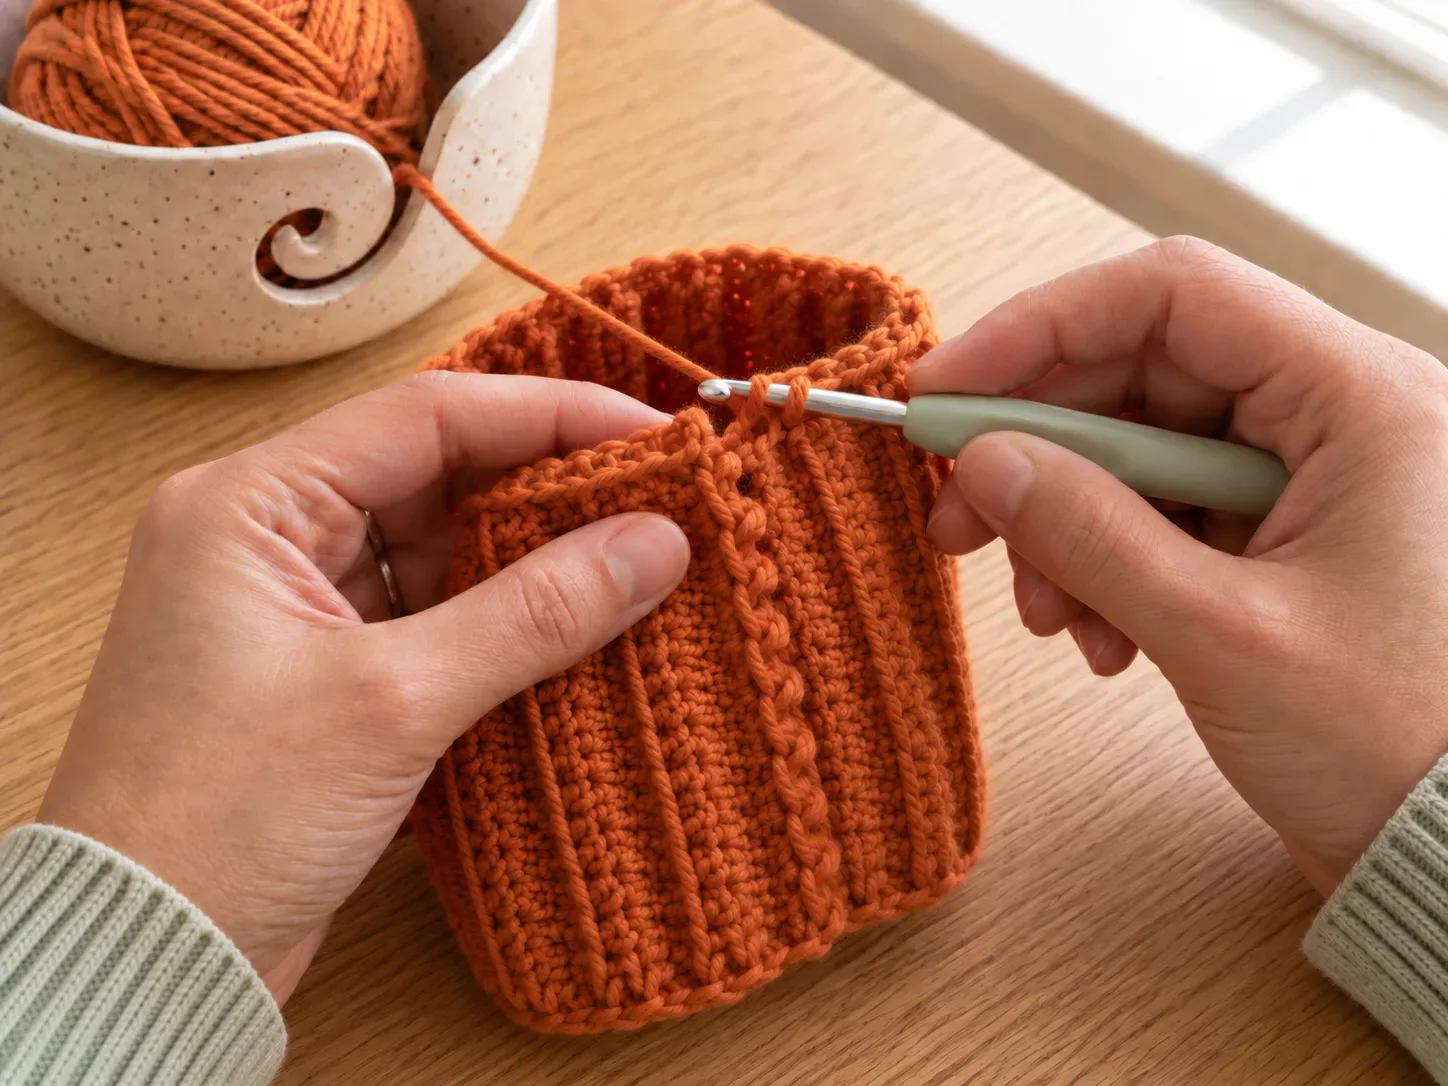
Continue the ribbed rows until the rectangle wraps around into a pumpkin shape.
 4
4Seam the side
Join the short ends neatly to form a tube.
 5
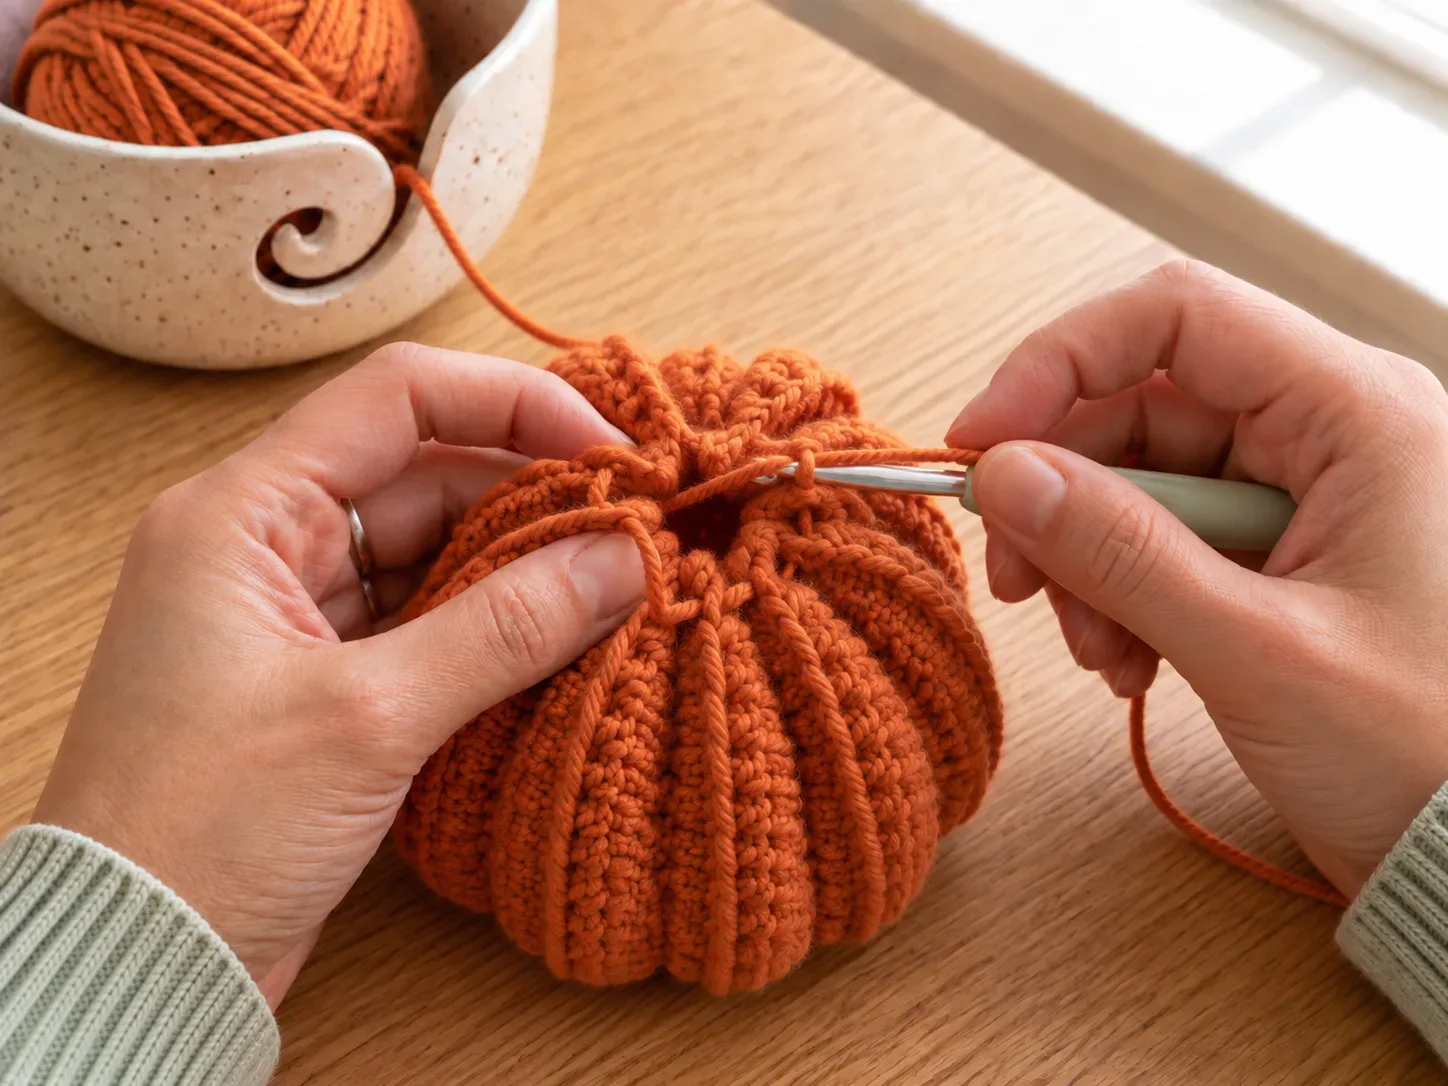
5Gather the bottom
Thread yarn through one open edge and pull it tight to close the base.
 6
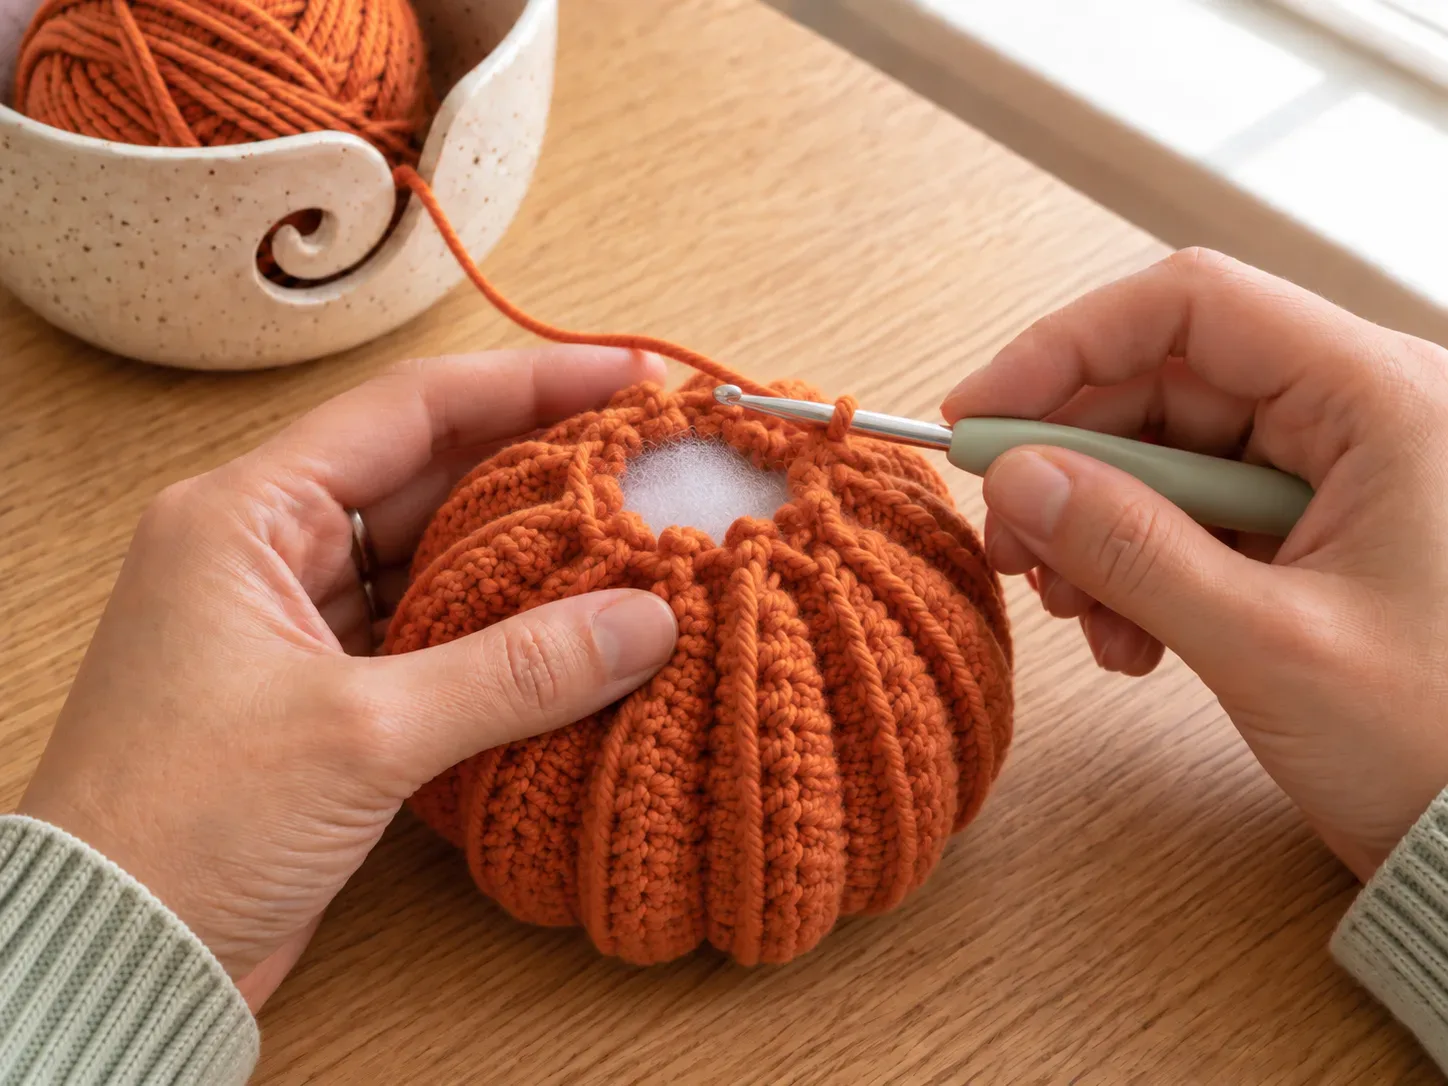
6Stuff and shape
Add stuffing if needed, then gather the top and define the pumpkin shape.
 7
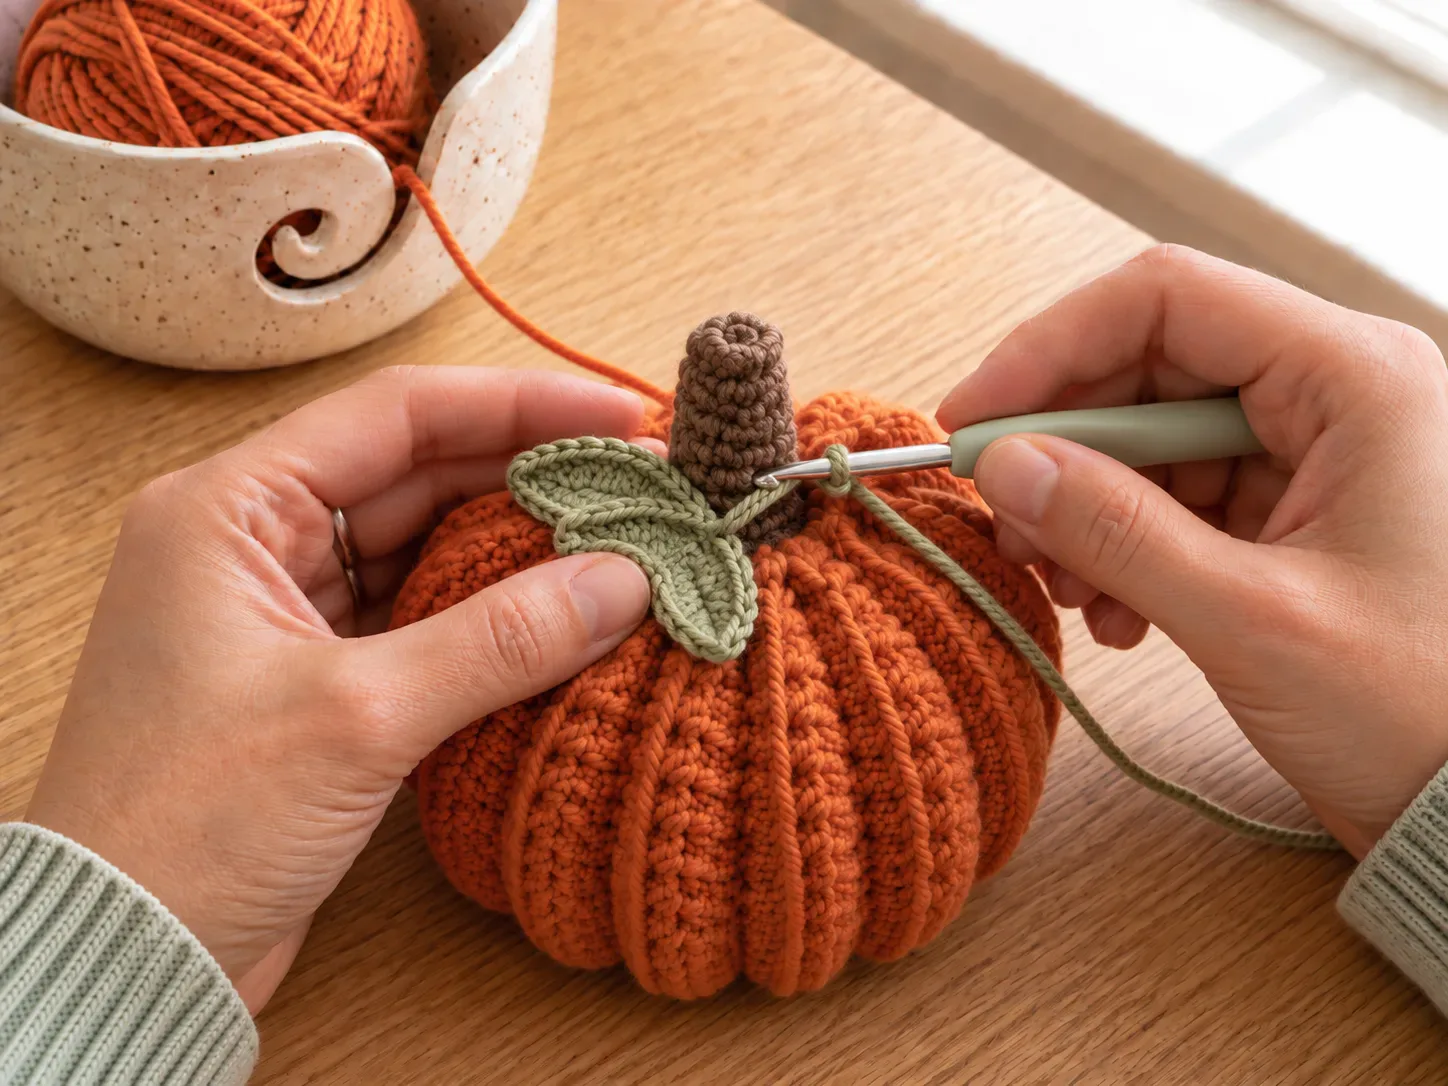
7Add the stem and leaf
Finish the top with a simple stem and optional leaf accent.
Small details make the finish better.
- Steam or shape the pumpkin lightly after gathering if the ribs look uneven.
- A darker stem gives the pumpkin more contrast in photos.
- This is a great bridge project from Halloween into fall and Thanksgiving decor.
Common questions before you start
Is the Easy Ribbed Crochet Pumpkin beginner friendly?
This project is labeled Easy. The page links the crochet skills to review before you start and breaks the make into 7 steps.
How long does the Easy Ribbed Crochet Pumpkin take?
The estimated making time is ~1 hour. Your first version may take longer if you pause to practice the listed stitches.
What do I need for this crochet project?
The materials section lists Worsted yarn in pumpkin orange, Small amount of brown yarn for the stem, Small amount of sage or green yarn for the leaf, 4.5 mm crochet hook, plus the finishing supplies shown on the page.
Pick the next thing to make.
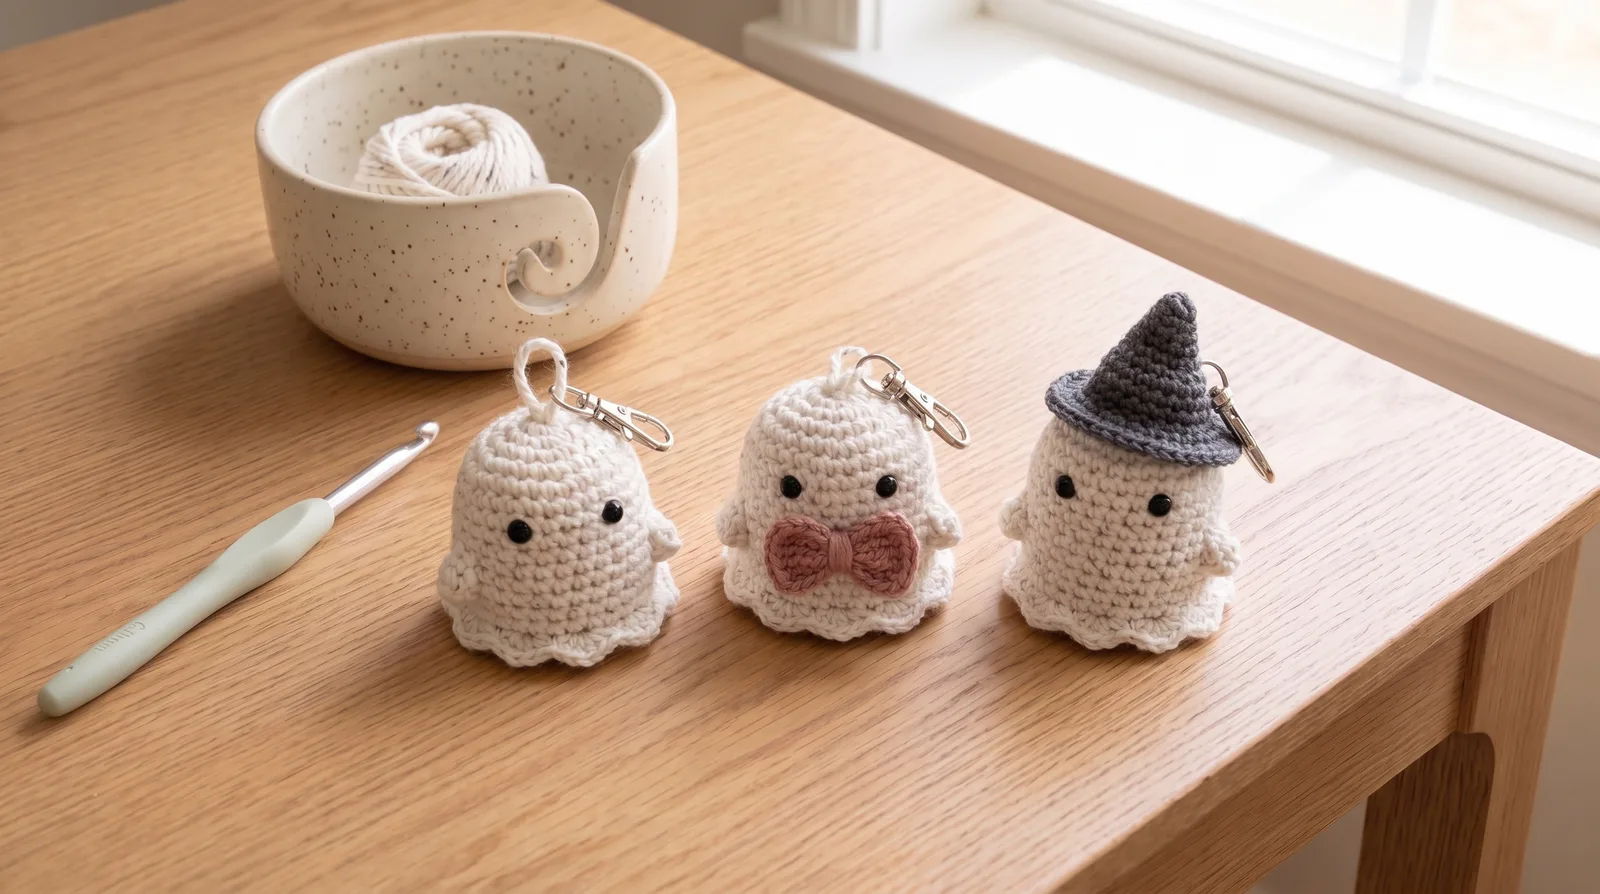
Mini Crochet Ghost Bag Charm
A tiny beginner-friendly crochet ghost charm with an optional dusty-rose bow or tiny witch hat for Halloween bags, backpacks, keys, and gift toppers.
Make this project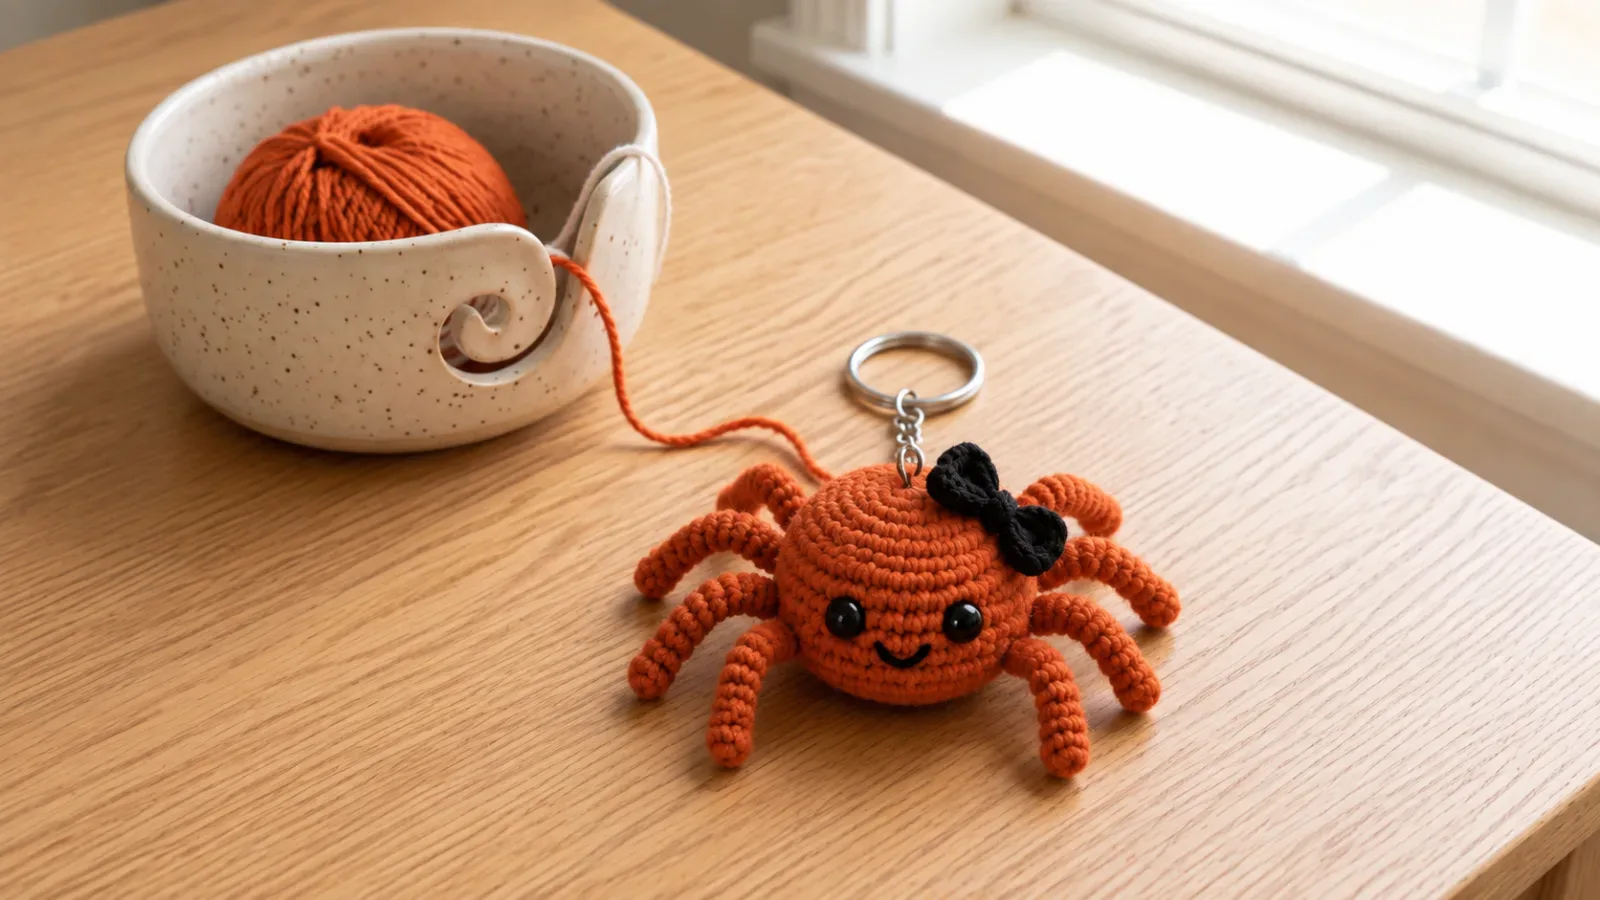
No-Sew Crochet Spider Bag Charm
A spooky-cute no-sew crochet spider charm worked from one compact body with attached legs and a clip loop for Halloween bags or keys.
Make this project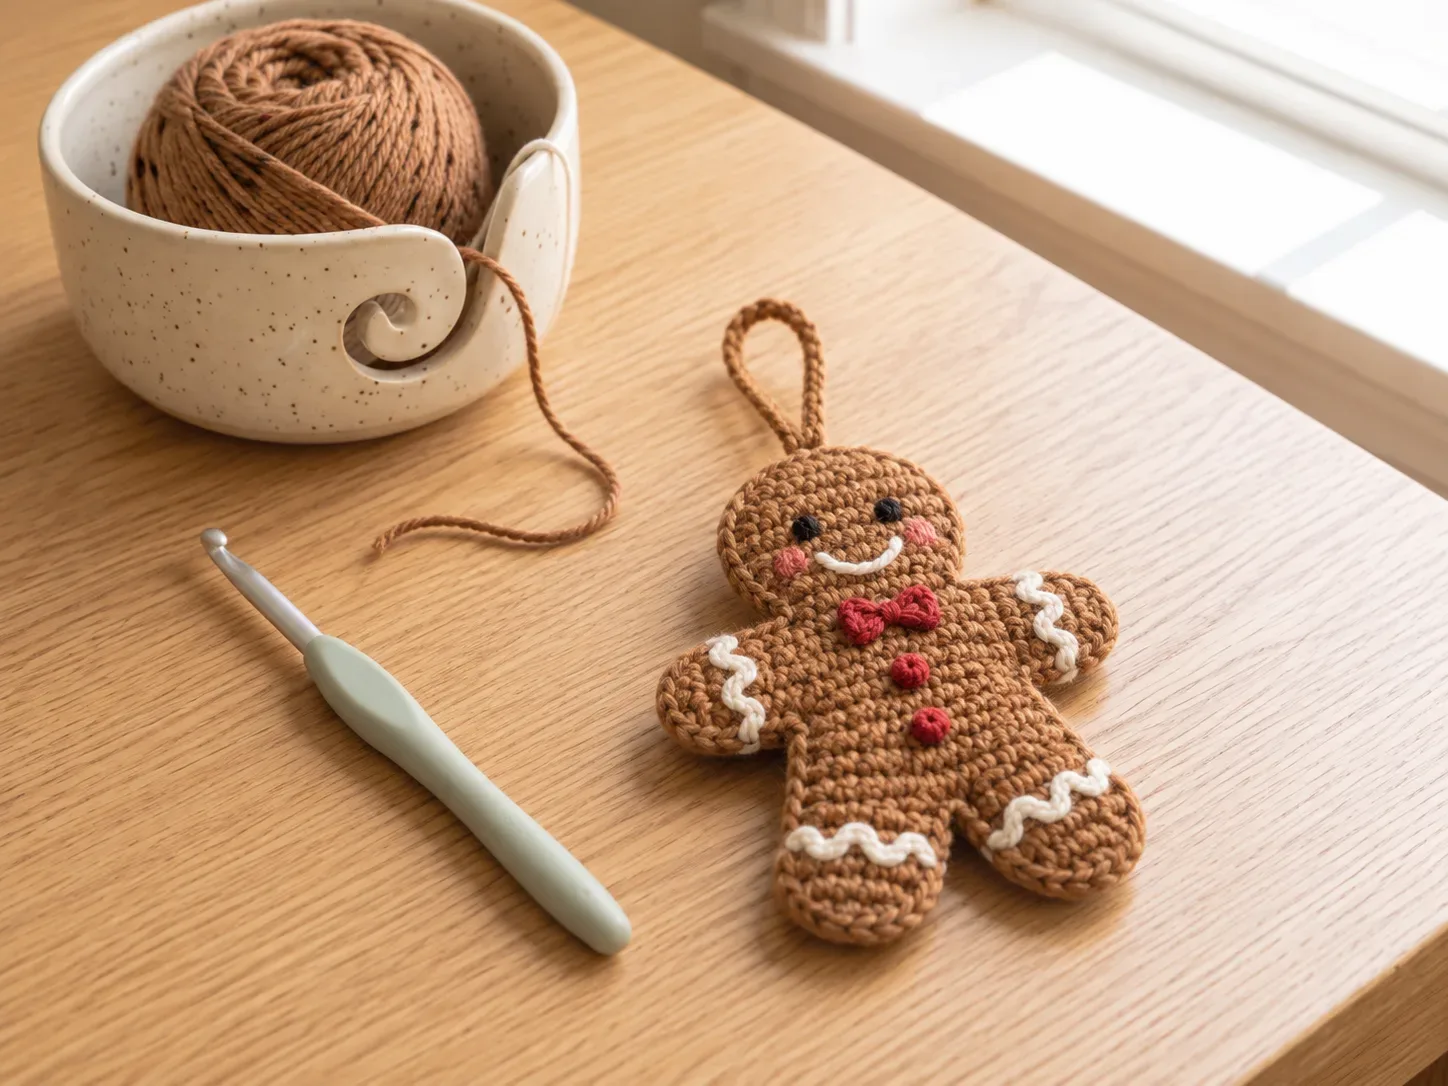
No-Sew Mini Gingerbread Man Ornament & Bag Charm
A tiny gingerbread person with simple embroidered icing details that works as a Christmas ornament, keychain, bag charm, or gift topper.
Make this project