
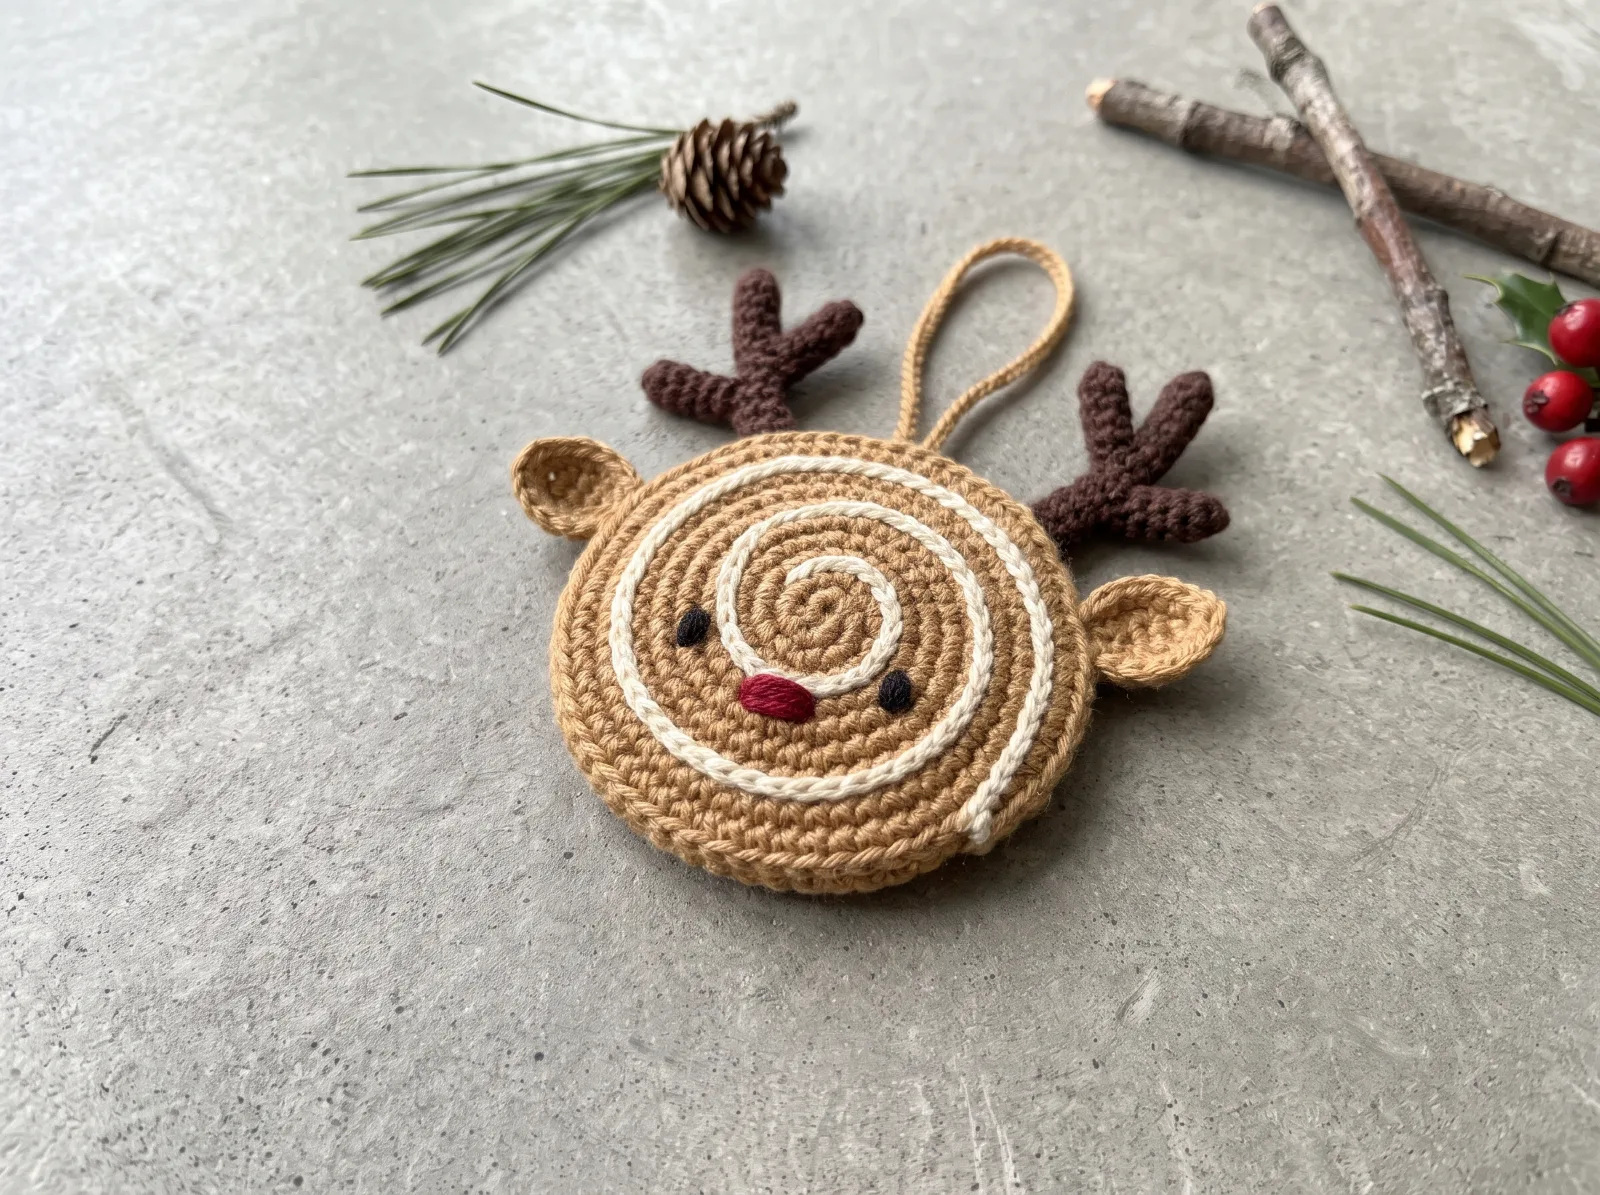
Cinnamon Roll Reindeer Bag Charm Crochet Pattern
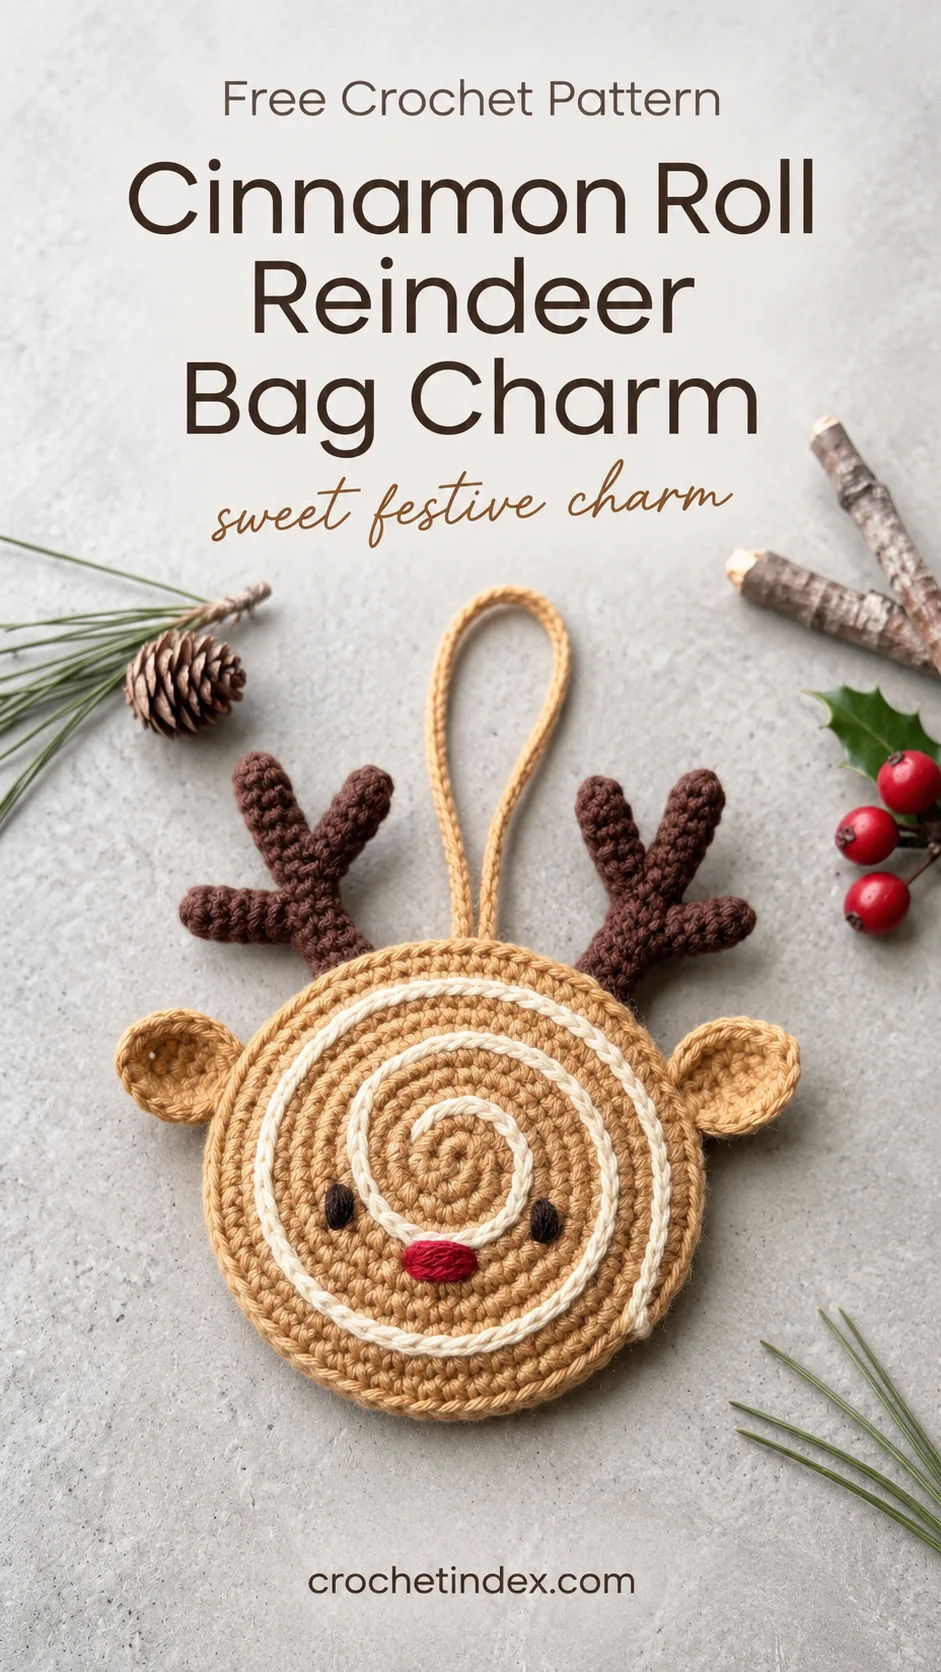
Crochet a decorative mini cinnamon-roll reindeer charm from one flat 44-stitch-long, five-row ribbon coiled into a visible cream-edged spiral, with two tiny tan ears, two branched dark-brown antlers, embroidered eyes and red nose, and a sewn-on tan yarn hanging loop. No stuffing or separate plush body.
What you'll make
Make a coiled cinnamon-roll reindeer crochet charm with cream spiral, flat ears, branched antlers and yarn hanger. Free US stitch-by-stitch pattern.
Quick answer: Cinnamon Roll Reindeer Bag Charm is a intermediate crochet project with an estimated making time of ~70–90 minutes. Materials include DK (#3) cotton yarn in tan (rolled body, two flat ears, and hanging loop), Small amount of cream DK cotton (one long contrast edge of spiral), Small amount of dark brown DK cotton for two branched antlers and embroidered eyes. See the full written instructions and construction steps below.
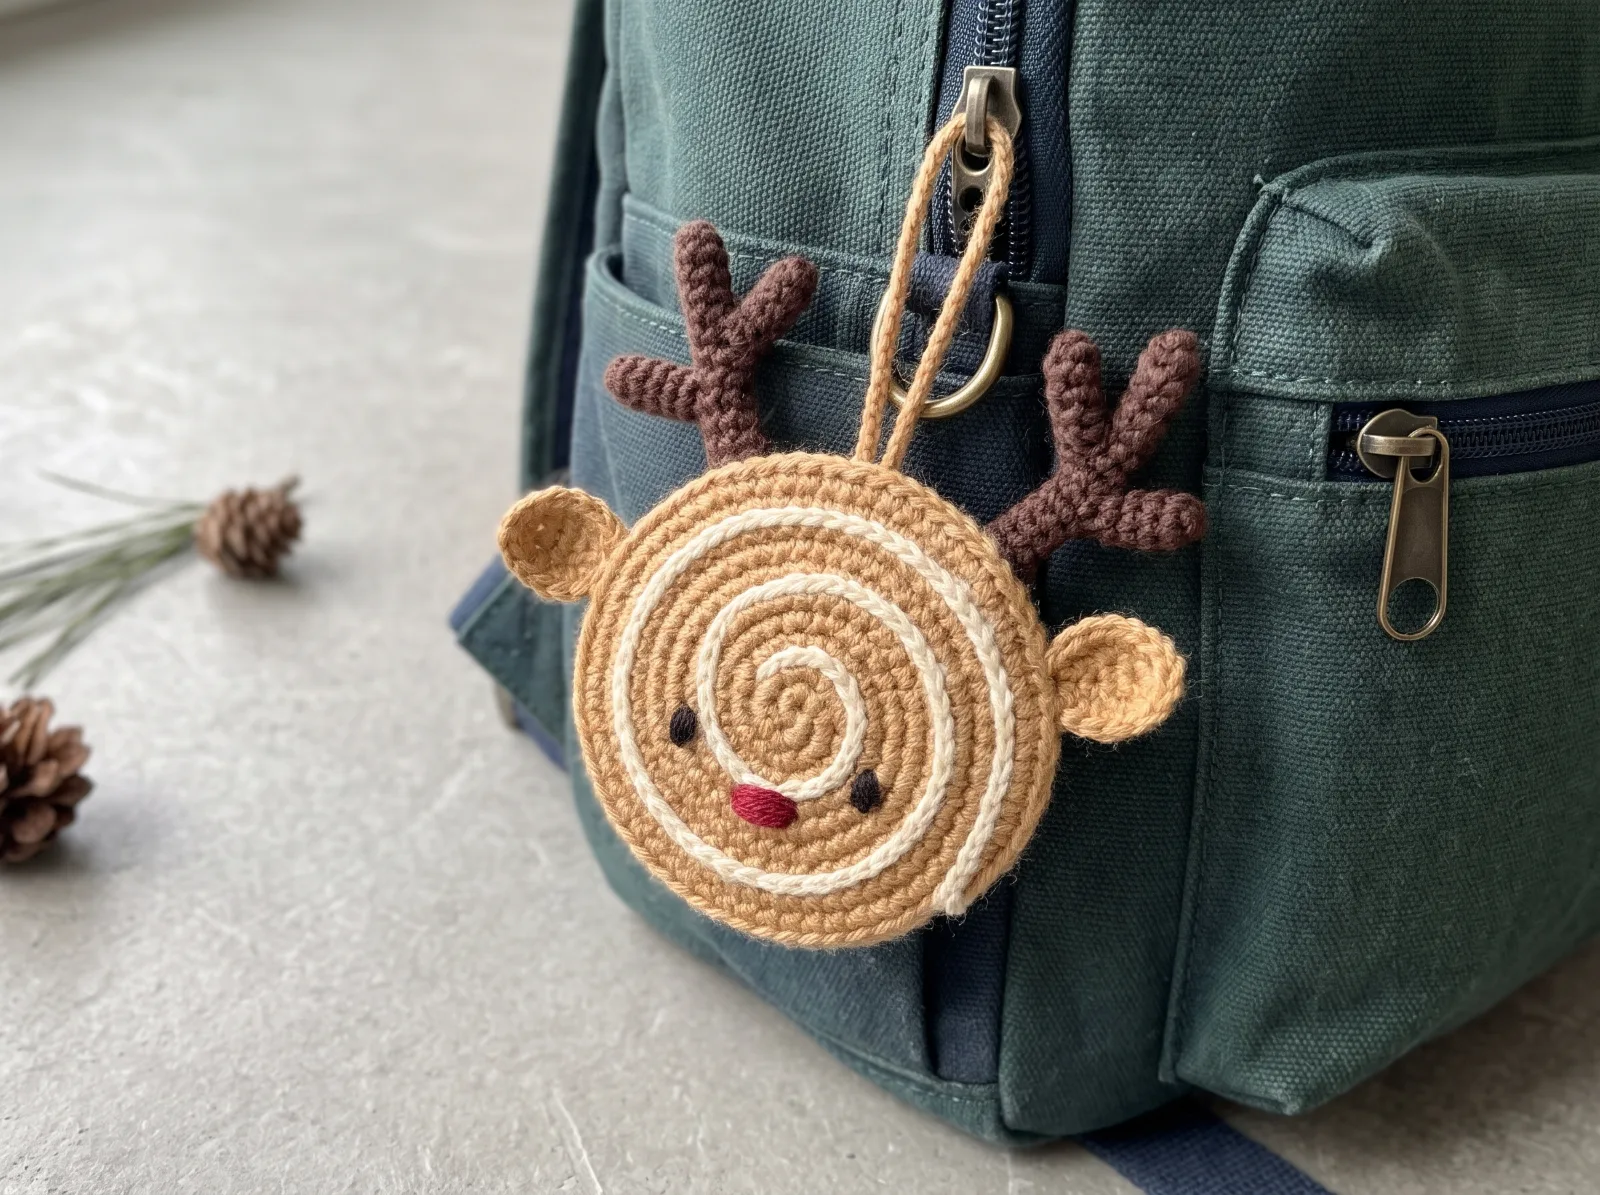
A closer look
Crochet a decorative mini cinnamon-roll reindeer charm from one flat 44-stitch-long, five-row ribbon coiled into a visible cream-edged spiral, with two tiny tan ears, two branched dark-brown antlers, embroidered eyes and red nose, and a sewn-on tan yarn hanging loop. No stuffing or separate plush body.
- Draw one compact, flat cinnamon-roll spiral with one visible cream-colored coil line. Two dark branched antlers on top, flat tan ear tabs on the sides, embroidered eyes/red nose and a simple tan hanging loop. No fluffy filled plush or baked pastry.
- Do not render an actual edible cinnamon roll, a 3D stuffed reindeer head, extra legs, an overhanging tongue, a metal clasp or baby-safe eyes.
What you'll need
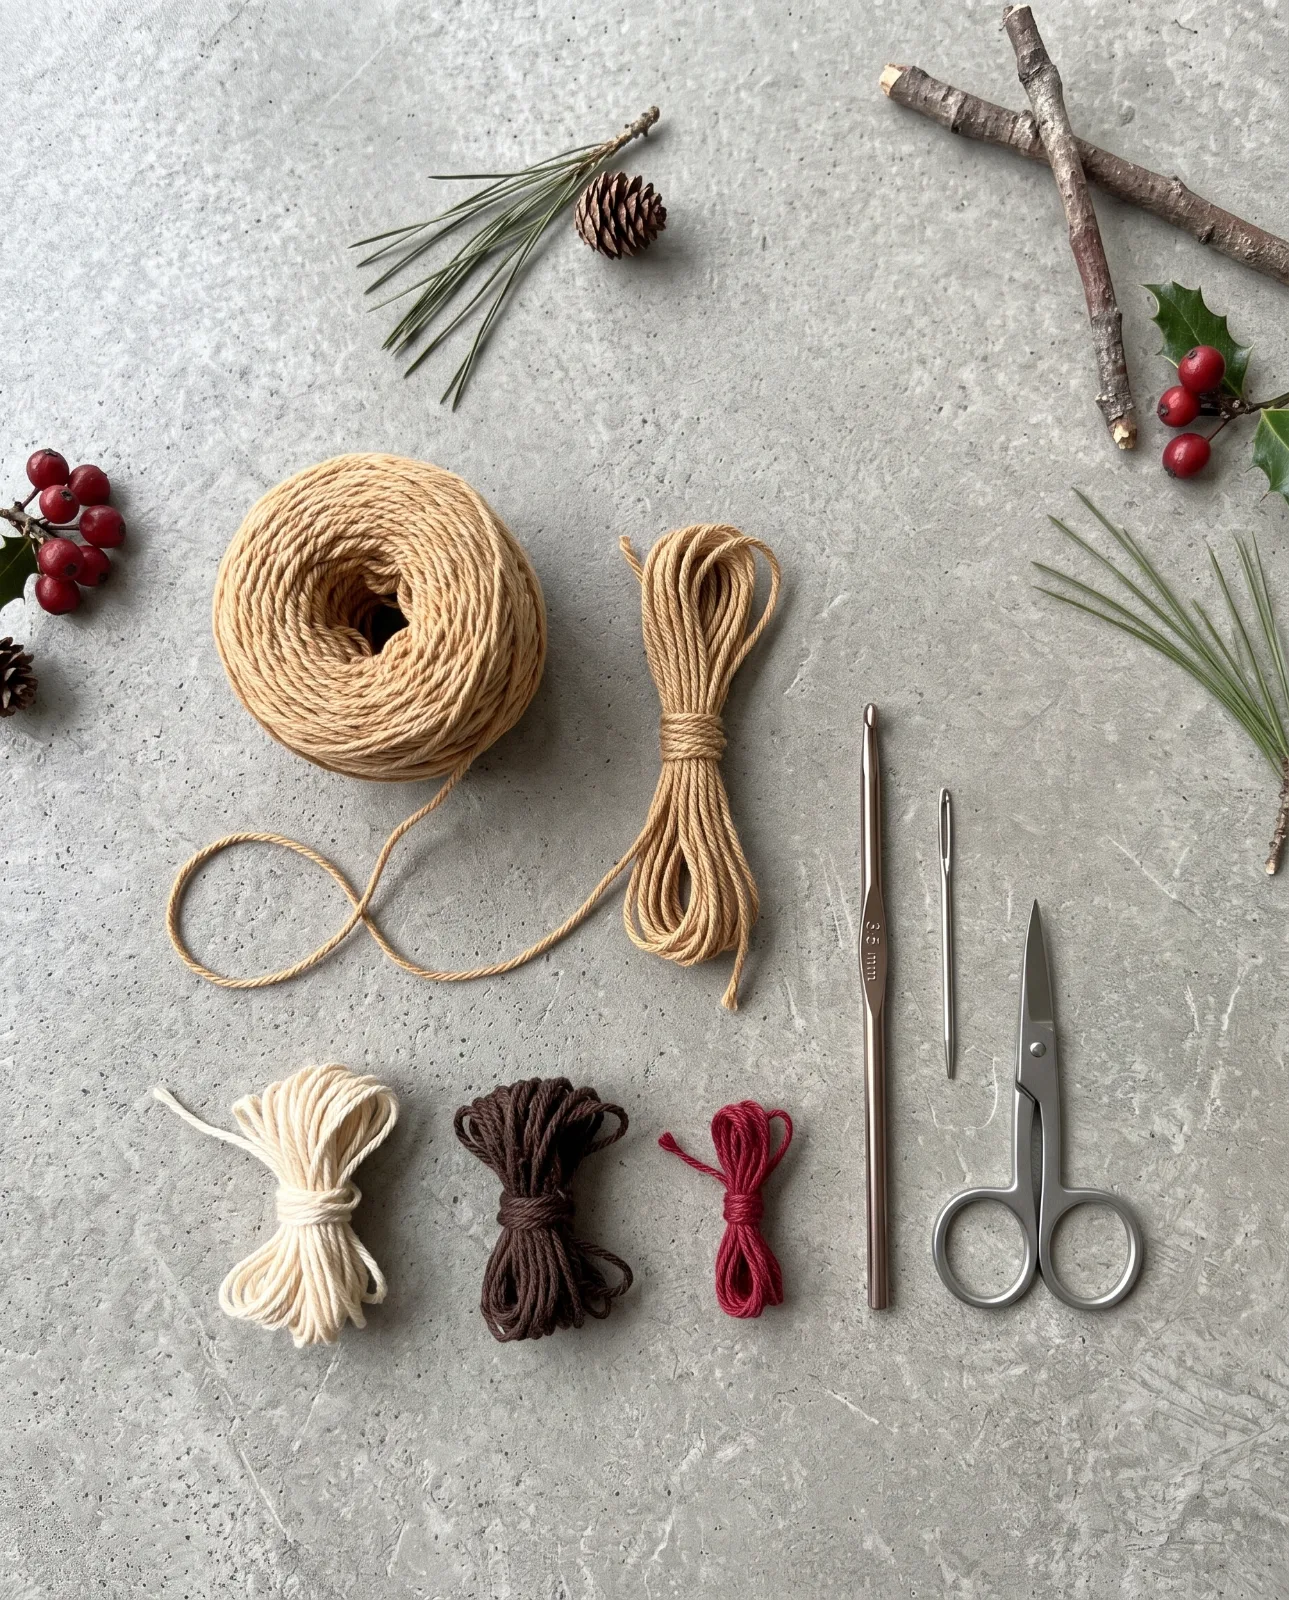
- DK (#3) cotton yarn in tan (rolled body, two flat ears, and hanging loop)
- Small amount of cream DK cotton (one long contrast edge of spiral)
- Small amount of dark brown DK cotton for two branched antlers and embroidered eyes
- Small amount of cranberry red yarn for embroidered nose
- 3.5 mm hook (or size yielding a firm crocheted ribbon)
- Yarn needle, scissors and one extra ~60 cm length of tan yarn for sewing spiral layers; no stuffing
Written crochet instructions and construction notes
Read the abbreviations first, check the notes, then work through the pattern in order. Detailed steps summarize the construction; the ordered written pattern below is the source for individual rounds and rows.
Use a new separate tan sewing strand for coiling; cream is the active yarn at the end of Row 5.
The cream fifth row is a single contrasting long edge on a FLAT coiled ribbon, not a large frosting layer. No stuffing is used.
Exact spiral diameter and strength depend on yarn tension and must not be claimed as physically tested.
Construction overview
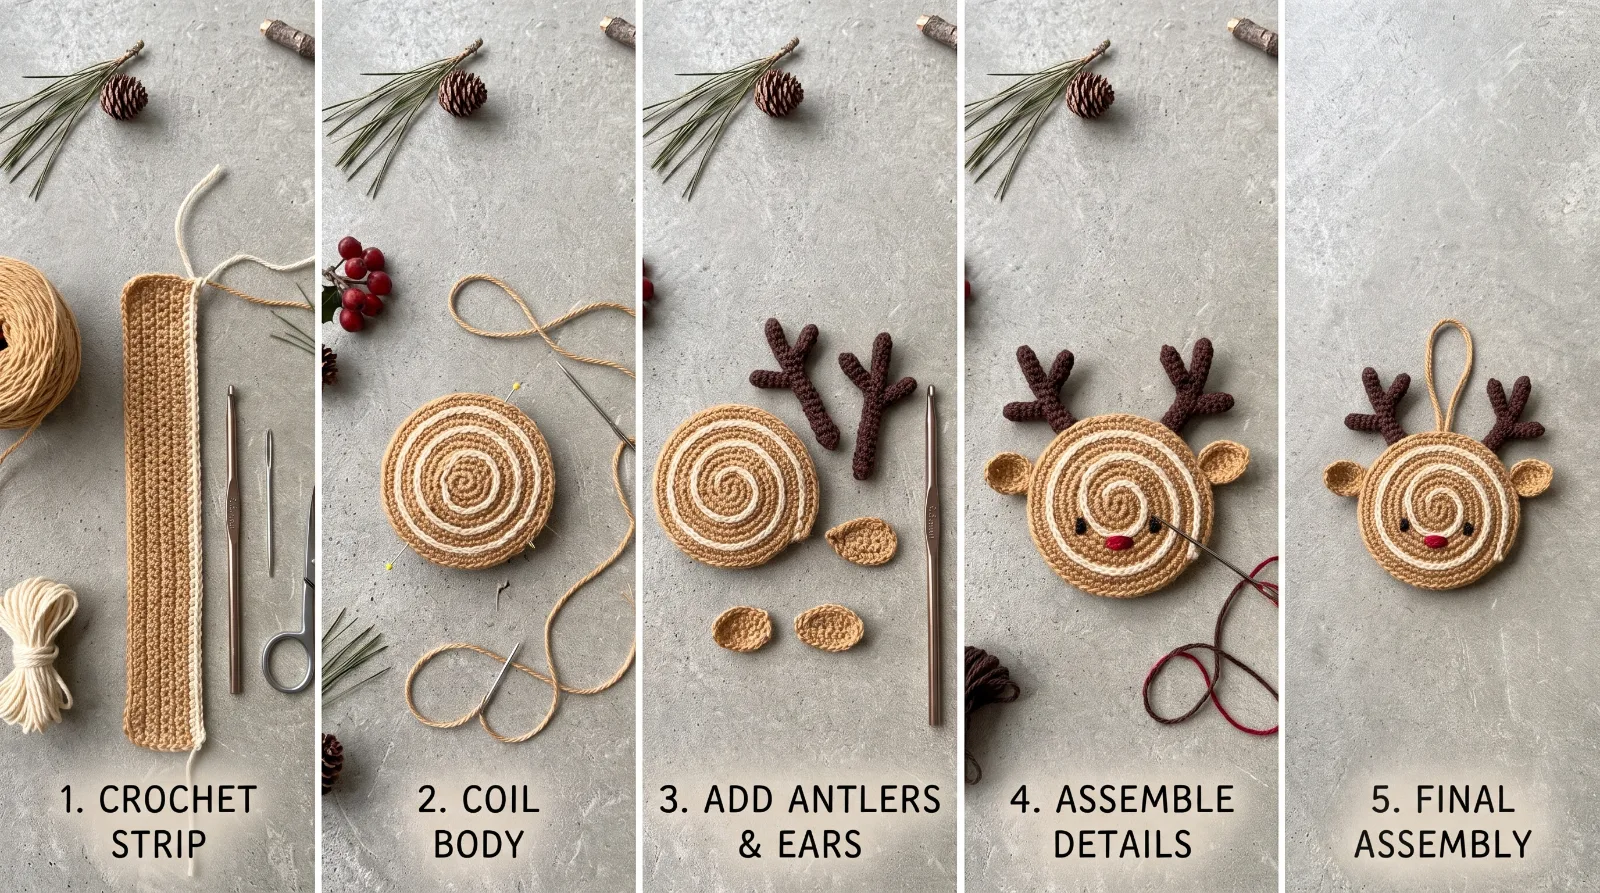
Follow the counted construction and finishing steps
US crochet terms; complete counted instructions are also in the Written Pattern section. Digital stitch/assembly review is not a physical maker test.
Crochet the long tan strip
US TERMS AND DESIGN: ch = chain, sc = single crochet, sl st = slip stitch, R = row. Turning ch 1 does not count as a stitch. This is ONE flat, coiled crochet RIBBON forming a visible spiral face, with sewn accessories; NOT a spherical stuffed reindeer. LONG RIBBON, tan: Ch 45. Row 1 sc in second ch from hook and in each remaining chain (44 sc). LONG RIBBON, tan Rows 2–4: ch 1, turn, sc in each of 44 stitches (44 sc EACH row).
Add one cream edge row
CONTRAST EDGE, cream Row 5: Join cream at the start of the next row, ch 1, turn, sc across all 44 stitches (44 sc). Fasten off with a CREAM tail; do not describe this as a tan tail. Thread an entirely SEPARATE ~60 cm TAN sewing strand into the yarn needle for assembly.
Roll and sew the flat spiral
COIL: Lay the five-row ribbon flat with its long CREAM row uppermost/facing you. Begin at one SHORT end, coil the long ribbon around itself into a compact FLAT spiral with cream edging showing on the front face. The opposite tan edge forms the back. Keep all layers close with fingers; do not stuff or fold the spiral into a ball. REINFORCE FROM BACK: Using the separate tan sewing strand, stitch through neighboring COILED layers on the BACK at the center and again near roughly the 12, 3, 6 and 9 o’clock positions, catching at least two adjacent wraps per anchor without pulling the front out of shape. Knot and weave the thread behind; no unsupported claim of load-bearing durability.
Crochet two branched antlers
BRANCHED ANTLERS (make 2), dark brown: Ch 8. Sl st into the second ch from hook, then sl st into the next 2 original foundation chains (3 sl st on main stem). Ch 3 for a side branch; sl st in the second and third of these NEW chains (2 sl st); sl st back into the same original stem chain where branch began, then sl st in EACH of the four remaining original foundation chains (4 more stem sl st). Fasten off with a 25 cm tail. Make two separate slender branched antlers.
Crochet two flat ear tabs
FLAT EARS (make 2), tan: Ch 4. Row 1 sc in second ch from hook and each remaining ch (3 sc). Row 2 ch 1, turn, sc in each of 3 stitches (3 sc). Fasten off with a 20 cm tail. Make two small FLAT rectangular tabs; do not show puffy stuffed ears.
Sew antlers and ears to the spiral
PLACE EARS AND ANTLERS: View spiral face with cream edge visible. Sew antler bases to BACK near the top LEFT and top RIGHT, roughly 10 and 2 o’clock. Sew the two tan ear tabs slightly lower on each side, roughly 9 and 3 o’clock, so their outer halves project beyond the circular spiral. Anchor each to at least two neighboring coil wraps. Keep all pieces symmetrical.
Embroider eyes and red nose
EMBROIDER FACE: With dark brown yarn, add TWO tiny straight-stitch eyes on the FRONT, one on either side of spiral center on the upper half. With cranberry red yarn, make ONE small horizontal satin-stitch oval nose below the eyes at the spiral center. Secure color tails on the BACK. Avoid plastic safety eyes or separate stuffed snouts.
Add the reinforced hanging loop
HANGING LOOP, tan: Ch 19; sl st into second ch from hook and each remaining chain (18 sl st). Fasten off leaving two long tails. Fold into a loop and sew BOTH ends through at least two outer back-coil wraps near 12 o’clock, repeating the stitches and knotting/weaving on the back. This is a decorative attachment, not a certified heavy-duty key ring.
Finish and check silhouette
FINISH: The charm has ONE flattened tan spiral body with ONE cream spiral line on its visible face, TWO tiny flat tan ears, TWO dark-brown branched antlers, TWO dark embroidered eyes, ONE embroidered red nose and ONE tan hanging loop. Do NOT add a plush deer torso, limbs, stuffing, frosting dollops, metal lobster clasp or extra ornaments.
Small details that make the finish better
- Draw one compact, flat cinnamon-roll spiral with one visible cream-colored coil line. Two dark branched antlers on top, flat tan ear tabs on the sides, embroidered eyes/red nose and a simple tan hanging loop. No fluffy filled plush or baked pastry.
- Do not render an actual edible cinnamon roll, a 3D stuffed reindeer head, extra legs, an overhanging tongue, a metal clasp or baby-safe eyes.
Ways to adapt the project
Change the yarn color, finishing touches, or small embellishments while keeping the same core construction.
Common questions before you start
Which crochet terms does this pattern use?
Where are the exact crochet instructions?
Can I change the yarn color?
Does this project have a fixed finished size?
Save this crochet project for later
Save this project so you can come back to the pattern, materials list, and steps later.
Explore related project collections
Pick the next thing to make
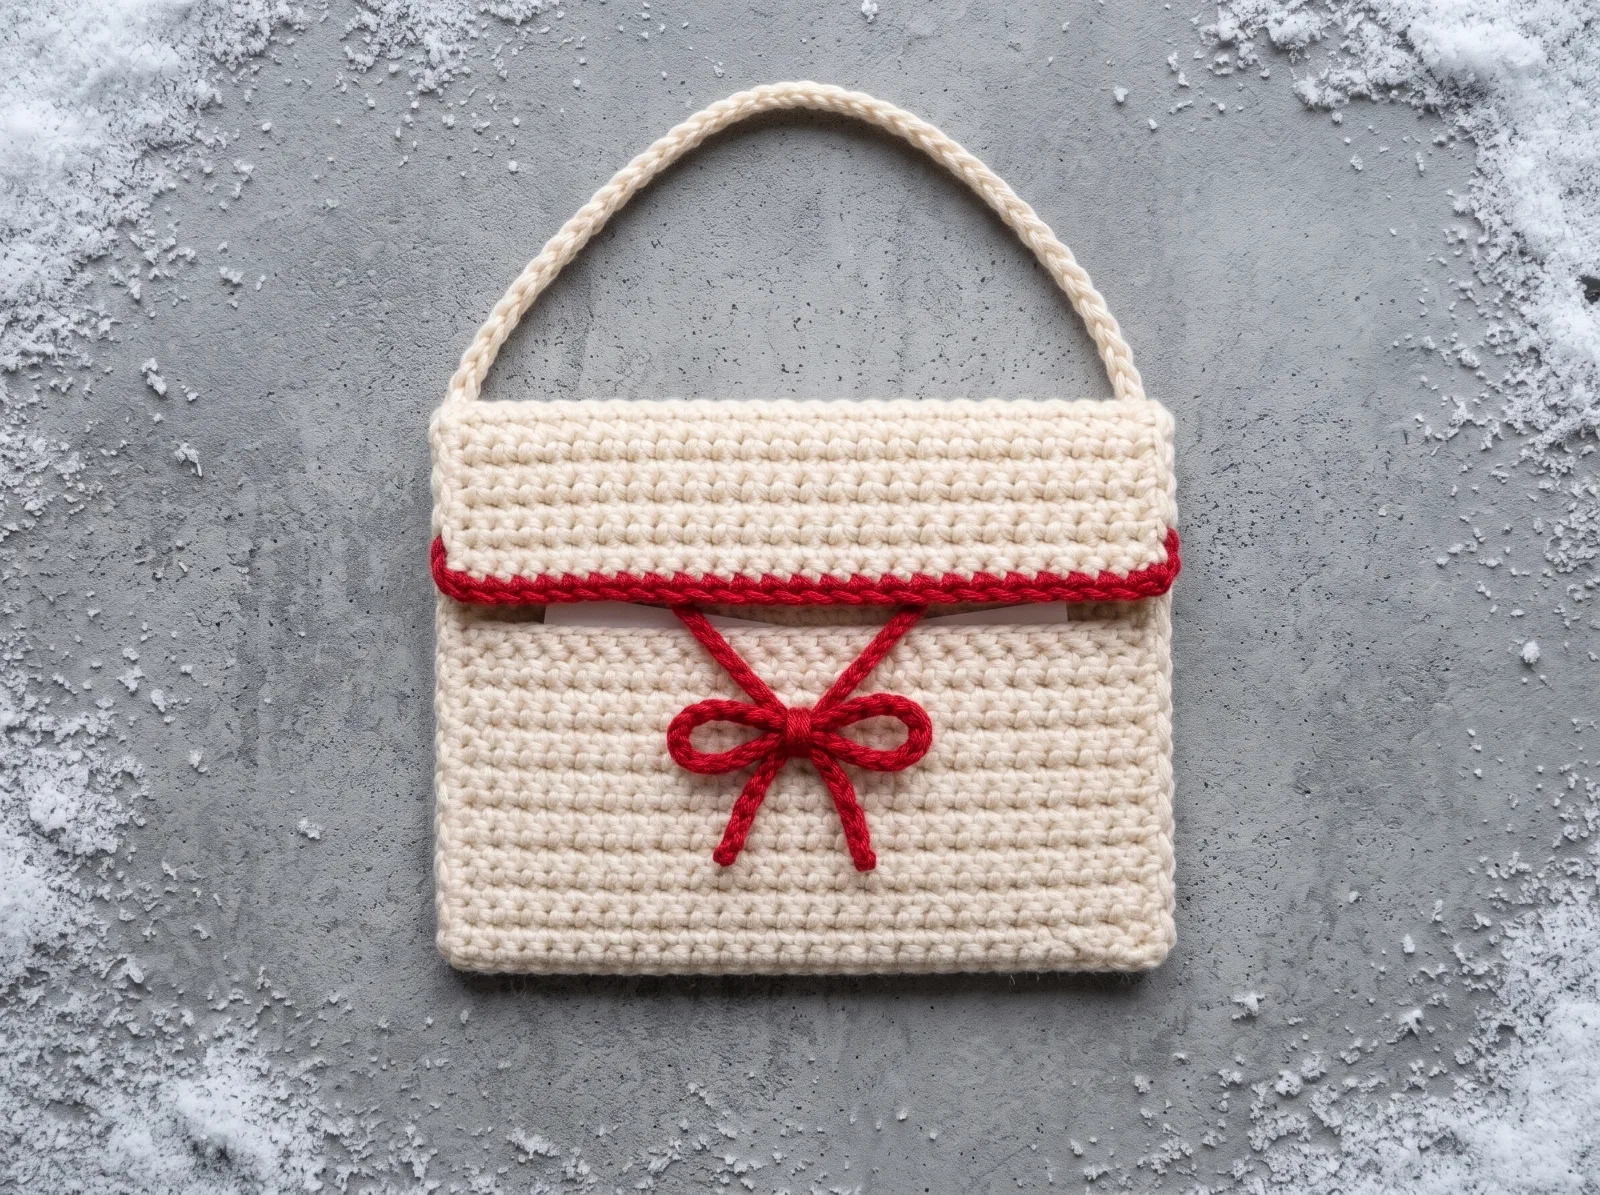
North Pole Letter-Pocket Ornament
Make one flat, cream-colored crochet envelope ornament with an 18-stitch-wide front pocket, a taller back that folds forward as a five-row rectangular flap, red crochet chain-tie closure and a cream hanging loop. It holds a tiny folded note sized to the actual finished pocket.
Make this project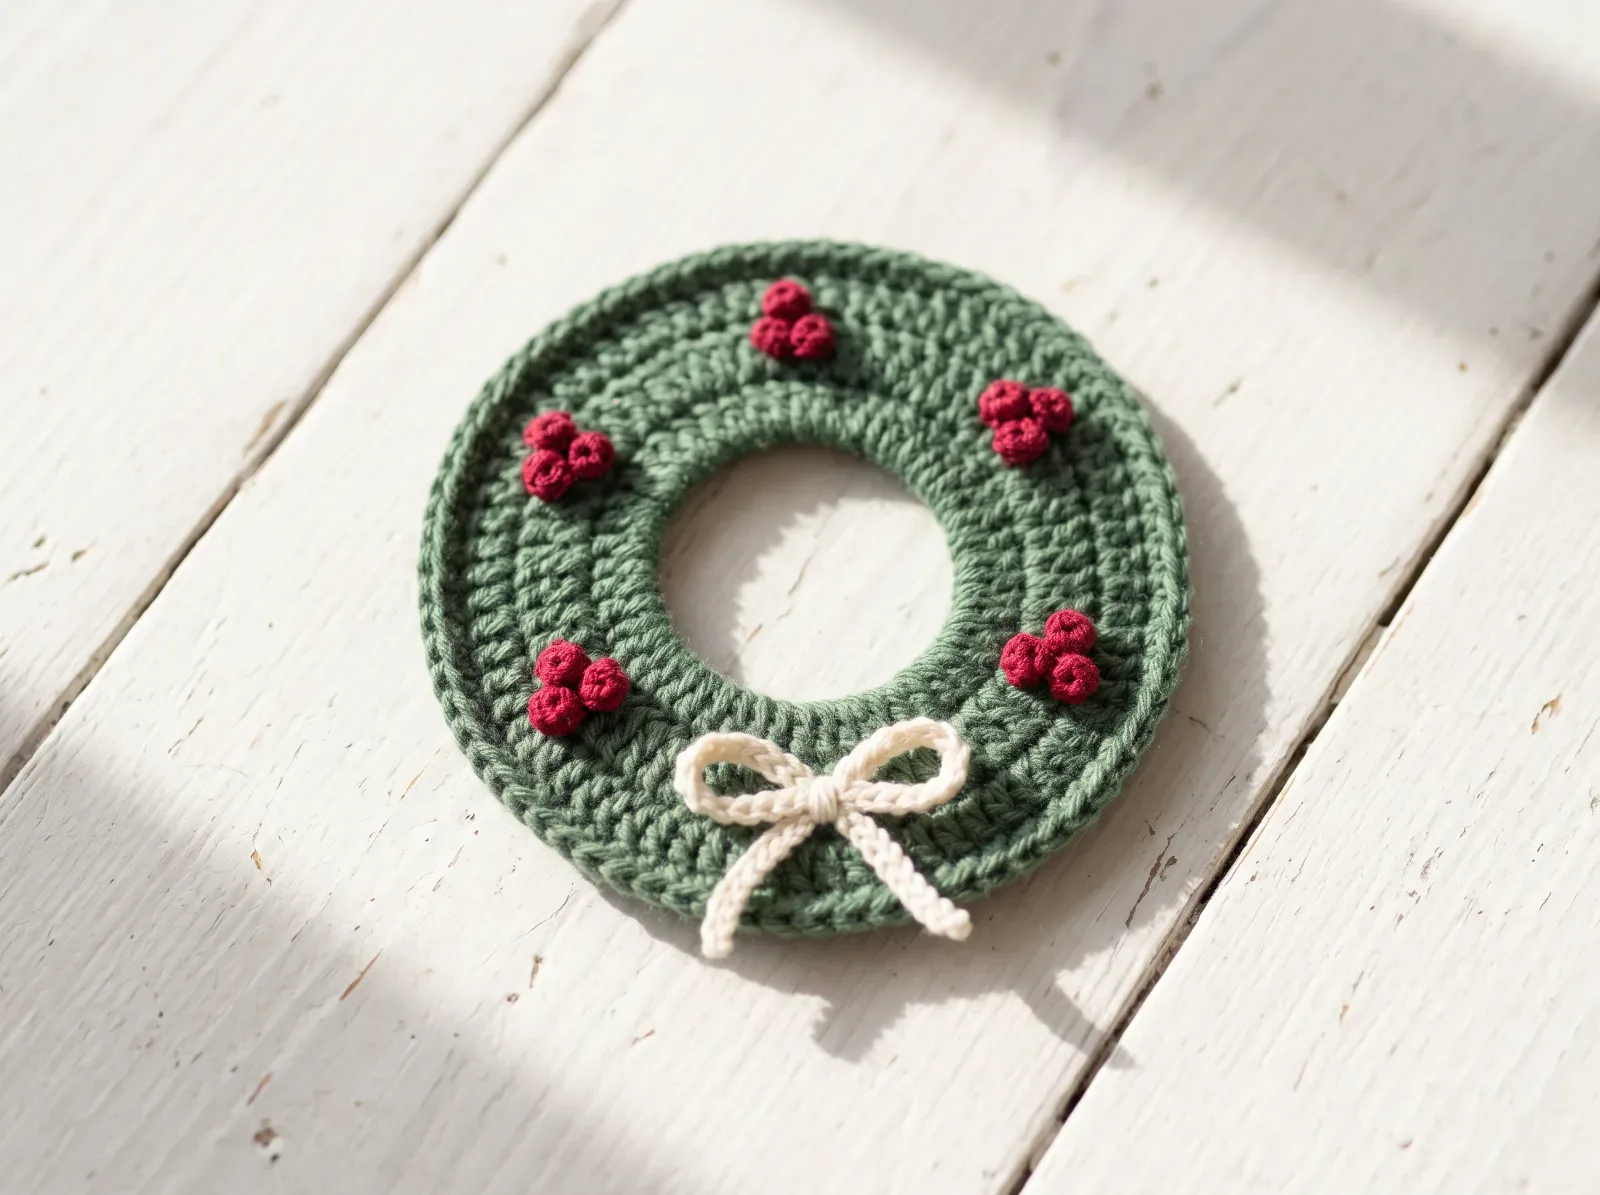
Holly Berry Crochet Wreath Coaster
Make a small holiday wreath-shaped coaster with an open center, neatly increasing green ring, red crochet berries, and a simple contrasting bow. Unlike existing flat spiderweb and snowflake coasters, this one has a true wreath hole.
Make this project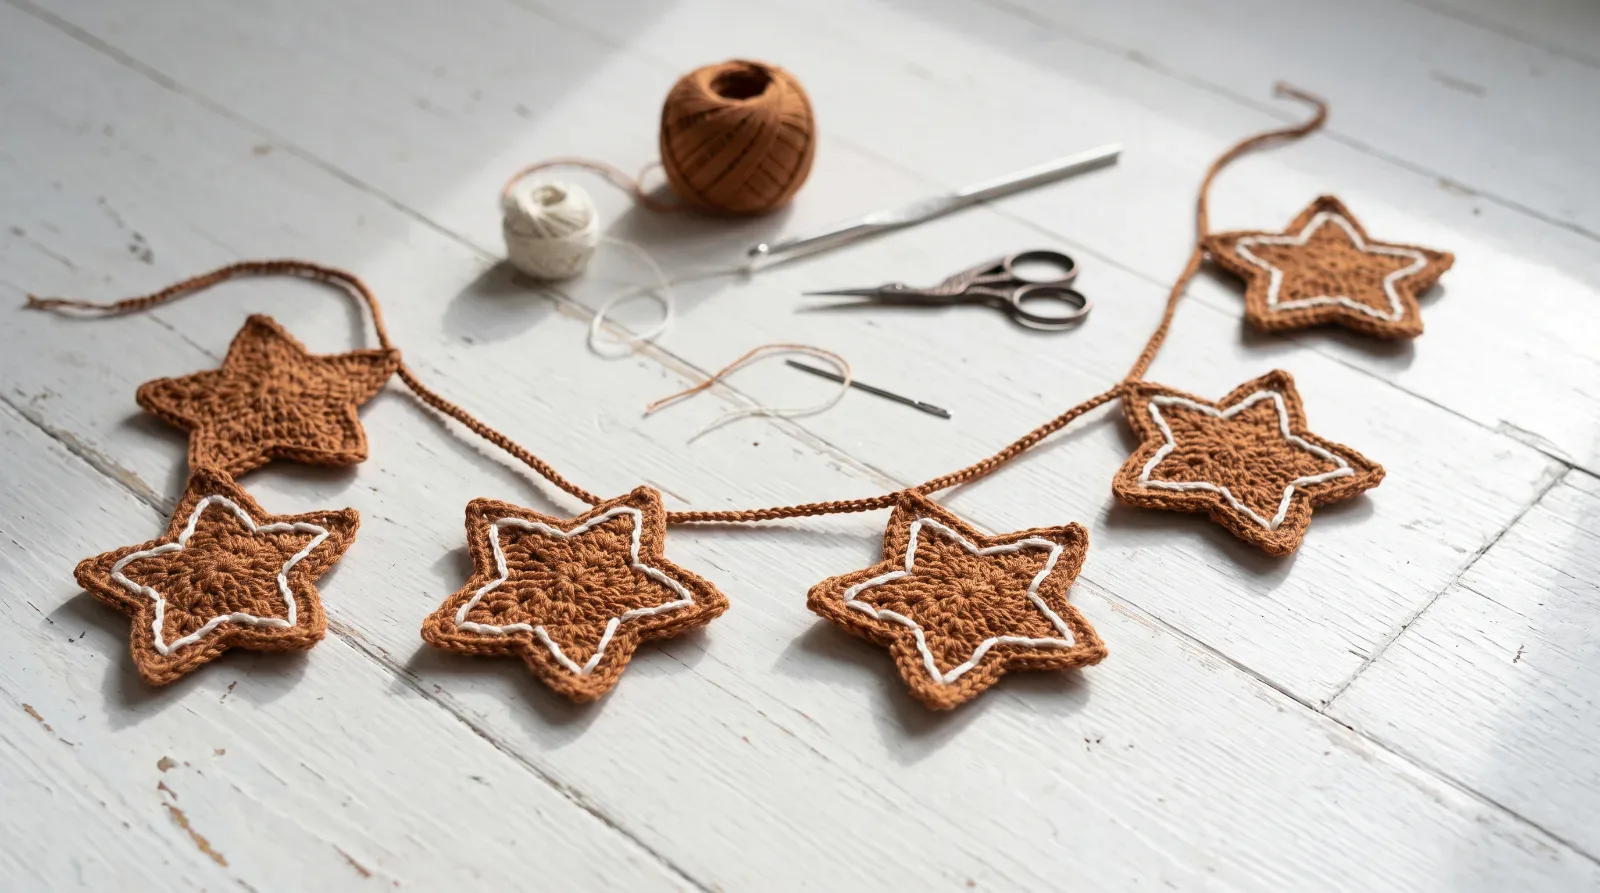
Frosted Gingerbread Star Crochet Garland
Crochet five flat, five-point gingerbread-cookie-inspired stars, embroider neat white icing details, and thread them into a lightweight Christmas garland. These are flat stars, not copies of the existing gingerbread character charm.
Make this project