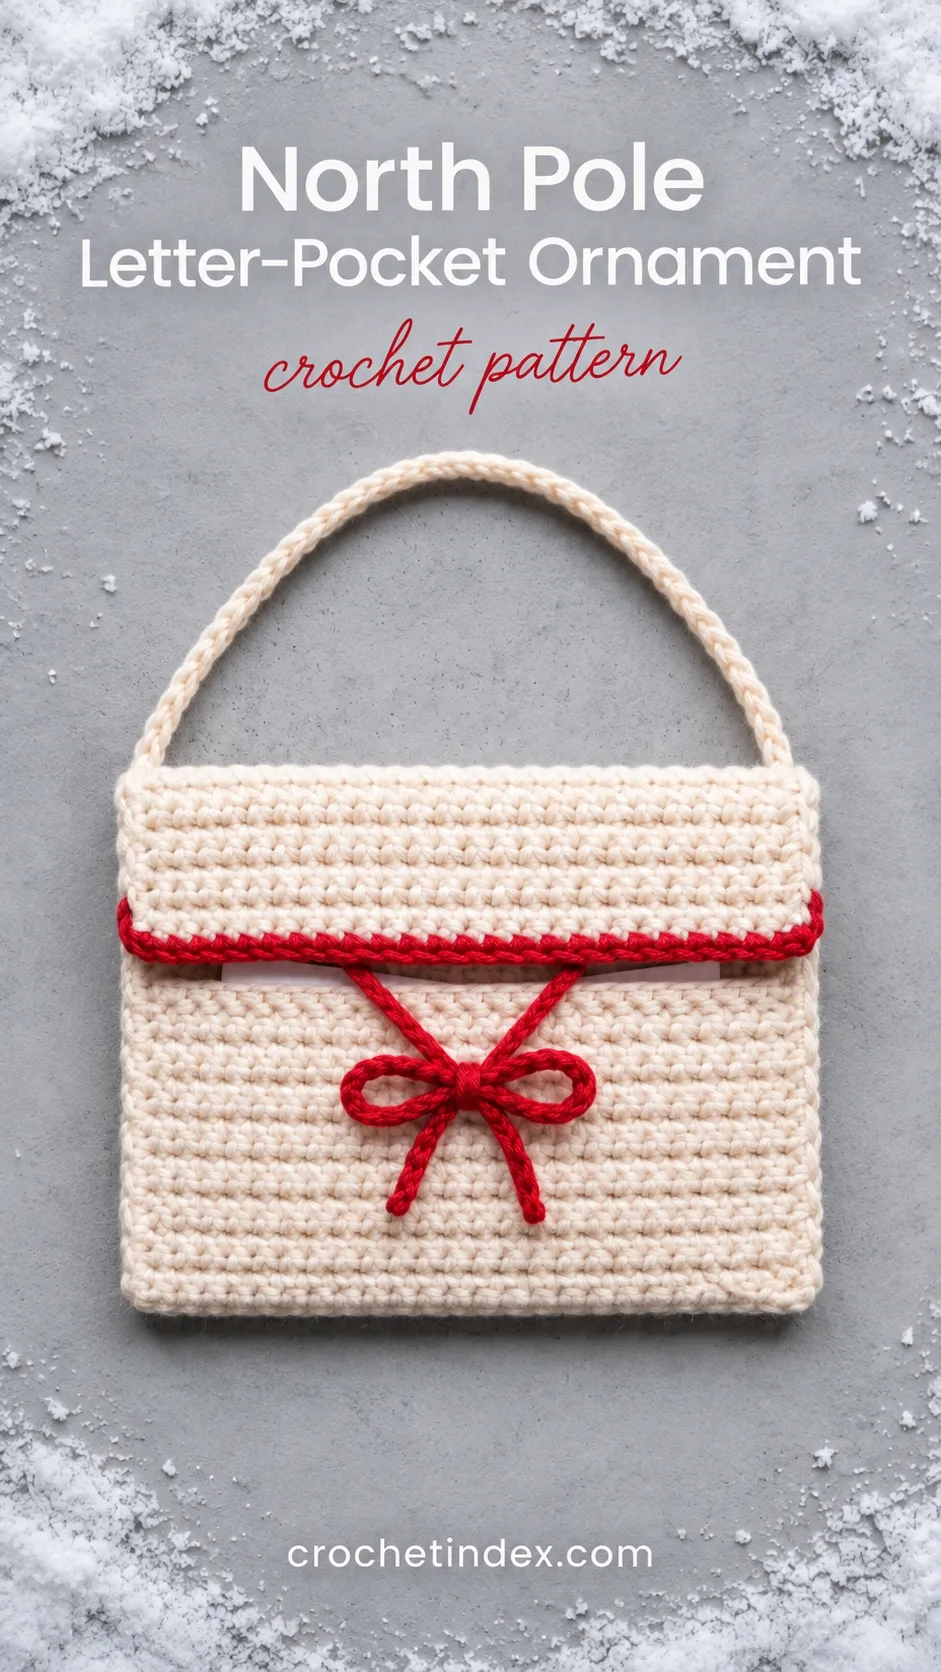
North Pole Letter-Pocket Ornament Crochet Pattern
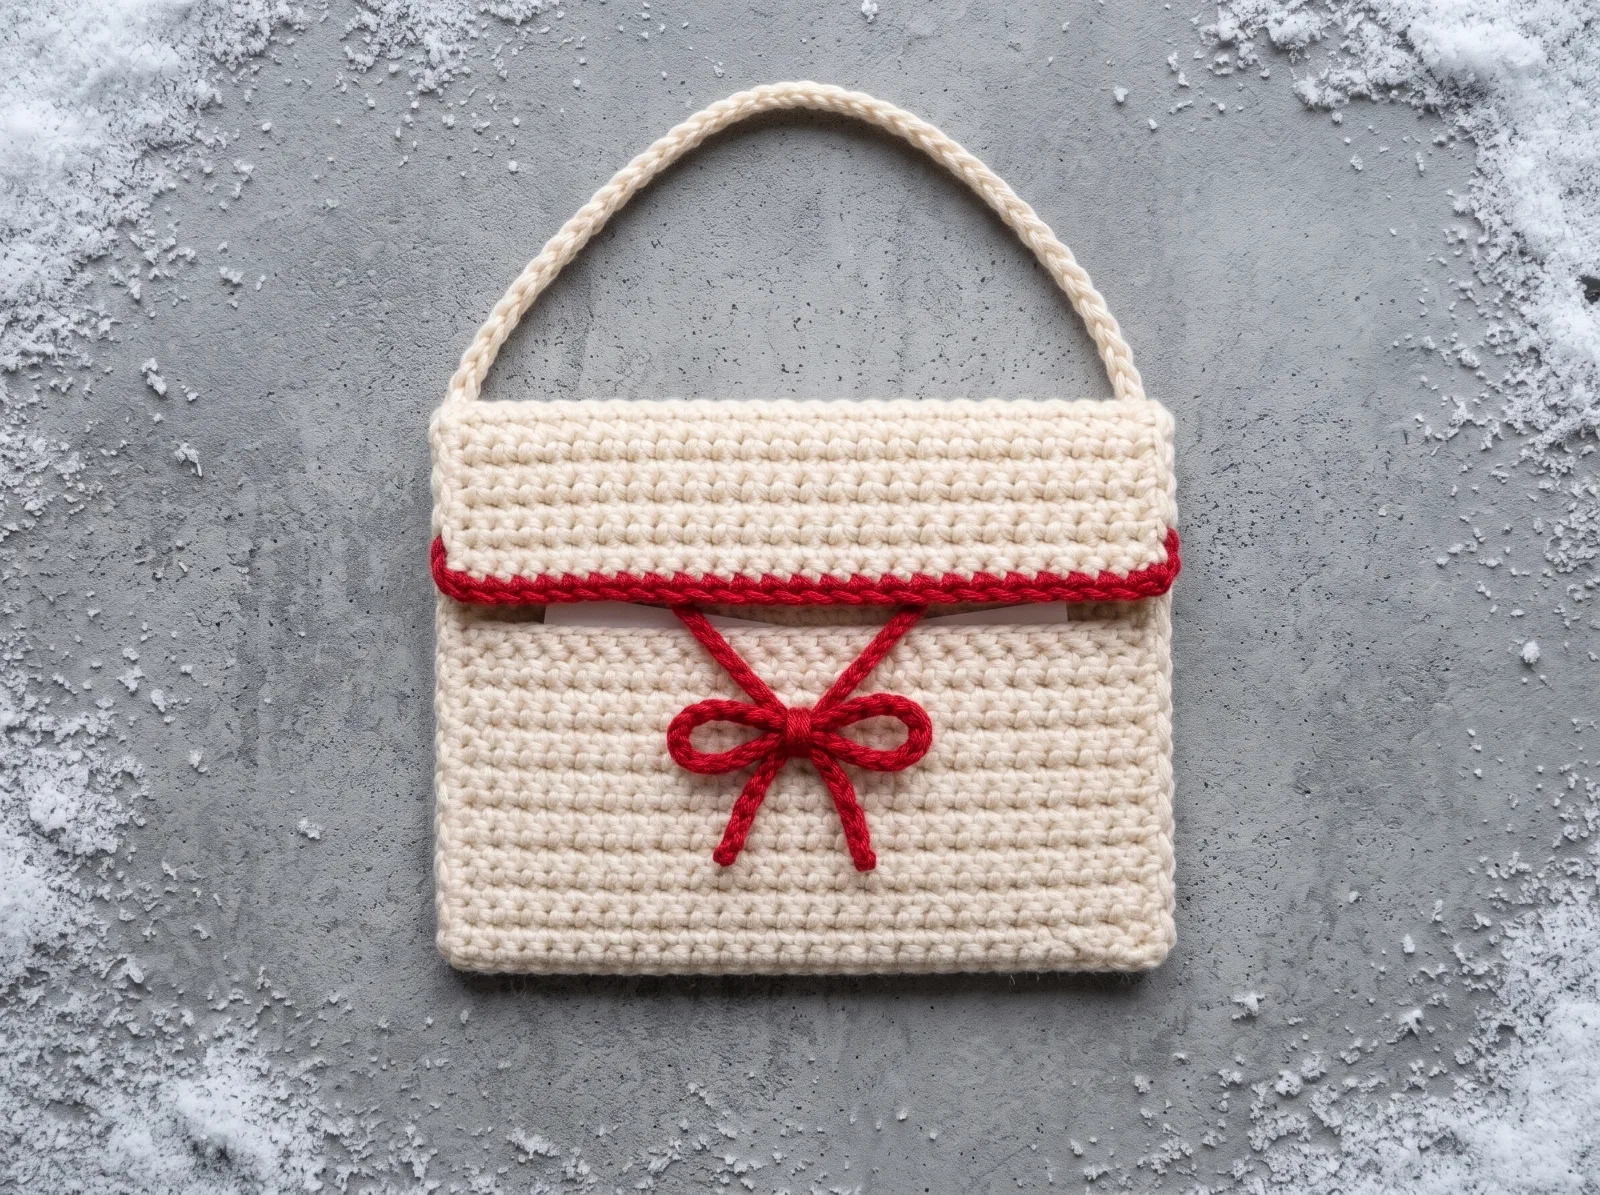
Make one flat, cream-colored crochet envelope ornament with an 18-stitch-wide front pocket, a taller back that folds forward as a five-row rectangular flap, red crochet chain-tie closure and a cream hanging loop. It holds a tiny folded note sized to the actual finished pocket.
What you'll make
Crochet a North Pole letter-pocket ornament with flat envelope panels, a rectangular flap, red chain ties and hanger. Counted US pattern and instructions.
Quick answer: North Pole Letter-Pocket Ornament is a easy crochet project with an estimated making time of ~50–65 minutes. Materials include DK (#3) cotton yarn in cream (two panels and hanging loop), Small amount of red DK cotton yarn (front-edge trim and two short chain ties), 3.5 mm crochet hook, or hook that gives a firm flat fabric. See the full written instructions and construction steps below.
A closer look
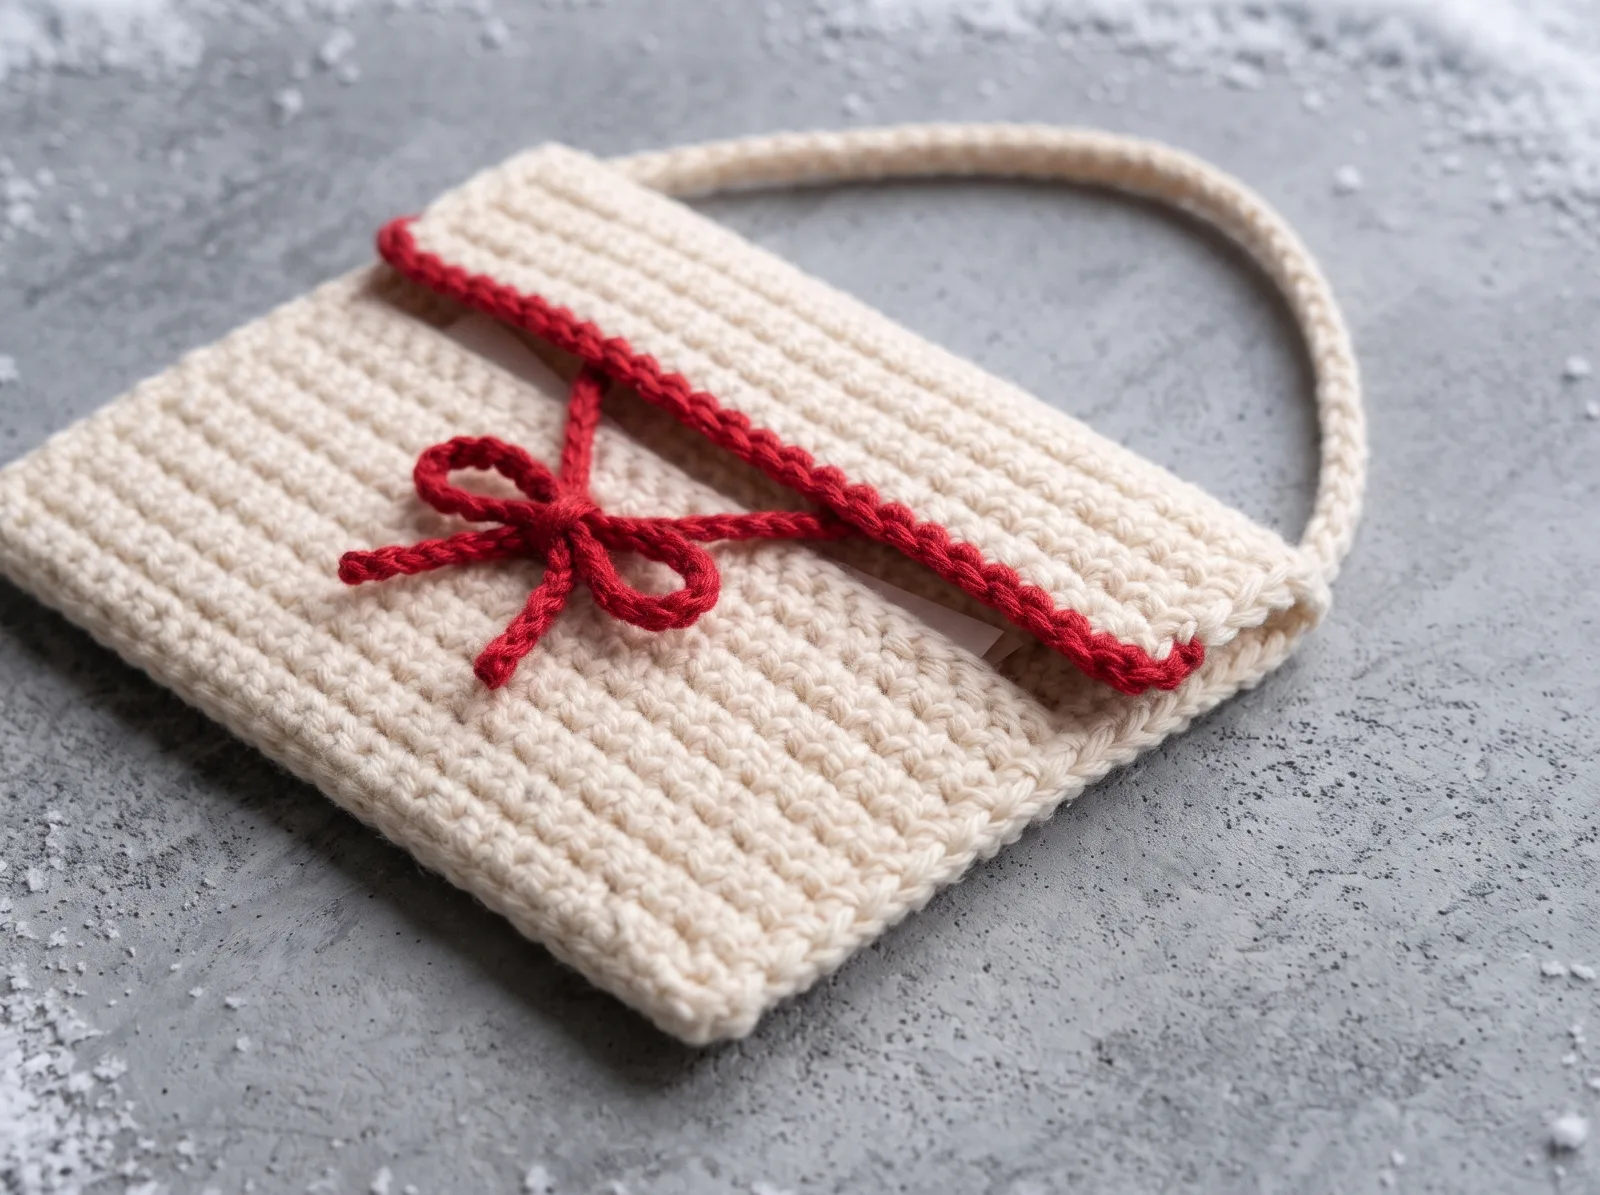
Make one flat, cream-colored crochet envelope ornament with an 18-stitch-wide front pocket, a taller back that folds forward as a five-row rectangular flap, red crochet chain-tie closure and a cream hanging loop. It holds a tiny folded note sized to the actual finished pocket.
- The envelope has a RECTANGULAR five-row flap, NOT a pointed triangle; cream 18-stitch front/back, red top trim, red tie-bow, and ONE cream hanging loop from the back corners.
- Show either the flap closed with visible red ties or open with a tiny folded note; avoid lettering, buttons, buckles, safety pins, or embroidered postage stamps not present in the pattern.
What you'll need
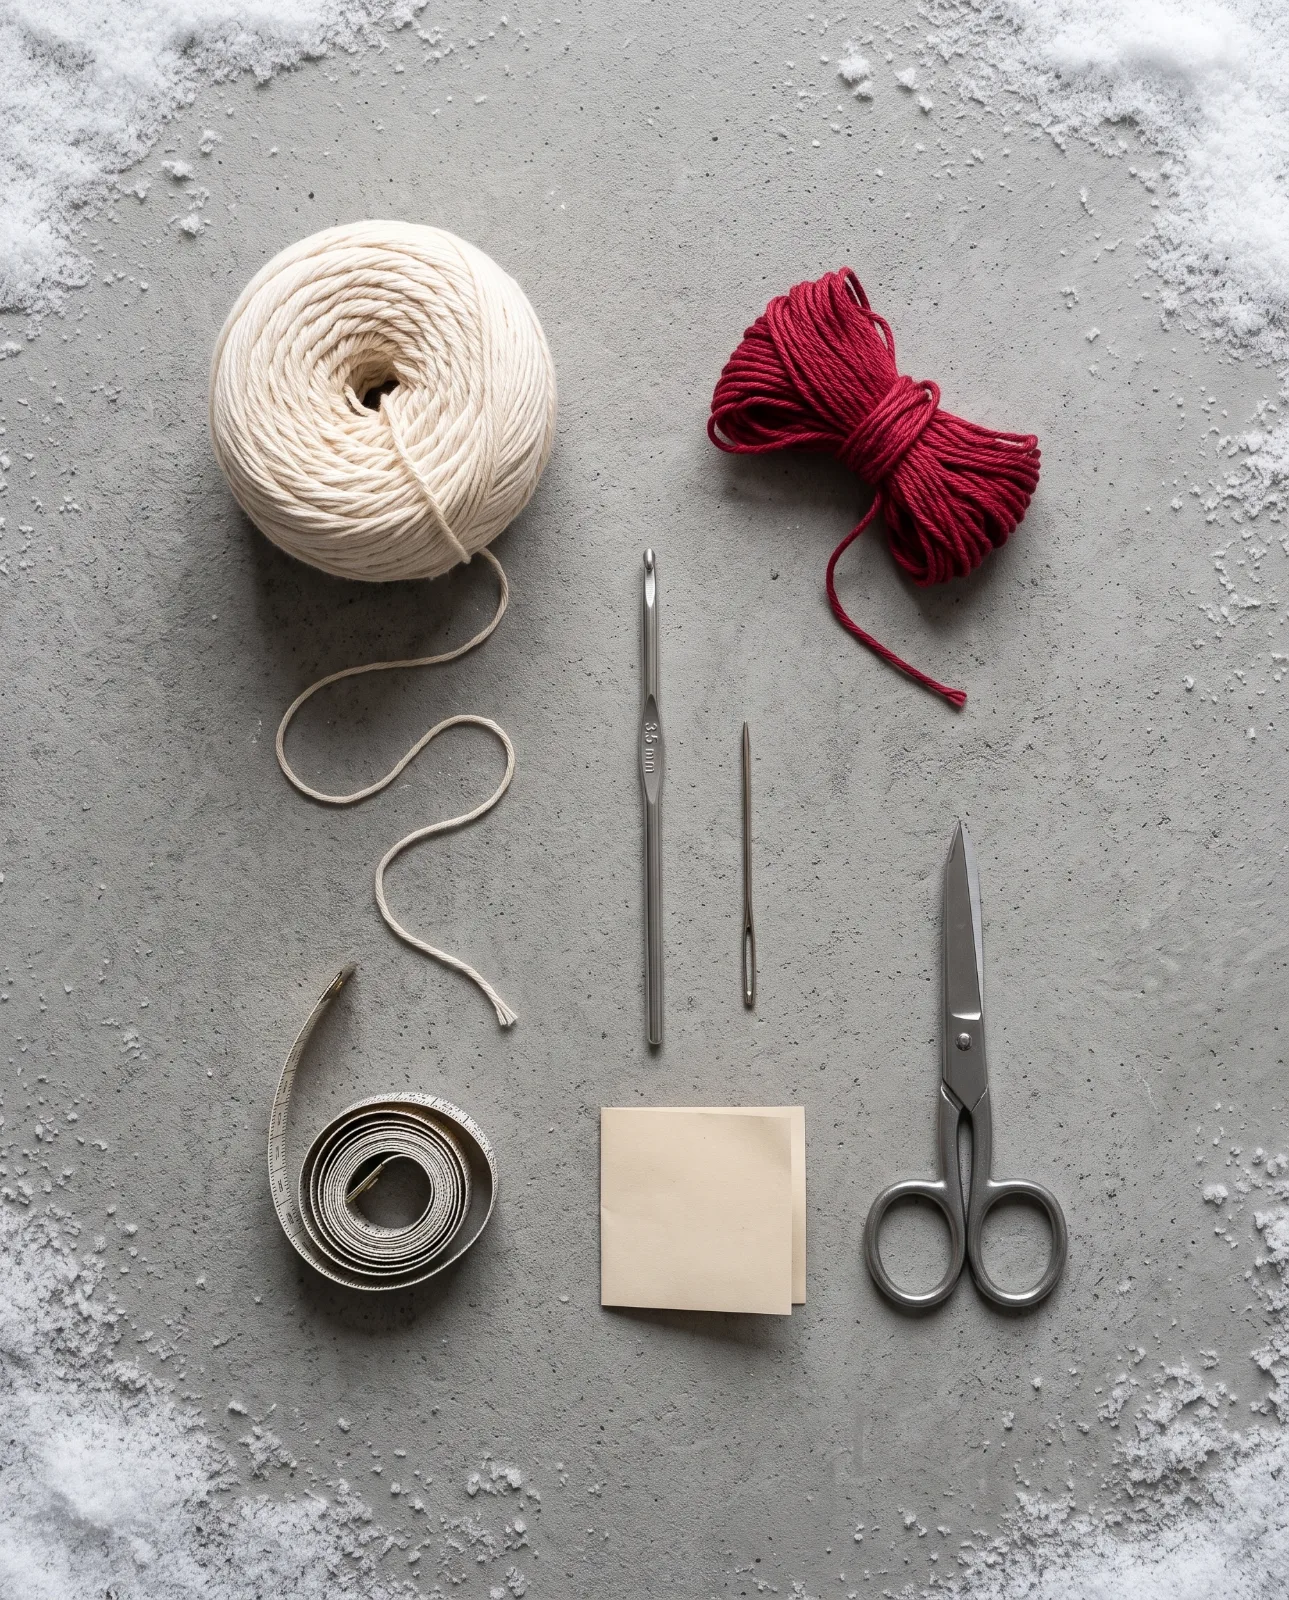
- DK (#3) cotton yarn in cream (two panels and hanging loop)
- Small amount of red DK cotton yarn (front-edge trim and two short chain ties)
- 3.5 mm crochet hook, or hook that gives a firm flat fabric
- Yarn needle, scissors, measuring tape
- Small folded paper note cut to fit INSIDE the completed pocket; no buttons or stuffing
Written crochet instructions and construction notes
Read the abbreviations first, check the notes, then work through the pattern in order. Detailed steps summarize the construction; the ordered written pattern below is the source for individual rounds and rows.
This is ONE canonical 18-stitch-wide design. The incompatible 17-stitch pointed-flap draft has been replaced.
Leave the entire front Row 13 edge open; stitch only left, bottom and right edges.
Closure is two red crocheted chain ties, NOT a buttonhole/button. Fit a paper note to actual pocket measurements; choose paper dimensions based on the actual crocheted pocket opening.
Construction overview
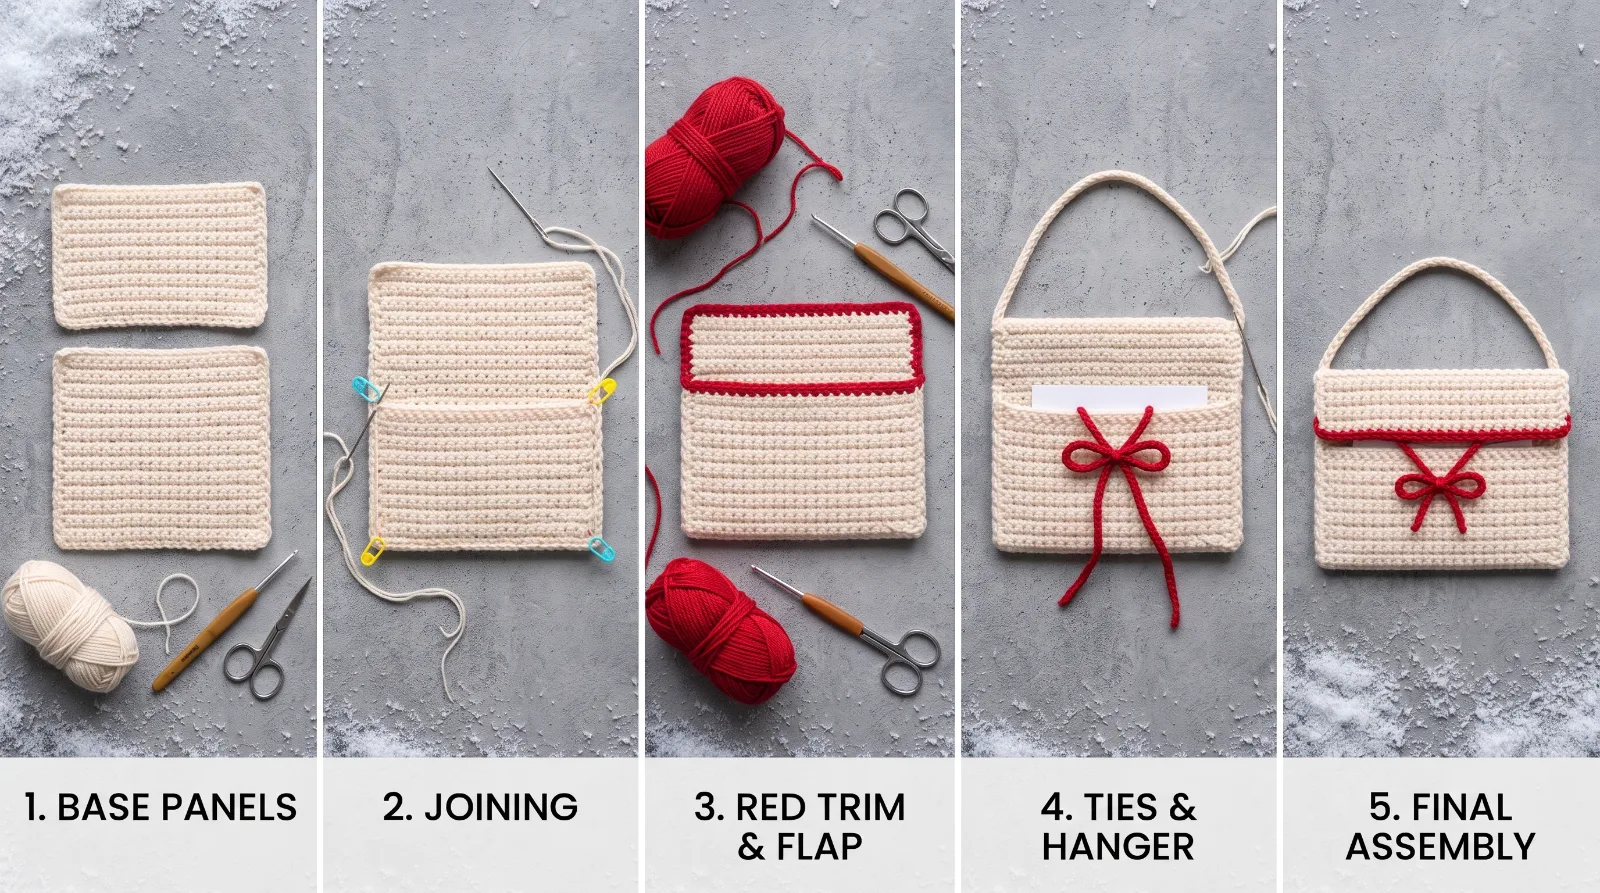
Follow the counted construction and finishing steps
US crochet terms; complete counted instructions are also in the Written Pattern section. Digital stitch/assembly review is not a physical maker test.
Crochet the 18-stitch front
US TERMS AND ORIENTATION: ch = chain, sc = single crochet, sl st = slip stitch, RS = right side. Turning ch 1 does NOT count as a stitch. Both panels are worked in flat ROWS, bottom to top; no magic ring or increases. This version REPLACES the older 17-stitch triangular-flap concept. FRONT PANEL, cream: Ch 19. Row 1: sc in second ch from hook and in each remaining ch (18 sc). FRONT PANEL Rows 2–13: ch 1, turn, sc in each of 18 stitches (18 sc per row). Fasten off with a 45 cm tail. The straight Row 13 edge is the FRONT pocket opening.
Crochet the taller 18-stitch back
BACK PANEL, cream: Ch 19. Row 1: sc in second ch from hook and in each remaining ch (18 sc). BACK PANEL Rows 2–18: ch 1, turn, sc in each of 18 stitches (18 sc per row). Fasten off with a 45 cm tail. Rows 14–18 of this back panel extend ABOVE the shorter front and become a simple 5-row RECTANGULAR flap.
Sew three pocket sides, leaving mouth open
ASSEMBLE POCKET: Place front against the LOWER 13 rows of back, with foundation edges and side edges aligned, both good sides outward. Sew through matching fabric along LEFT side edge of front Rows 1–13, along 18 bottom foundation-chain positions, and along RIGHT side edge of front Rows 1–13. Keep the entire straight FRONT Row 13 edge OPEN. Secure yarn ends inside seam; do not stitch across the pocket mouth.
Fold the five-row rectangular flap
FOLD FLAP: Fold back-panel Rows 14–18 forward over the straight open top of the front. The flap is a shallow rectangular cover, not a triangular pointed envelope. Crease gently with fingers; do not sew the flap permanently shut.
Add the 18-stitch red front-edge trim
RED OPENING TRIM: Join red at one end of the visible FRONT Row 13 edge; work 1 sc into each of its 18 stitch tops (18 red sc), then fasten off. Do NOT crochet across the opening or join front and back while edging.
Make and sew two red chain ties
TWO TIES, red (make 2): Ch 16 and fasten off each chain, leaving at least 20 cm sewing tail (15 chain links per tie). Sew one chain end to the FRONT center where the folded flap tip reaches, between sc positions 9 and 10 of Row 9; sew the other chain end to the CENTER of the free flap edge between sc 9 and 10 of BACK Row 18. Secure both anchors from the reverse side. Tie the free chain ends together in a small bow to hold the flap down; untie to insert a note. NO button or buttonhole is used.
Make the cream hanging loop
HANGING LOOP, cream: Ch 25; sl st in second ch from hook and each remaining ch (24 sl st). Fasten off with long tails, form a smooth U-shaped loop behind the back panel, and stitch the two loop ends firmly to the LEFT and RIGHT back-panel corners at the Row 13/14 level. Take two separate anchor passes at each corner; keep the loop clear of the flap.
Check note fit and finish
CHECK NOTE FIT: Measure the ACTUAL finished inner opening and usable pocket height. Fold or trim a paper note so its width and height are about 1 cm smaller than those measurements; check that it can slide in and out before tying the closure. Exact paper/card dimensions cannot be guaranteed without measured crochet gauge. FINISH: Weave all yarn tails inside or behind panel seams. Finished construction is ONE flat cream envelope with straight sides, five-row rectangular foldover flap, ONE red trim across the open front edge, TWO red chain ties and ONE cream rear hanging loop. No stitched text, button, triangular flap, zipper, or plush stuffing.
Small details that make the finish better
- The envelope has a RECTANGULAR five-row flap, NOT a pointed triangle; cream 18-stitch front/back, red top trim, red tie-bow, and ONE cream hanging loop from the back corners.
- Show either the flap closed with visible red ties or open with a tiny folded note; avoid lettering, buttons, buckles, safety pins, or embroidered postage stamps not present in the pattern.
Ways to adapt the project
Change the yarn color, finishing touches, or small embellishments while keeping the same core construction.
Common questions before you start
Which crochet terms does this pattern use?
Where are the exact crochet instructions?
Can I change the yarn color?
Does this project have a fixed finished size?
Save this crochet project for later
Save this project so you can come back to the pattern, materials list, and steps later.
Explore related project collections
Pick the next thing to make
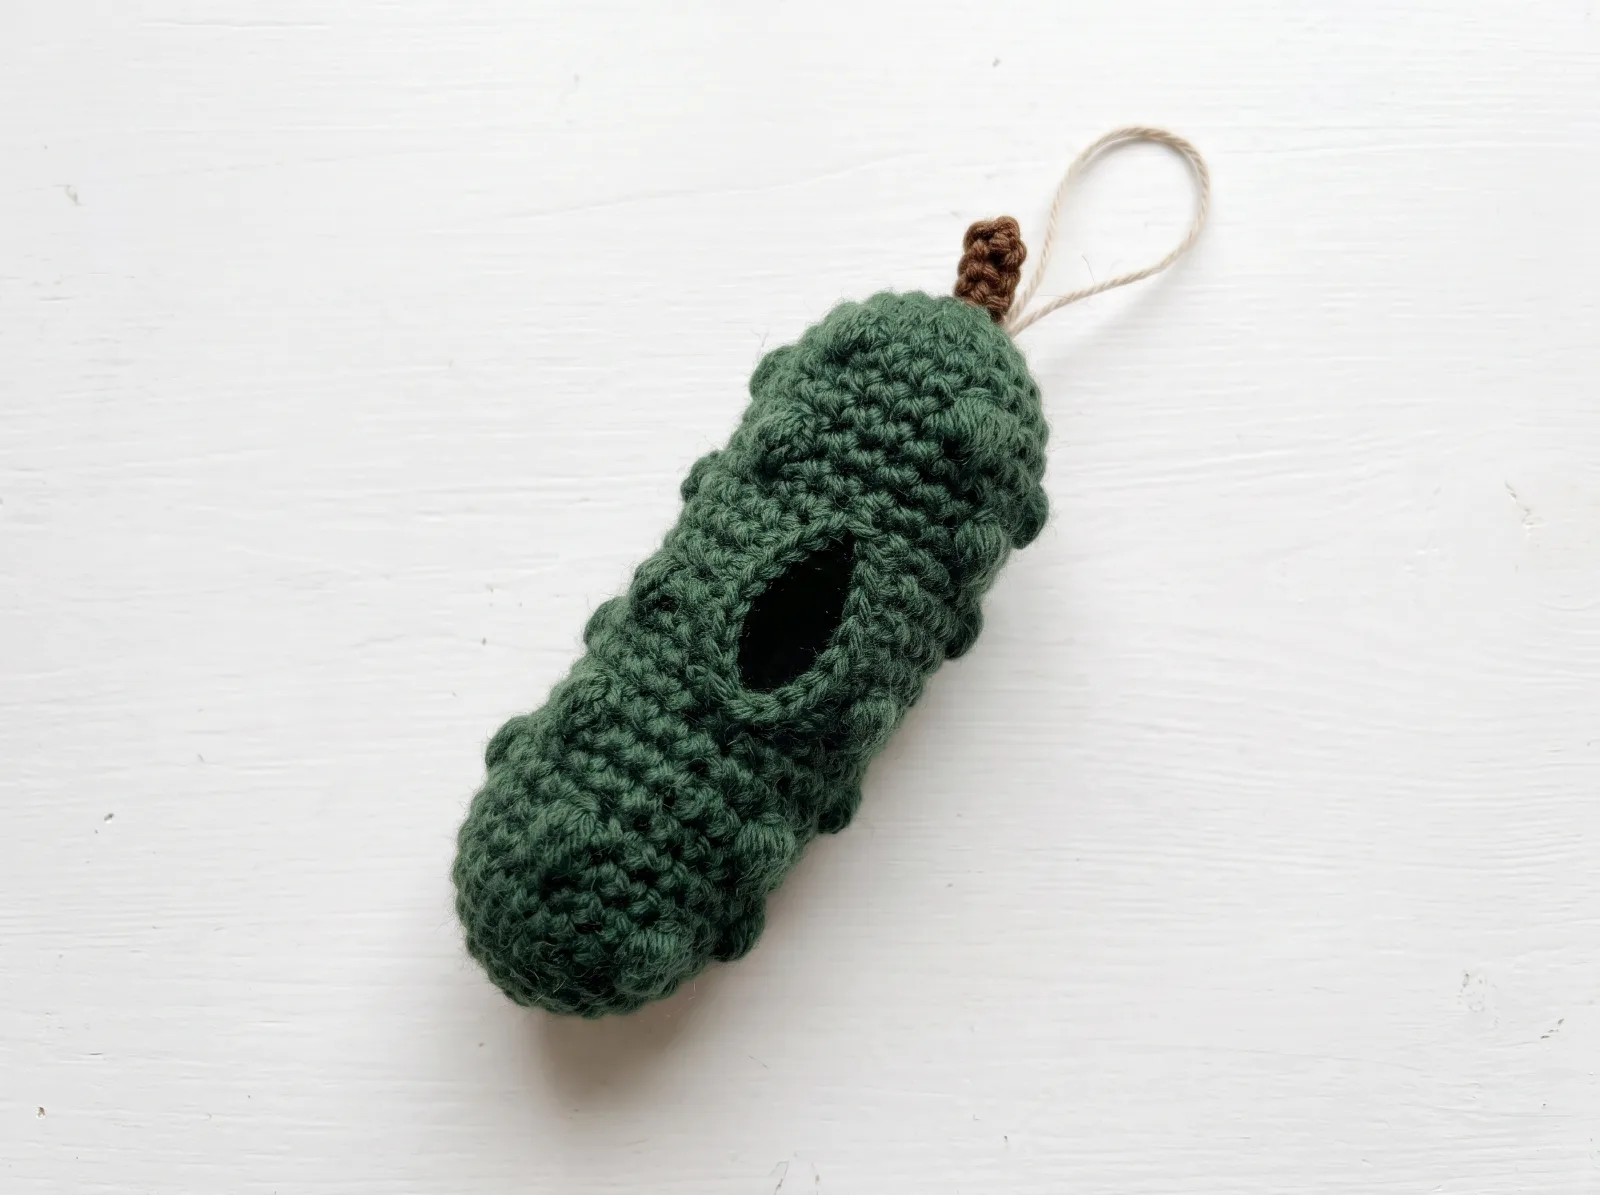
Secret-Wish Christmas Pickle Ornament
A crocheted elongated Christmas pickle ornament with a bobble-textured green body, a genuine side opening for a removable rolled wish, a separate inner sleeve, brown stem and hanging loop. The stitch arrangement is a working design interpretation of the uploaded concept photographs; gauge and shape remain to be checked in a yarn sample.
Make this project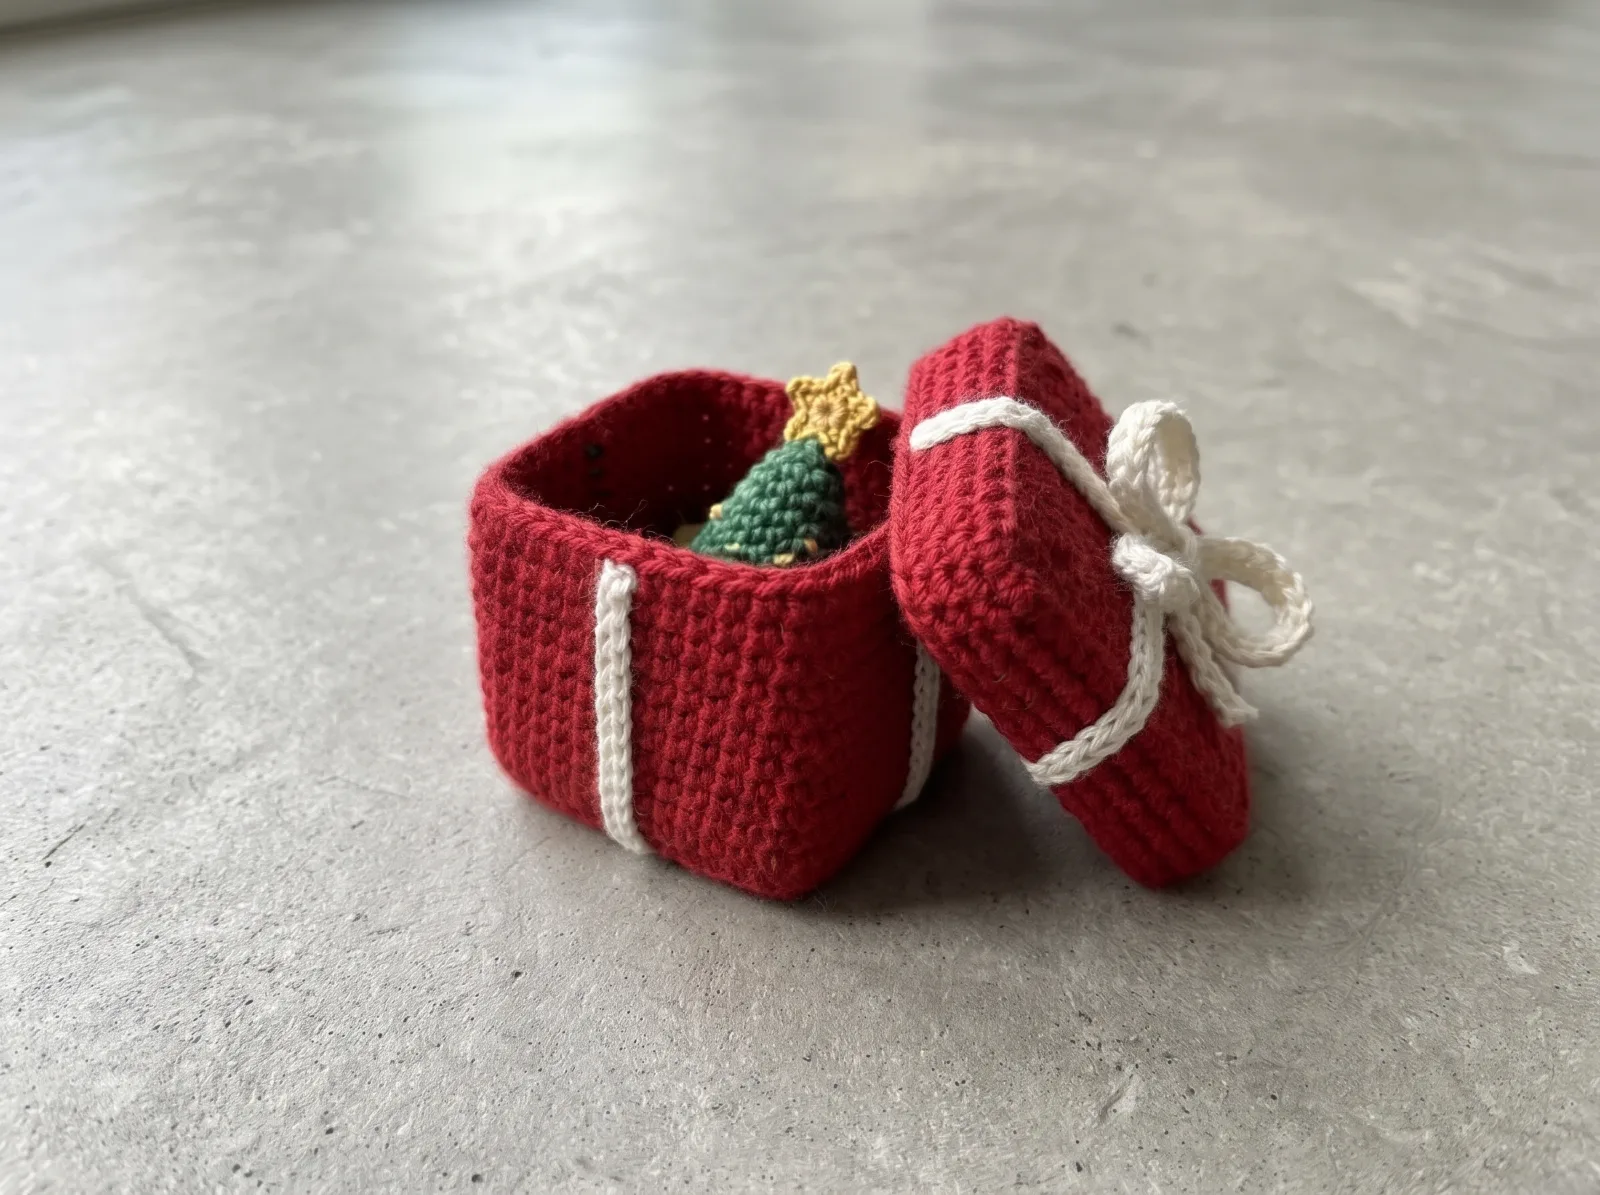
Tiny Surprise Crochet Gift Box
A tiny red crochet gift box with square upright walls, a truly removable red lid, sewn-on cream gift ribbons and a crocheted bow. An optional mini Christmas tree fits inside as the surprise. The photographs show the red box and blue/green gift-wrap color variations; this is a working construction intended for hands-on gauge and lid-fit checks.
Make this project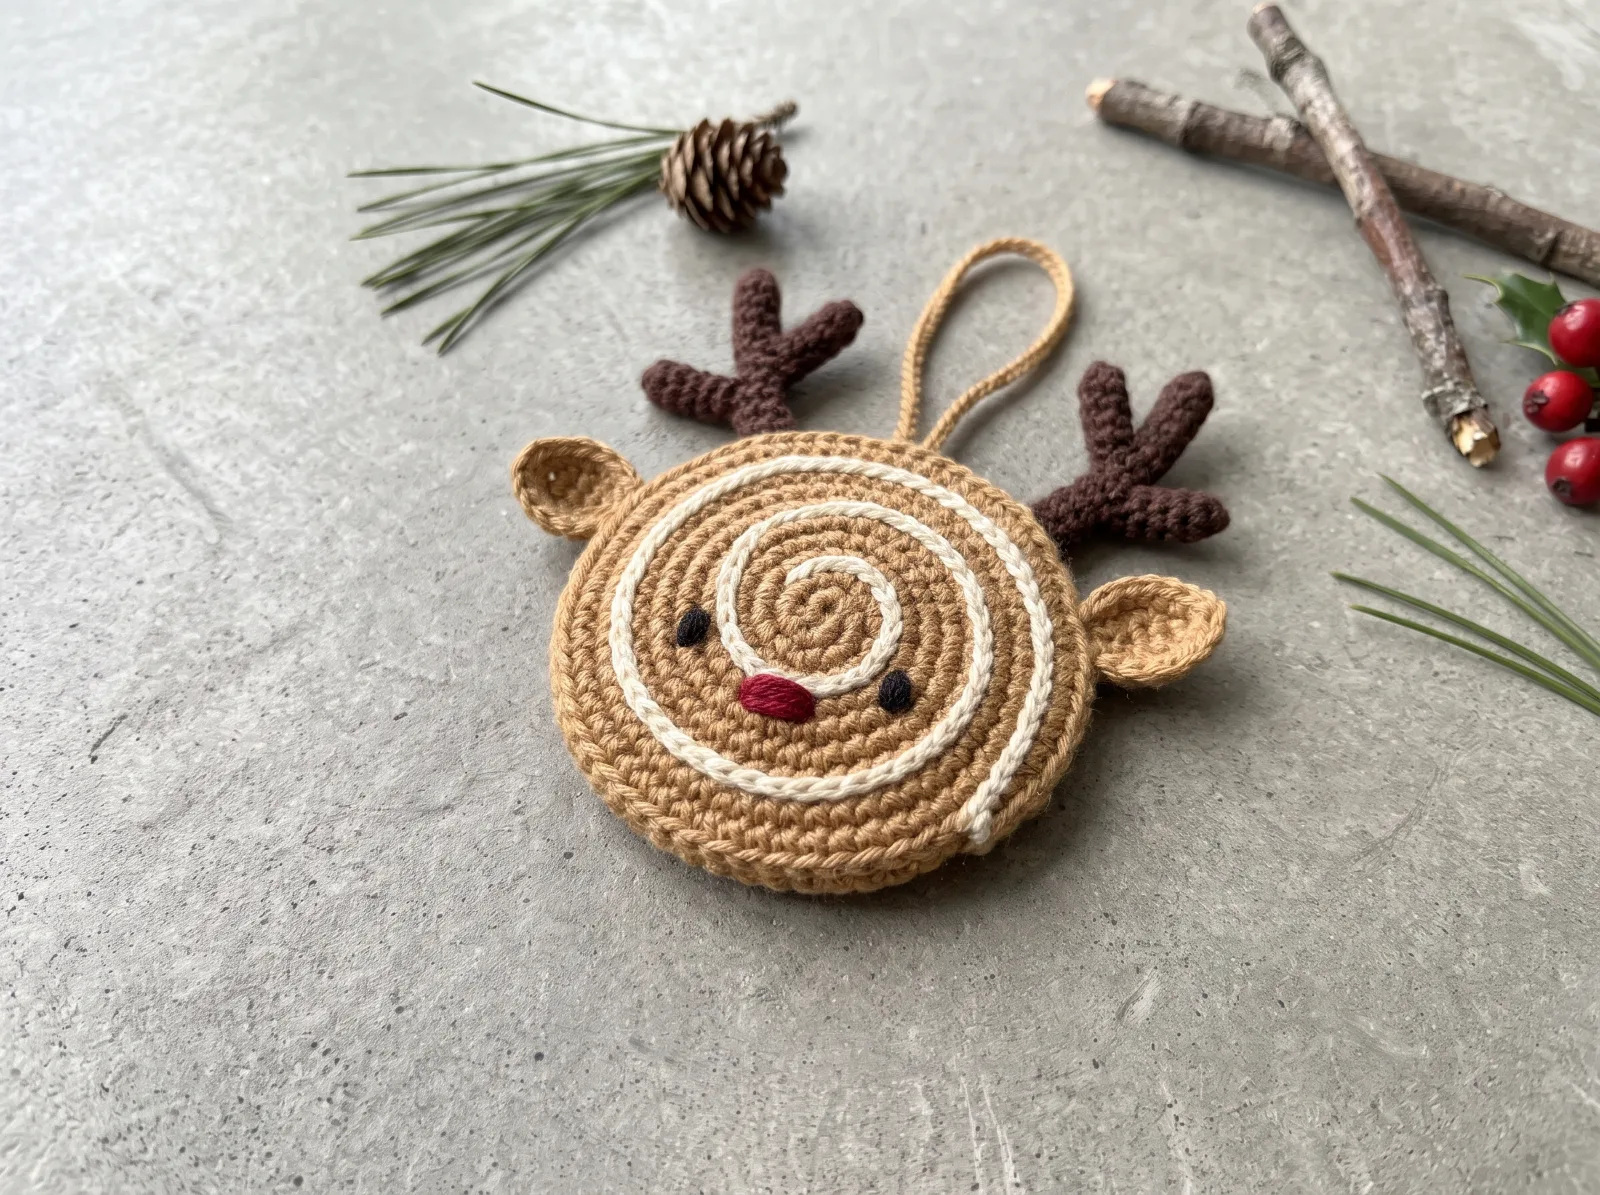
Cinnamon Roll Reindeer Bag Charm
Crochet a decorative mini cinnamon-roll reindeer charm from one flat 44-stitch-long, five-row ribbon coiled into a visible cream-edged spiral, with two tiny tan ears, two branched dark-brown antlers, embroidered eyes and red nose, and a sewn-on tan yarn hanging loop. No stuffing or separate plush body.
Make this project