
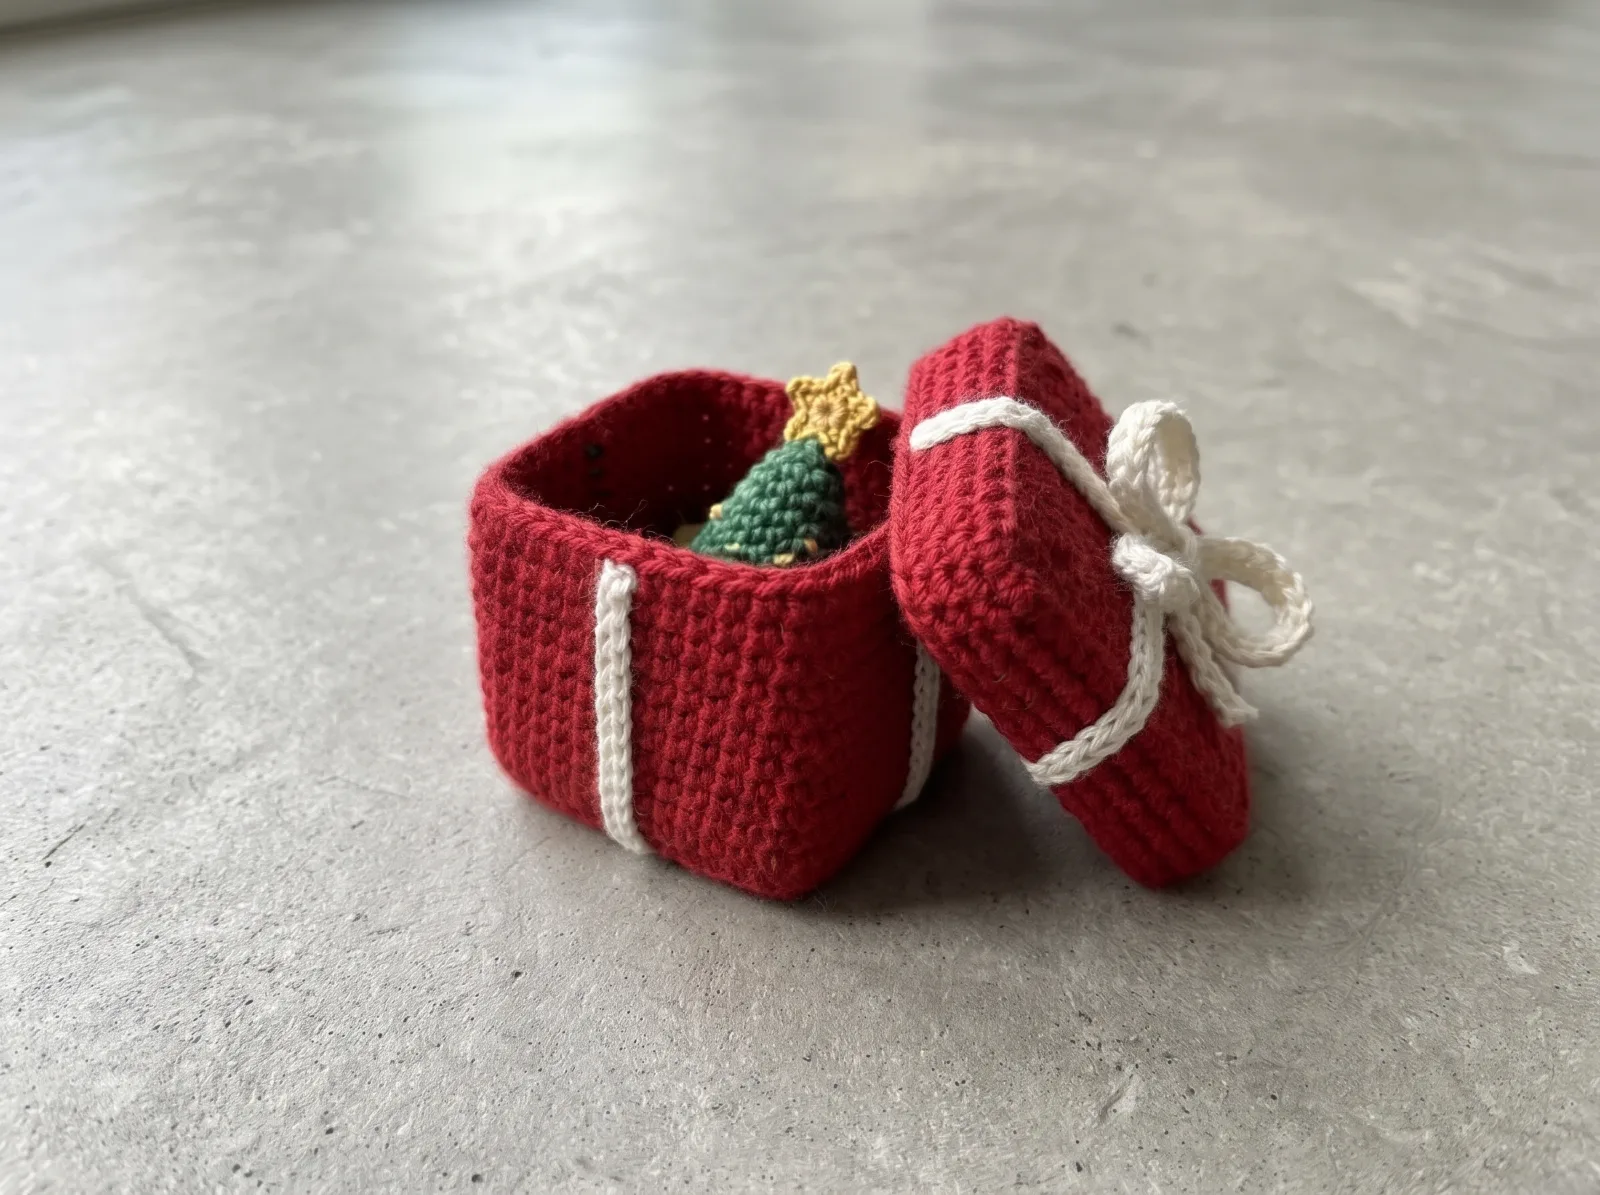
Tiny Surprise Crochet Gift Box Crochet Pattern
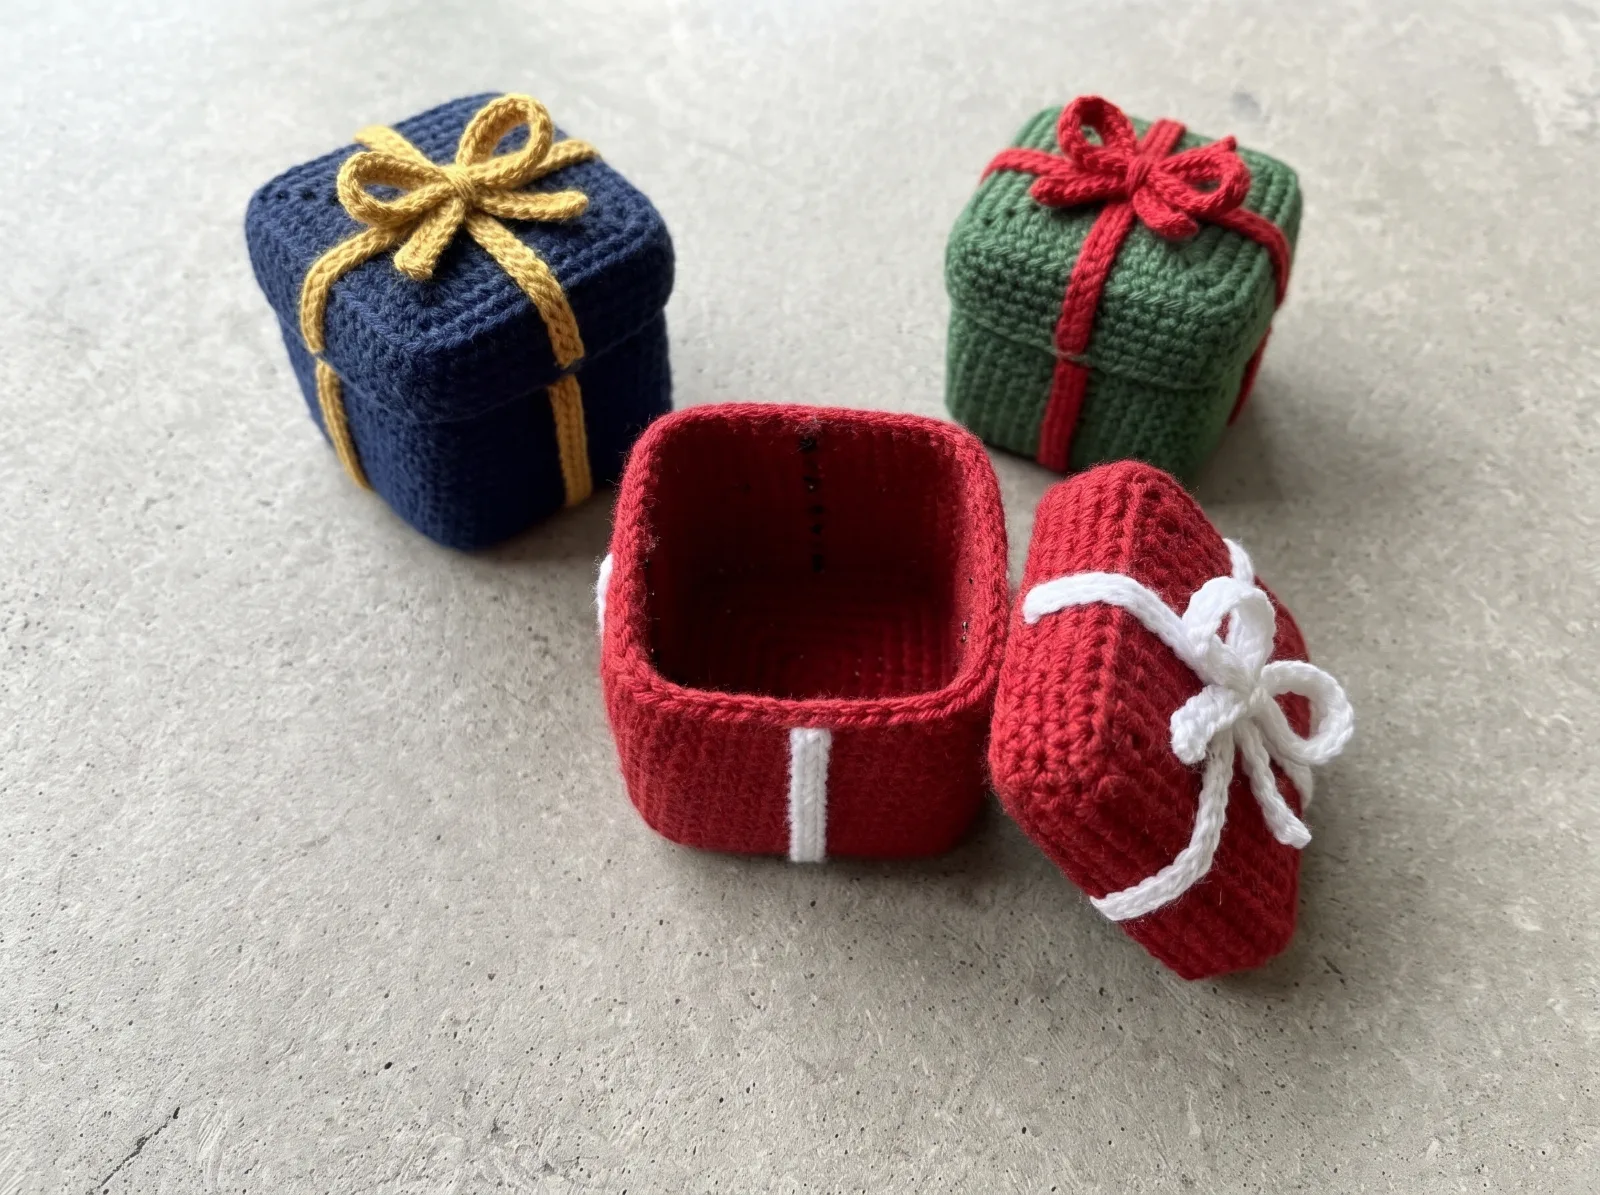
A tiny red crochet gift box with square upright walls, a truly removable red lid, sewn-on cream gift ribbons and a crocheted bow. An optional mini Christmas tree fits inside as the surprise. The photographs show the red box and blue/green gift-wrap color variations; this is a working construction intended for hands-on gauge and lid-fit checks.
What you'll make
Tiny red crochet gift box with separate removable lid, cream yarn ribbons and bow, plus an optional miniature Christmas tree surprise.
Quick answer: Tiny Surprise Crochet Gift Box is a intermediate crochet project with an estimated making time of ~100–130 minutes. Materials include Firm DK cotton yarn in red for box and lid, Small cream/ivory yarn for ribbon stripes and bow, Small green, brown and yellow scraps for optional miniature surprise tree. See the full written instructions and construction steps below.
A closer look
A tiny red crochet gift box with square upright walls, a truly removable red lid, sewn-on cream gift ribbons and a crocheted bow. An optional mini Christmas tree fits inside as the surprise. The photographs show the red box and blue/green gift-wrap color variations; this is a working construction intended for hands-on gauge and lid-fit checks.
- Test the loose lid against the box BEFORE sewing on decorations; a one-stitch difference does not guarantee fit.
- Ribbon strips on the lid and the box must be attached separately so the lid remains removable.
- Optional green tree insert must be smaller than the red box opening; avoid small parts around young children.
What you'll need
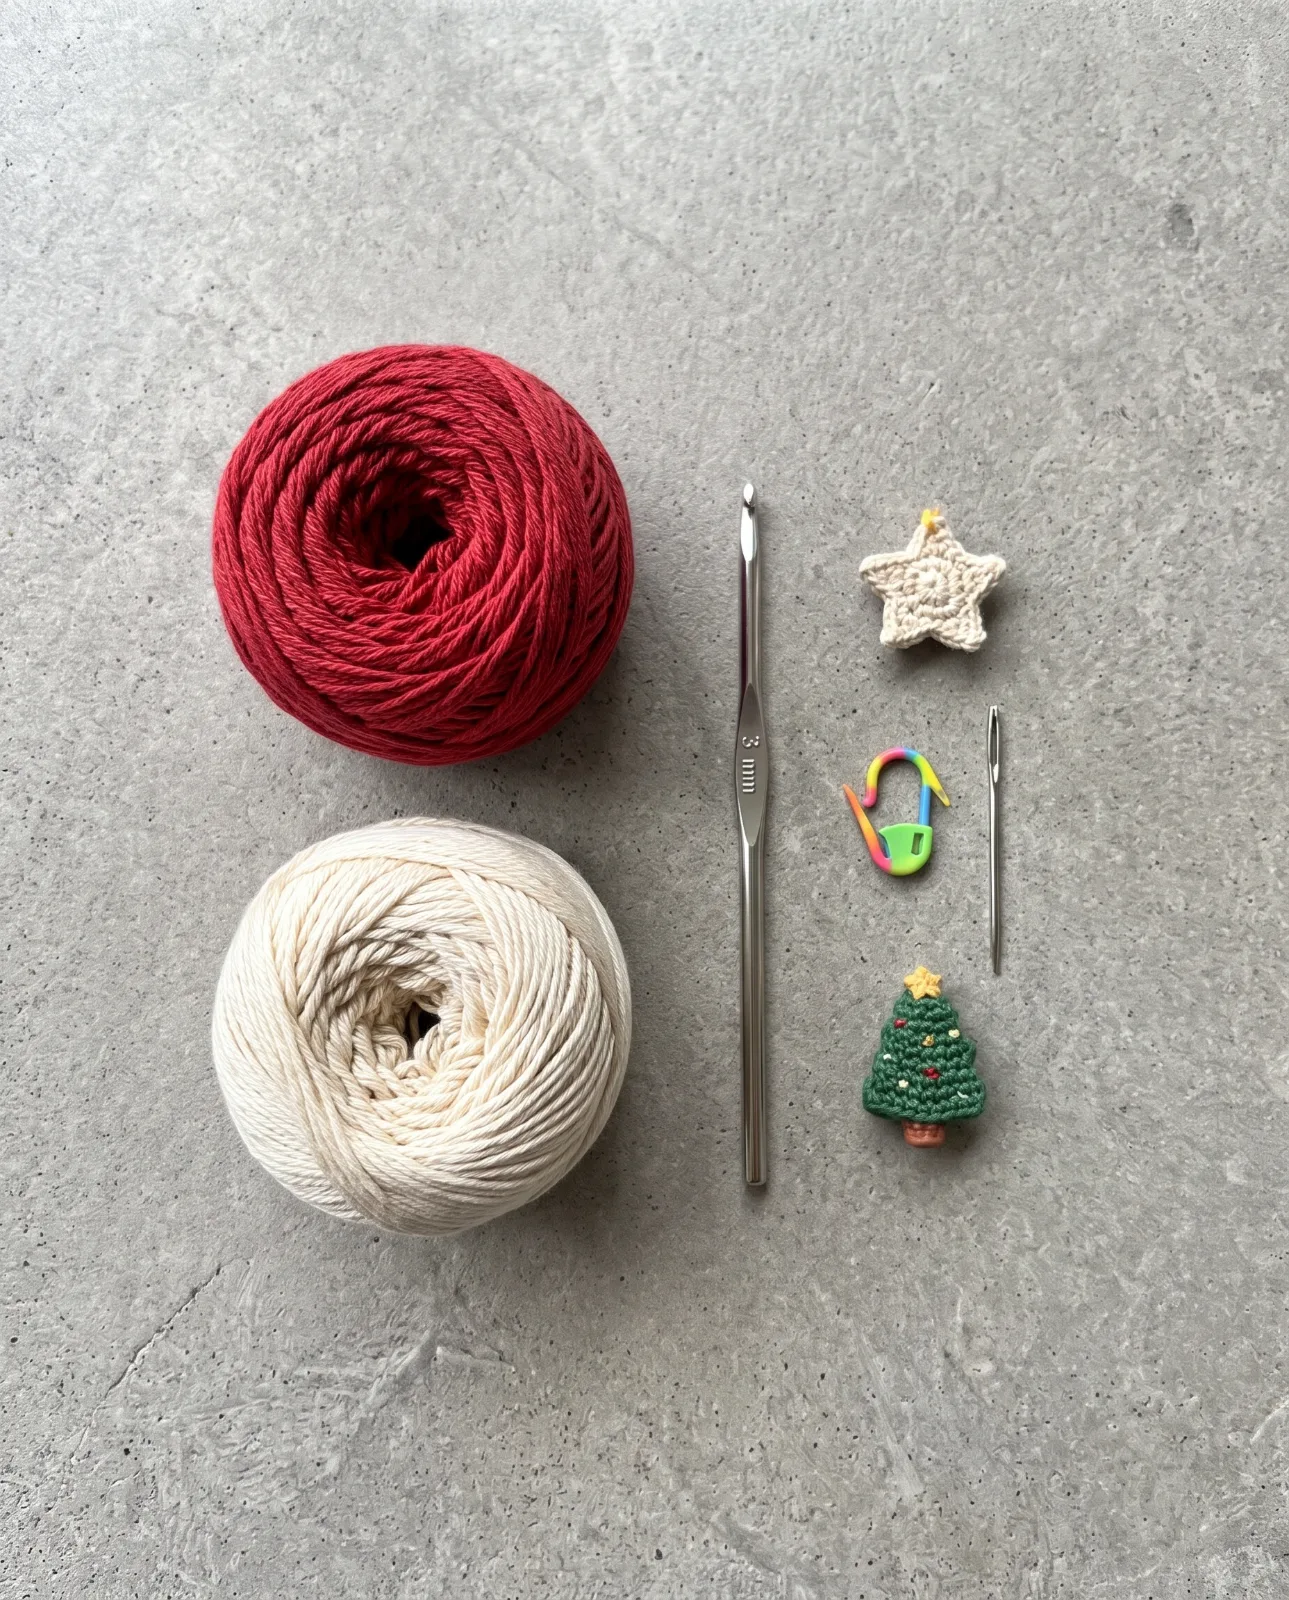
- Firm DK cotton yarn in red for box and lid
- Small cream/ivory yarn for ribbon stripes and bow
- Small green, brown and yellow scraps for optional miniature surprise tree
- 3 mm crochet hook (or hook for rigid fabric)
- Yarn/tapestry needle, stitch marker and scissors
- Optional small amount of stuffing for miniature tree
- Optional soft non-edible surprise that fits inside box
Written crochet instructions and construction notes
Read the abbreviations first, check the notes, then work through the pattern in order. Detailed steps summarize the construction; the ordered written pattern below is the source for individual rounds and rows.
Box base is 12 sc wide by 12 rows, with 48 picked-up perimeter stitches; 48 sc continues up the walls without added corners.
Lid begins 13 sc by 13 rows and picks up 52 perimeter stitches, with a shallow fold-down lip. Real fit depends on gauge.
Cream decorative ribbon stripes belong on the box and the removable lid separately; do not sew the lid shut.
A separate small green crochet tree insert matches the published illustration. Star details are ornamental without a precise verified chart.
Stitch arithmetic can be checked, but square corners, lid tension and miniature insert sizing require a physical maker sample.
Construction review note: Illustration-to-component mismatch and incomplete two-step construction corrected. This is an original working crochet draft, a working crochet interpretation whose dimensions require a hands-on sample.
Crochet construction — work in order
US crochet terms. Follow the written pattern for each row/round; photos are illustrative, not a stitch-count authority. Chains, joins and decorative stitches count only where stated.
Check US terms and materials
US TERMS: ch=chain, sc=single crochet, sl st=slip stitch, inc=2 sc in one stitch. Join rounds where instructed; joining sl st and starting ch 1 do not count as stitches. The sample uses firm DK cotton and a 3 mm hook. Work tight enough for a small gift box to hold its shape.
Crochet the red square base
RED SQUARE BASE: Ch 13. Row 1: sc in 2nd chain from hook and across (12 sc). Rows 2–12: ch 1, turn, sc across (12 sc each row). Make a 12-stitch by 12-row flat square, then fasten off the foundation strand.
Pick up the perimeter and fold
BASE WALL SETUP: With red attach at a corner. Pick up sc evenly around the base square: 12 sc along each of four edges, allocating each corner ONCE (48 sc total). Mark four 12-stitch corner groups. First wall round: sc in BACK LOOP ONLY of those 48 perimeter stitches (48); this makes a folded square edge at the bottom.
Build the square box walls
RAISE THE OPEN BOX: Continue sc through both loops for 9 further rounds of 48 sc (48 each round). Keep each corner directly above the marked corner of the square; do NOT increase as though you were making a flat square. Join final round, fasten off and weave ends INSIDE. Box stays open at its top.
Crochet a larger removable lid
REMOVABLE RED LID: Ch 14. Row 1: sc in 2nd chain from hook and across (13 sc). Rows 2–13: ch 1, turn, sc across (13 each row). Work 13 sc per side around this larger square, counting each corner once (52 sc). Work 1 BLO round at 52 sc to turn lid edge; then work 2 regular rounds of 52 sc for a shallow downturned lip. Fasten off. The one-stitch difference is only a starting guide; TRY THE LID ON the box before attaching accents and adjust by gauge if necessary.
Add cream ribbon stripes
CREAM RIBBON ACCENTS: Work four narrow cream slip-stitch strips, each ch 15, sl st in second ch and across (14 sl st). Sew two strips vertically to opposite OUTER box walls, stopping at the top rim; sew two strips over the lid in a cross, ending just above the lid lip. Do not sew lid to box. Secure yarn ends on the inside of the lid or box, not across the opening.
Make the small lid bow
CREAM BOW: Ch 25 with cream. Sl st in second chain from hook and remaining 23 chains (24 sl st); fasten off. Fold into two loops, wrap center with a short cream strand, and sew the bow to the crossed lid ribbons. This is decoration rather than a closure mechanism.
Crochet the optional surprise tree
MINI SURPRISE TREE (OPTIONAL GREEN INSERT): In green, MR 4 sc (4). Rnd 2: [sc, inc] × 2 (6). Rnd 3 sc 6. Rnd 4 [sc 2, inc] × 2 (8). Rnd 5 sc 8. Rnd 6 [sc 3, inc] × 2 (10). Rnd 7 sc 10. Rnd 8 [sc 4, inc] × 2 (12). Rnd 9 sc 12. Fasten off. Leave the base open for a little soft stuffing or close with a small separate 12-sc disk. Keep miniature tree smaller than the box opening.
Finish the star and decorations
TREE DETAILS / OPTIONAL STAR: Embroider a few small colored specks onto the green cone. Attach a small pre-made crocheted star OR make five short chain-3 points around a magic ring with yellow cotton (shape and size are decorative, NOT a tested star chart). Stitch a short brown yarn trunk to underside if desired. Keep anything removable OUT of reach of children.
Assemble and test lid fit
FINAL ASSEMBLY AND FIT: Place the completed tiny green tree (or another soft, non-edible gift) inside the OPEN red box. The red lid with a cream crossed ribbon and bow should lift off without tugging the base ribbon. Check edge fit and reinforce each bow and decoration with yarn needle before giving.
Small details that make the finish better
- Test the loose lid against the box BEFORE sewing on decorations; a one-stitch difference does not guarantee fit.
- Ribbon strips on the lid and the box must be attached separately so the lid remains removable.
- Optional green tree insert must be smaller than the red box opening; avoid small parts around young children.
Ways to adapt the project
Change the yarn color, finishing touches, or small embellishments while keeping the same core construction.
Common questions before you start
Which crochet terms does this pattern use?
Where are the exact crochet instructions?
Can I change the yarn color?
Does this project have a fixed finished size?
Save this crochet project for later
Save this project so you can come back to the pattern, materials list, and steps later.
Explore related project collections
Pick the next thing to make
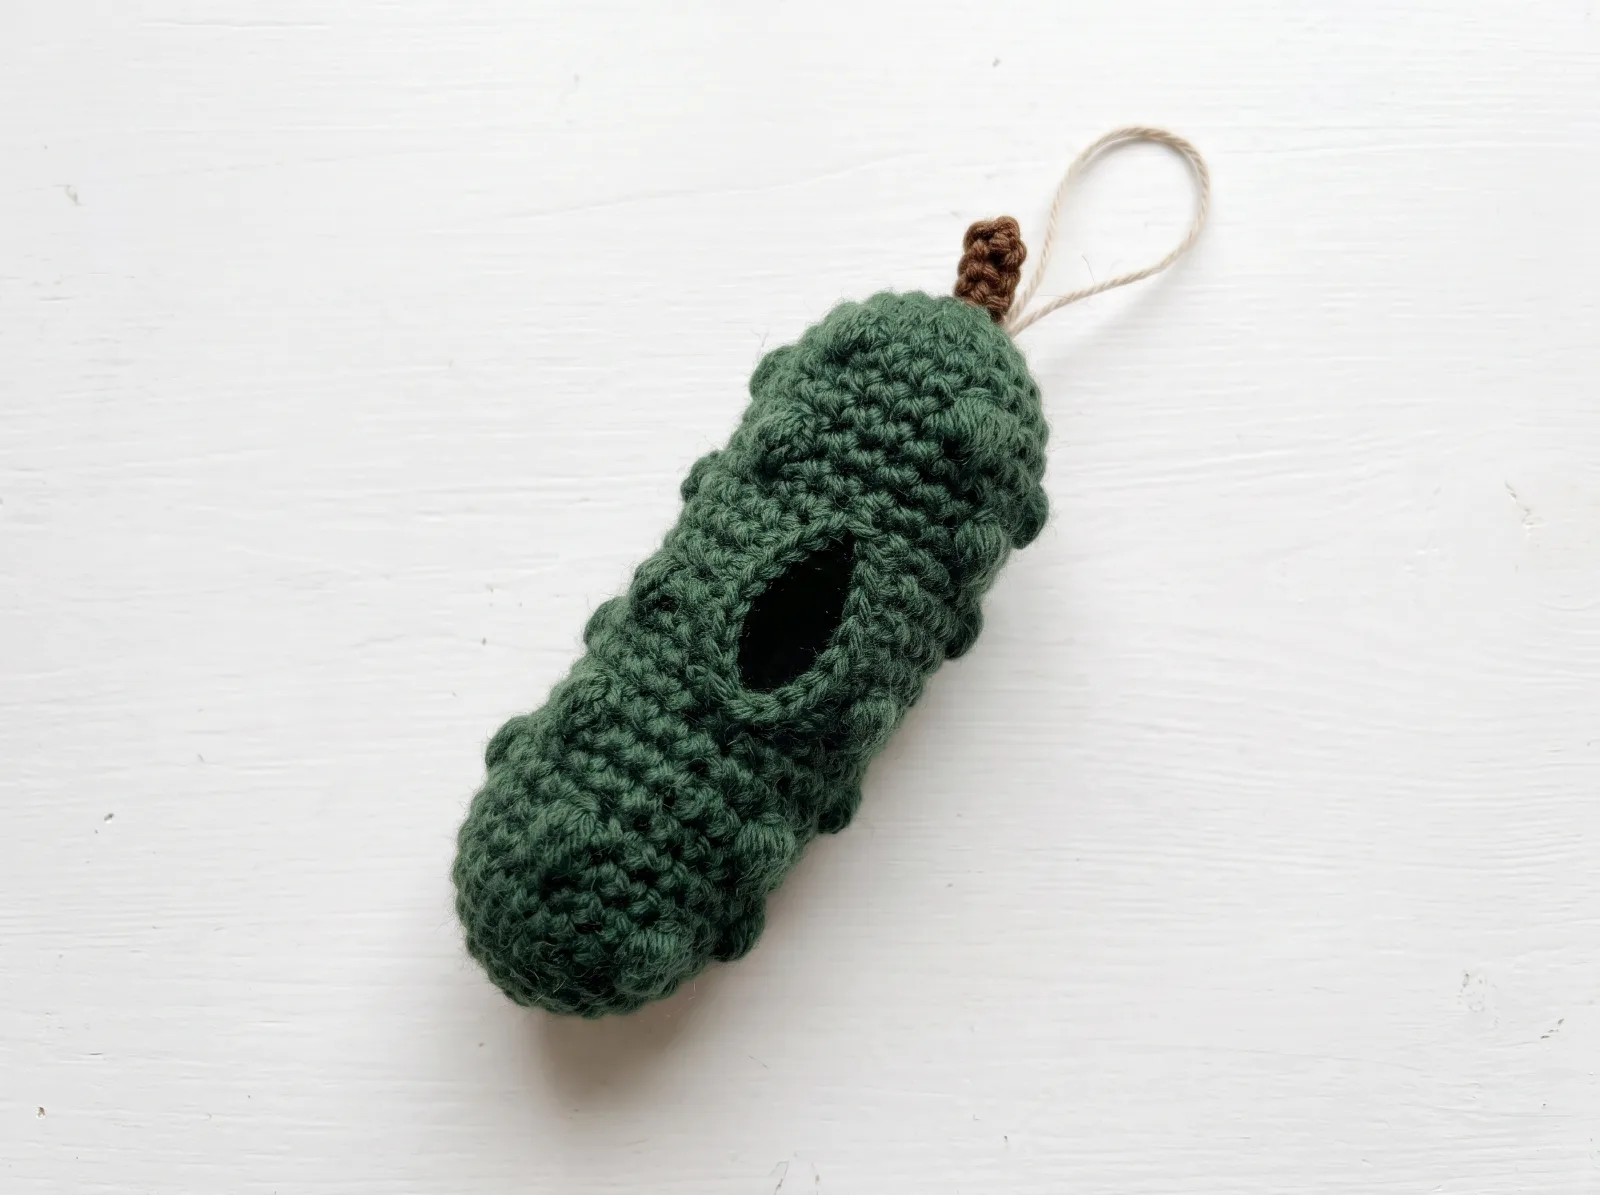
Secret-Wish Christmas Pickle Ornament
A crocheted elongated Christmas pickle ornament with a bobble-textured green body, a genuine side opening for a removable rolled wish, a separate inner sleeve, brown stem and hanging loop. The stitch arrangement is a working design interpretation of the uploaded concept photographs; gauge and shape remain to be checked in a yarn sample.
Make this project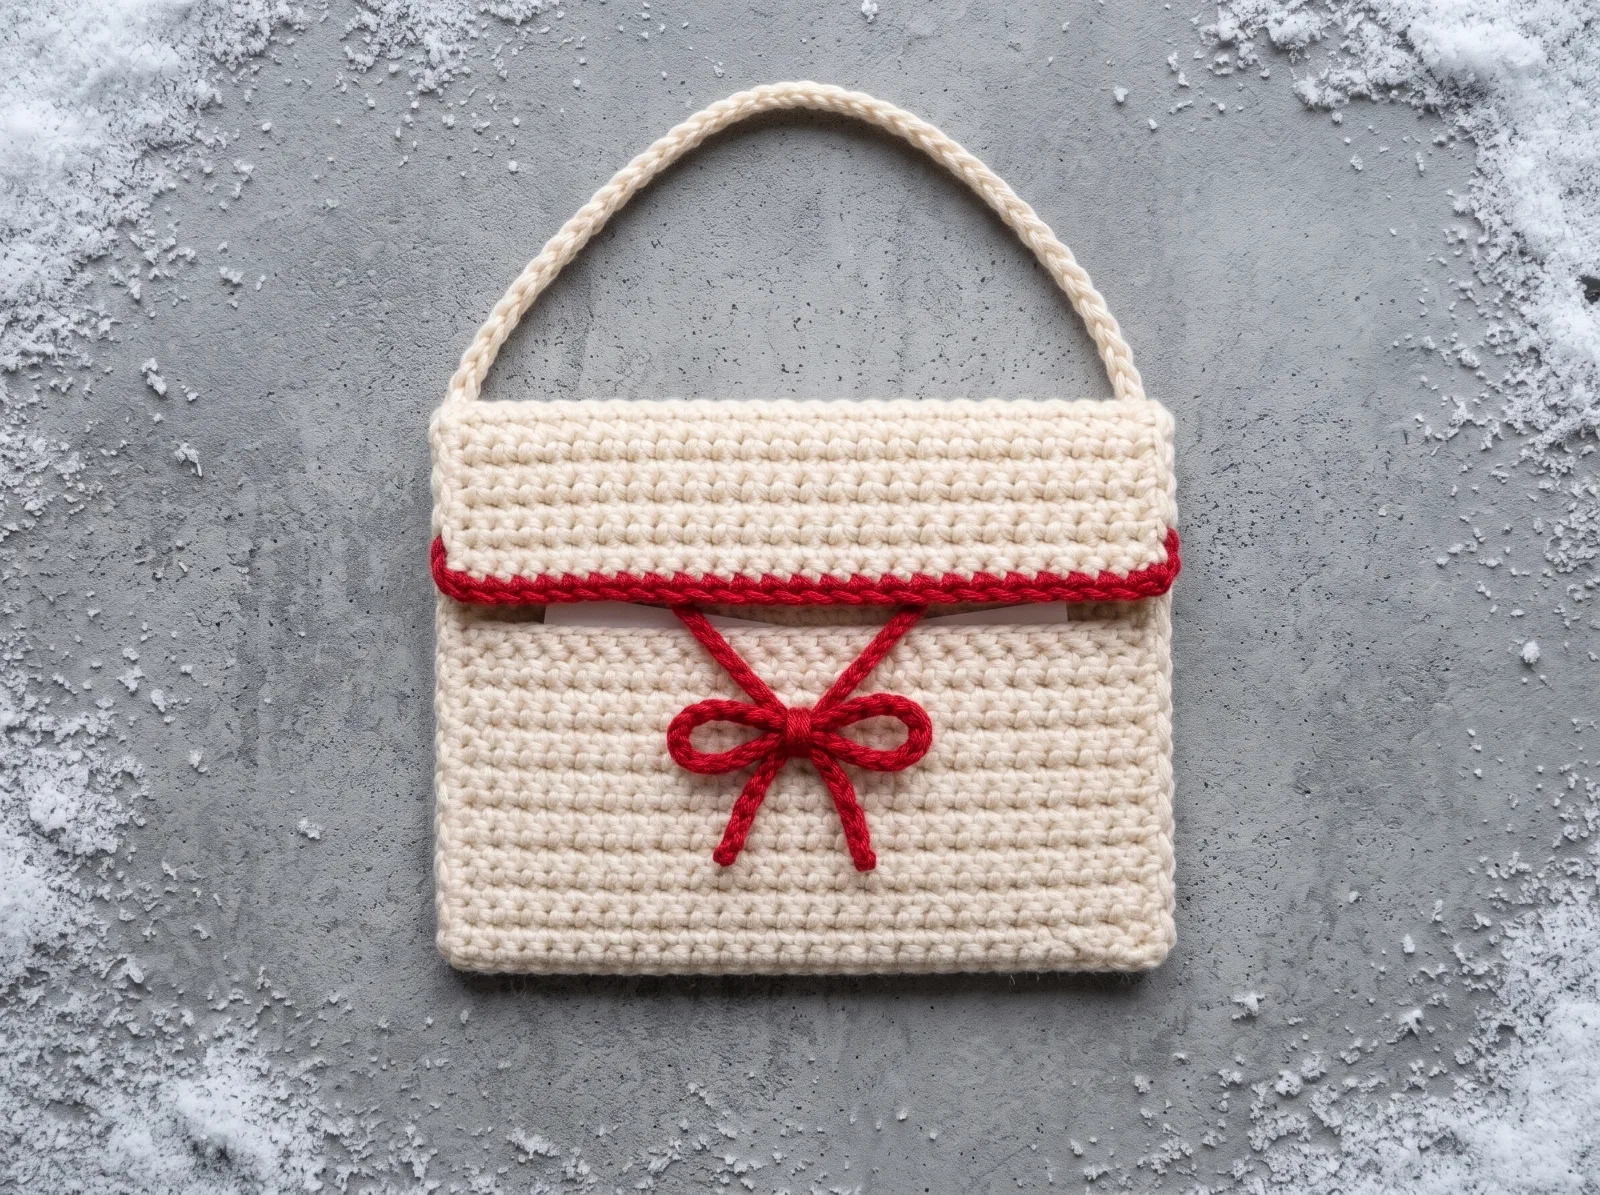
North Pole Letter-Pocket Ornament
Make one flat, cream-colored crochet envelope ornament with an 18-stitch-wide front pocket, a taller back that folds forward as a five-row rectangular flap, red crochet chain-tie closure and a cream hanging loop. It holds a tiny folded note sized to the actual finished pocket.
Make this project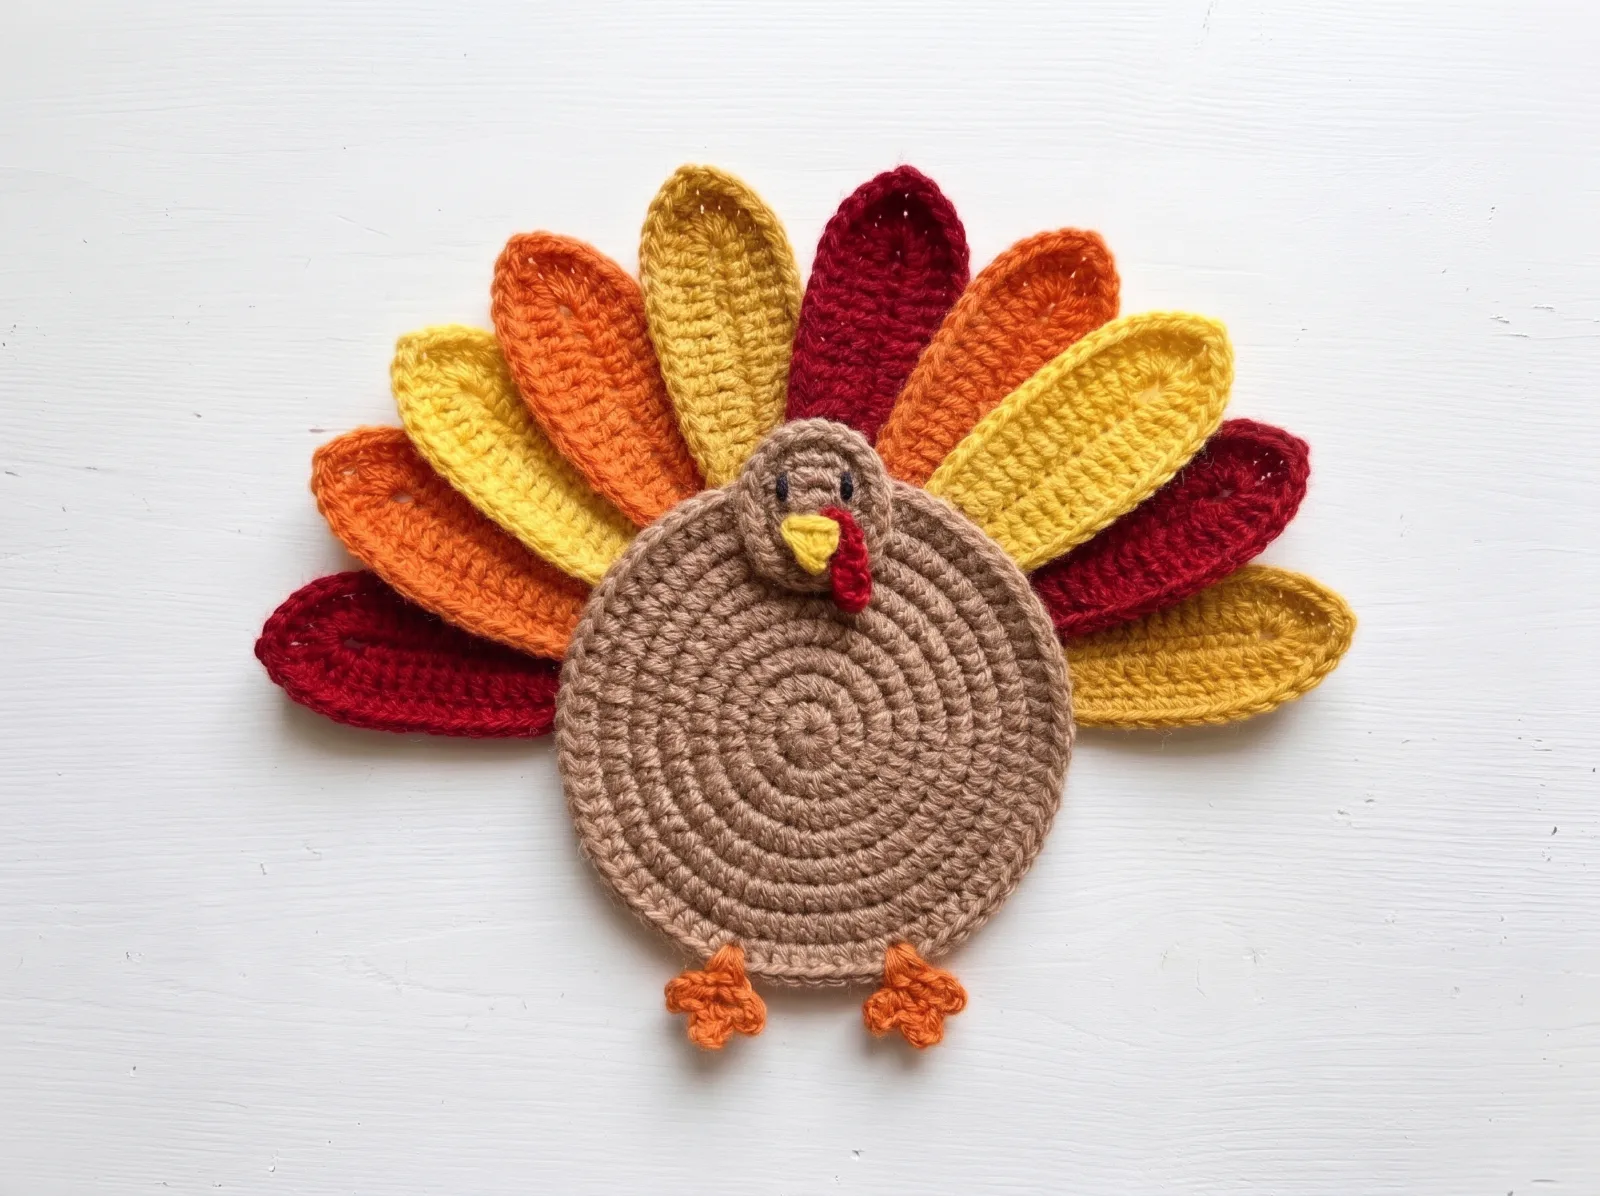
Turkey Gratitude Place Setting
Crochet a flat, round turkey decoration with a tan spiral body, ten separate red-orange-yellow feathers, a small raised head, yellow beak, red wattle and orange feet. Display it with a gratitude card at a place setting; an optional rear card loop or magnetic backing can be added for note holding.
Make this project