
Secret-Wish Christmas Pickle Ornament Crochet Pattern
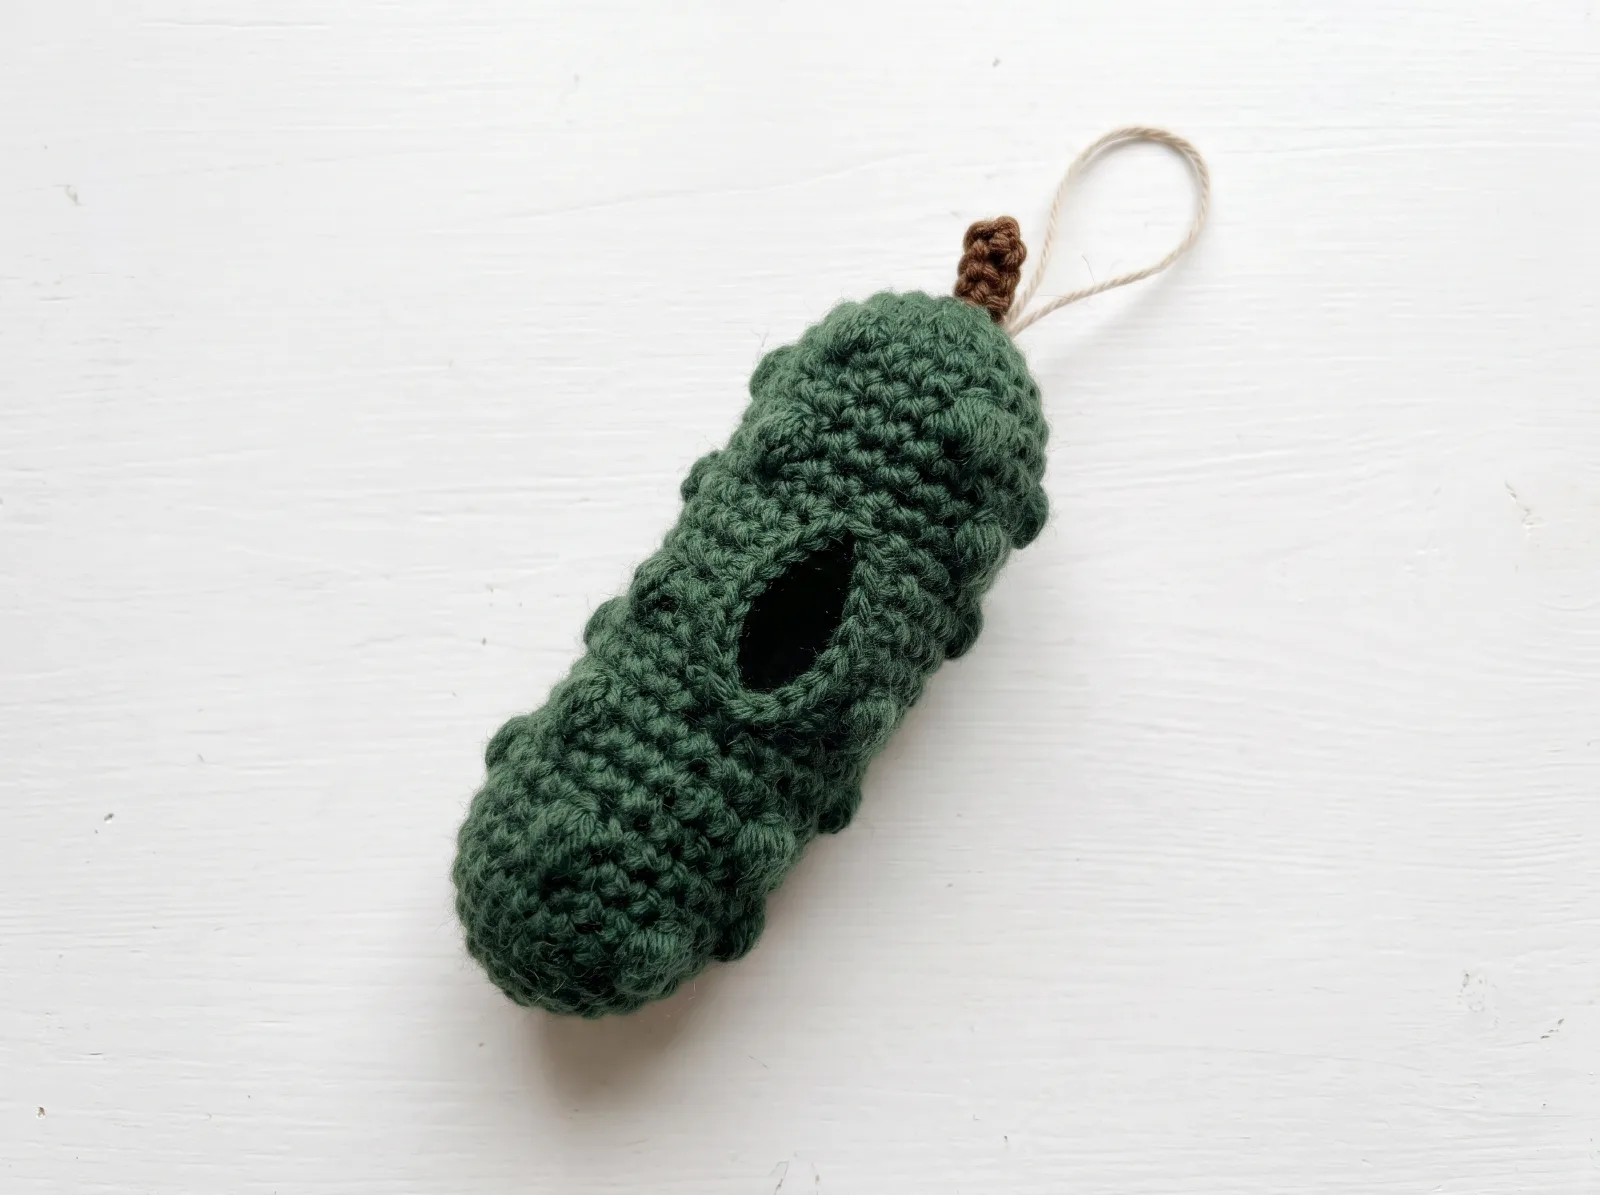
A crocheted elongated Christmas pickle ornament with a bobble-textured green body, a genuine side opening for a removable rolled wish, a separate inner sleeve, brown stem and hanging loop. The stitch arrangement is a working design interpretation of the uploaded concept photographs; gauge and shape remain to be checked in a yarn sample.
What you'll make
Secret-Wish Christmas Pickle Ornament crochet working pattern with a built-in side slot, bobble texture, removable paper sleeve, stem and hanger.
Quick answer: Secret-Wish Christmas Pickle Ornament is a easy crochet project with an estimated making time of ~60–80 minutes. Materials include Green DK cotton yarn for textured pickle body (forest, olive or sage variant), Small brown yarn scrap for stem, 3.5 mm hook; smaller hook if stuffing shows. See the full written instructions and construction steps below.
A closer look
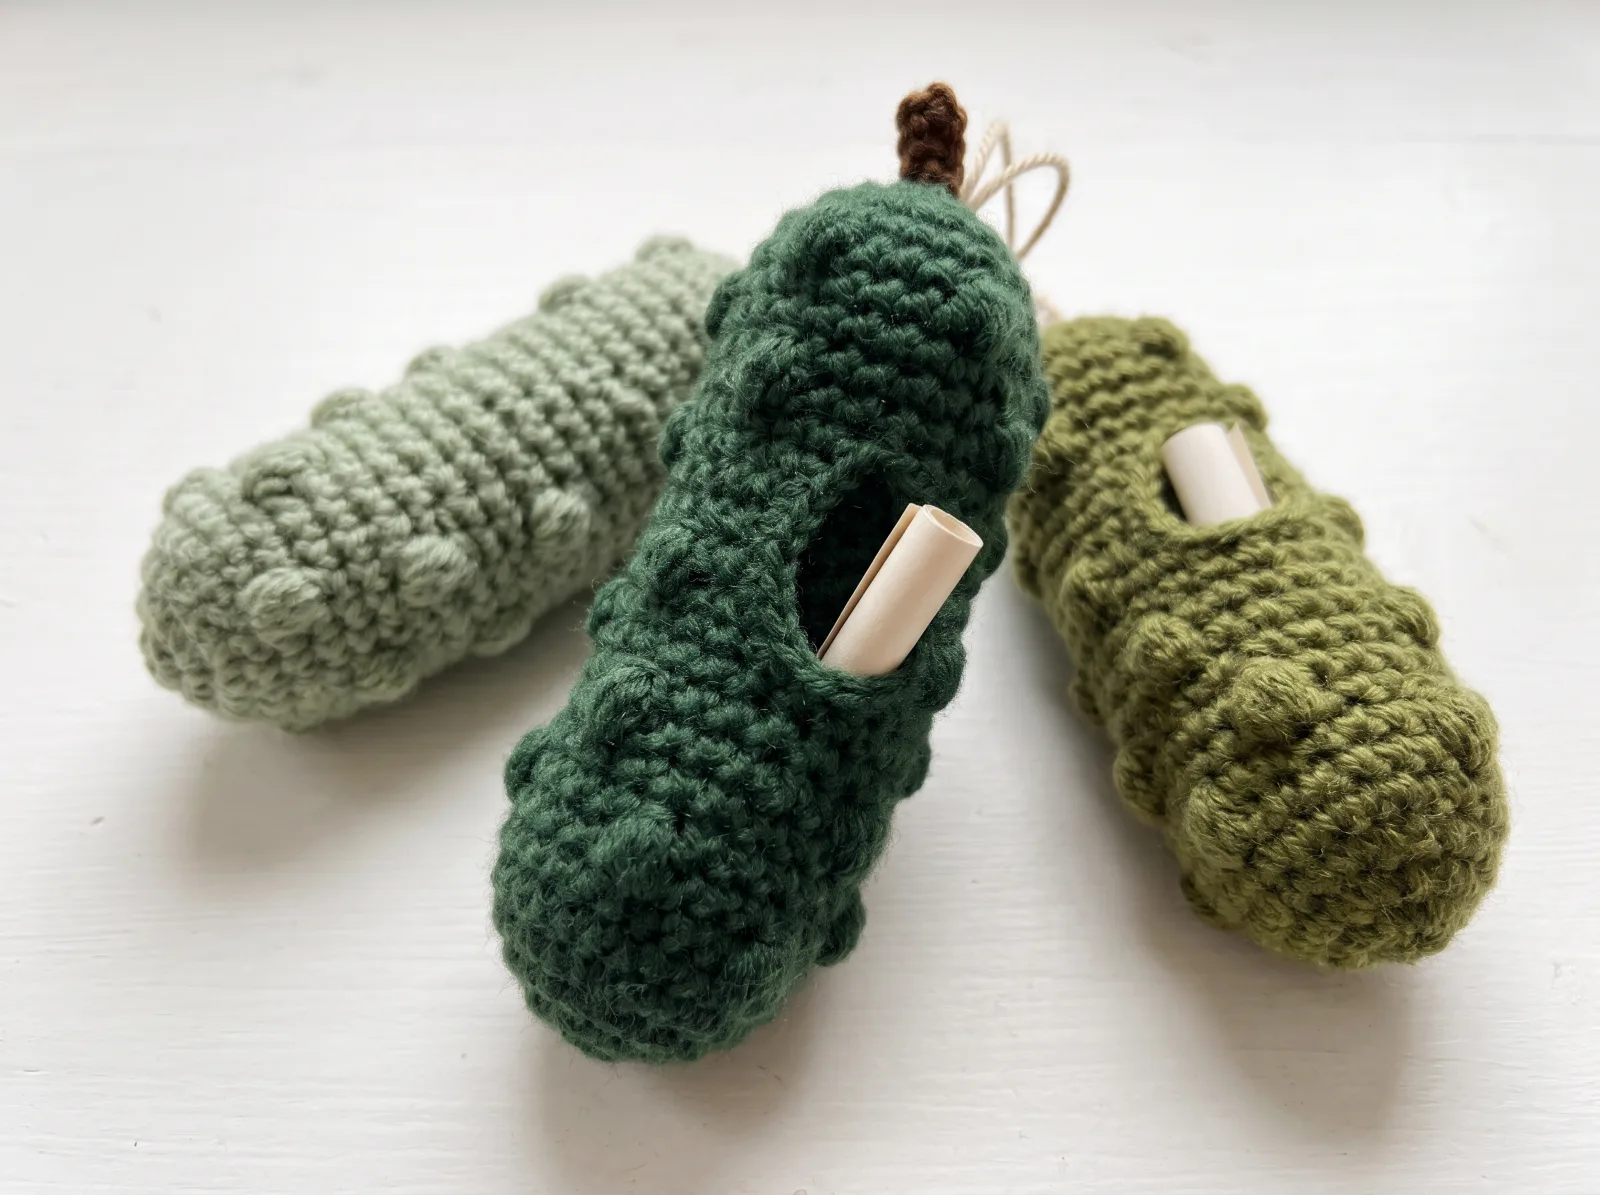
A crocheted elongated Christmas pickle ornament with a bobble-textured green body, a genuine side opening for a removable rolled wish, a separate inner sleeve, brown stem and hanging loop. The stitch arrangement is a working design interpretation of the uploaded concept photographs; gauge and shape remain to be checked in a yarn sample.
- Keep the built-in slit accessible throughout the seven flat rows; do not join the slit edges.
- Place the inner paper sleeve inside before stuffing so a wish note cannot disappear into loose filling.
- Test access with real rolled paper before closing the top of the pickle.
What you'll need
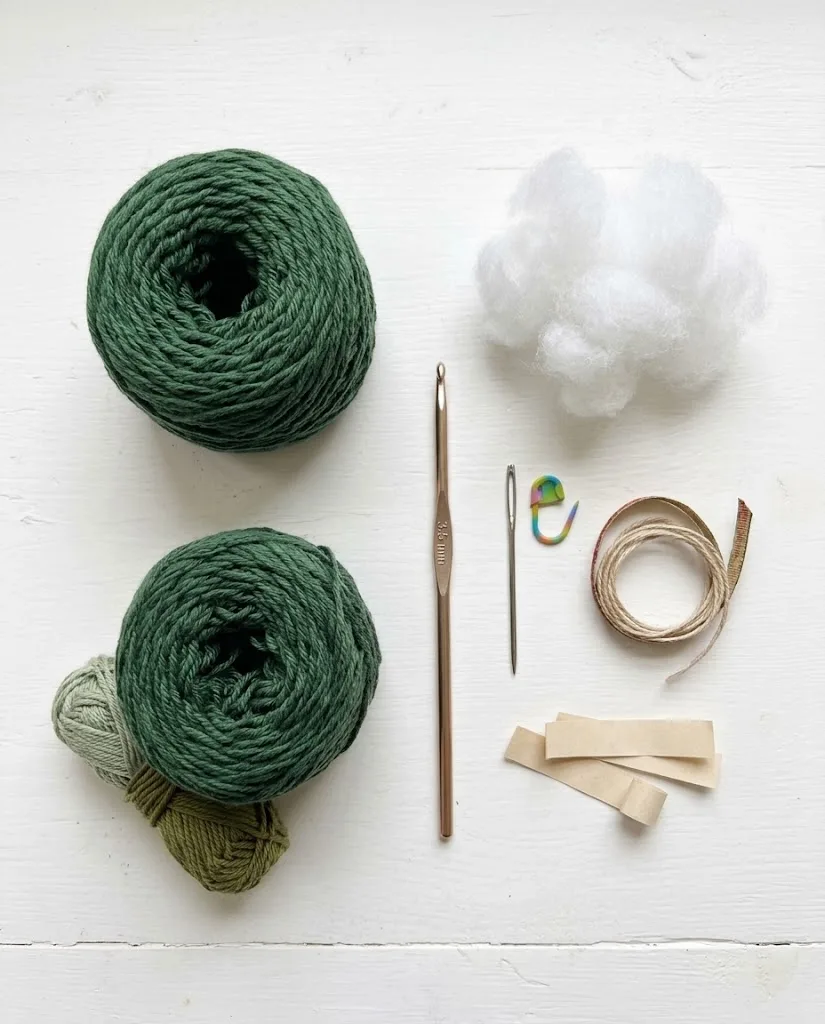
- Green DK cotton yarn for textured pickle body (forest, olive or sage variant)
- Small brown yarn scrap for stem
- 3.5 mm hook; smaller hook if stuffing shows
- Polyester stuffing, used sparingly away from the paper pocket
- Yarn needle and opening/round markers
- Cotton twine or extra yarn for a hanging loop
- Small plain paper strips to roll into wishes
- Scissors
Written crochet instructions and construction notes
Read the abbreviations first, check the notes, then work through the pattern in order. Detailed steps summarize the construction; the ordered written pattern below is the source for individual rounds and rows.
Important construction change: the paper slot is made by working seven 24-sc rows FLAT in an otherwise round 24-stitch tube. It is not an unrelated rectangle sewn onto a closed pickle.
Each 3-dc bobble replaces one normal sc, so all 24-stitch sections remain 24 stitches.
The optional inner lining keeps a removable wish away from polyester stuffing; check actual gauge and access by inserting a paper strip before closing.
A photo cannot establish hidden seam placement, physical size or exact yarn tension; work a sample before publishing as a tested pattern.
Construction review note: Illustration-to-component mismatch and incomplete two-step construction corrected. This is an original working crochet draft, a working crochet interpretation whose dimensions require a hands-on sample.
Crochet construction — work in order
US crochet terms. Follow the written pattern for each row/round; photos are illustrative, not a stitch-count authority. Chains, joins and decorative stitches count only where stated.
Read the stitch rules
US TERMS / SHAPING: MR = magic ring; sc = single crochet; inc = 2 sc in one stitch; dec = sc2tog; ch = chain; sl st = slip stitch. Work in continuous rounds unless instructed to TURN. Place a removable marker at the beginning of every round. Use a firm DK cotton and 3.5 mm hook.
Crochet the rounded lower end
PICKLE LOWER END: Rnd 1: MR, 6 sc (6). Rnd 2: inc × 6 (12). Rnd 3: [sc, inc] × 6 (18). Rnd 4: [2 sc, inc] × 6 (24).
Build the first bobbled section
BODY BELOW POCKET: Rnd 5: sc 24 (24). Rnd 6: [sc 5, bobble in next st] × 4 (24 worked stitches). Rnd 7: sc 24 (24). The bobble replaces one sc and does NOT add a stitch; for a small bobble, work 3 unfinished dc in one indicated stitch, close them together and ch 1 to secure (locking ch not counted).
Make the actual side opening
BUILT-IN LENGTHWISE SLOT: At the start of Rnd 8, stop joining the sides of the tube. Rows 8–14: ch 1 and turn at the end of each row; sc across all 24 stitches of the previous row, making 24 sc per flat row. These seven 24-sc rows leave one continuous opening along the same side between the two row edges. Keep all turning ch outside stitch counts and mark both slit ends.
Continue the textured tube
REJOIN TUBE ABOVE SLOT: At the end of Row 14, align the two row ends at the top of the slit and sl st across the gap (join is not counted). Resume spiral rounds: Rnd 15 sc 24, Rnd 16 sc 24, Rnd 17 [sc 5, bobble in next st] × 4 (24), Rnds 18–19 sc 24, Rnd 20 [sc 5, bobble in next st] × 4 (24). Check that the opening is accessible and has NOT been accidentally sewn shut.
Sew in the separate wish sleeve
INNER WISH SLEEVE (separate, no stuffing behind the opening): ch 9; row 1 sc in 2nd chain and across (8 sc). Rows 2–9: ch 1, turn, sc across (8 sc each row). Fasten off with a long tail. Place this little rectangle INSIDE the outer pickle behind the side slot; hand-sew its bottom and two sides to the inner crochet ONLY, leaving its upper edge open and accessible from the exterior slot. Test with a rolled paper note before proceeding. This avoids losing the wish inside the stuffing.
Stuff and close the far end
CLOSE UPPER END: Rnd 21: [sc 2, dec] × 6 (18). Rnd 22: [sc, dec] × 6 (12). Add a little polyester filling around the internal sleeve, never inside it. Rnd 23: dec × 6 (6), fasten off and draw the final six loops closed. The entire pickle has one softly padded tube and a separate flat wish sleeve.
Finish the slit edge
EDGE THE ACCESS SLOT: With matching green yarn, work one loose round of sl st or sc around the long slit edges, at approximately one stitch per row-end, easing gently around both short ends. Do NOT stitch through the inner pocket opening; this edging is decorative and has no fixed output count because row height depends on gauge.
Add stem and hanger
STEM AND HANGING LOOP: With brown scrap yarn, ch 7; sl st in 2nd chain from hook and in remaining 5 chains (6 sl st). Sew the short stem to top center. With cotton twine ch 18 (or use a separate 12–15 cm twine loop) and secure both ends through the top stitches. Make sure the hanging loop cannot pull out under ornament weight.
Tuck in your secret wish
FINISH / WISH: Weave in ends away from the sleeve. Roll a small strip of plain paper and tuck it through the built-in slit into the inner sleeve, leaving enough exposed to retrieve. Keep paper and ornament away from heat/candles; this is a decorative working construction, not a toy or food item.
Small details that make the finish better
- Keep the built-in slit accessible throughout the seven flat rows; do not join the slit edges.
- Place the inner paper sleeve inside before stuffing so a wish note cannot disappear into loose filling.
- Test access with real rolled paper before closing the top of the pickle.
Ways to adapt the project
Change the yarn color, finishing touches, or small embellishments while keeping the same core construction.
Common questions before you start
Which crochet terms does this pattern use?
Where are the exact crochet instructions?
Can I change the yarn color?
Does this project have a fixed finished size?
Save this crochet project for later
Save this project so you can come back to the pattern, materials list, and steps later.
Explore related project collections
Pick the next thing to make
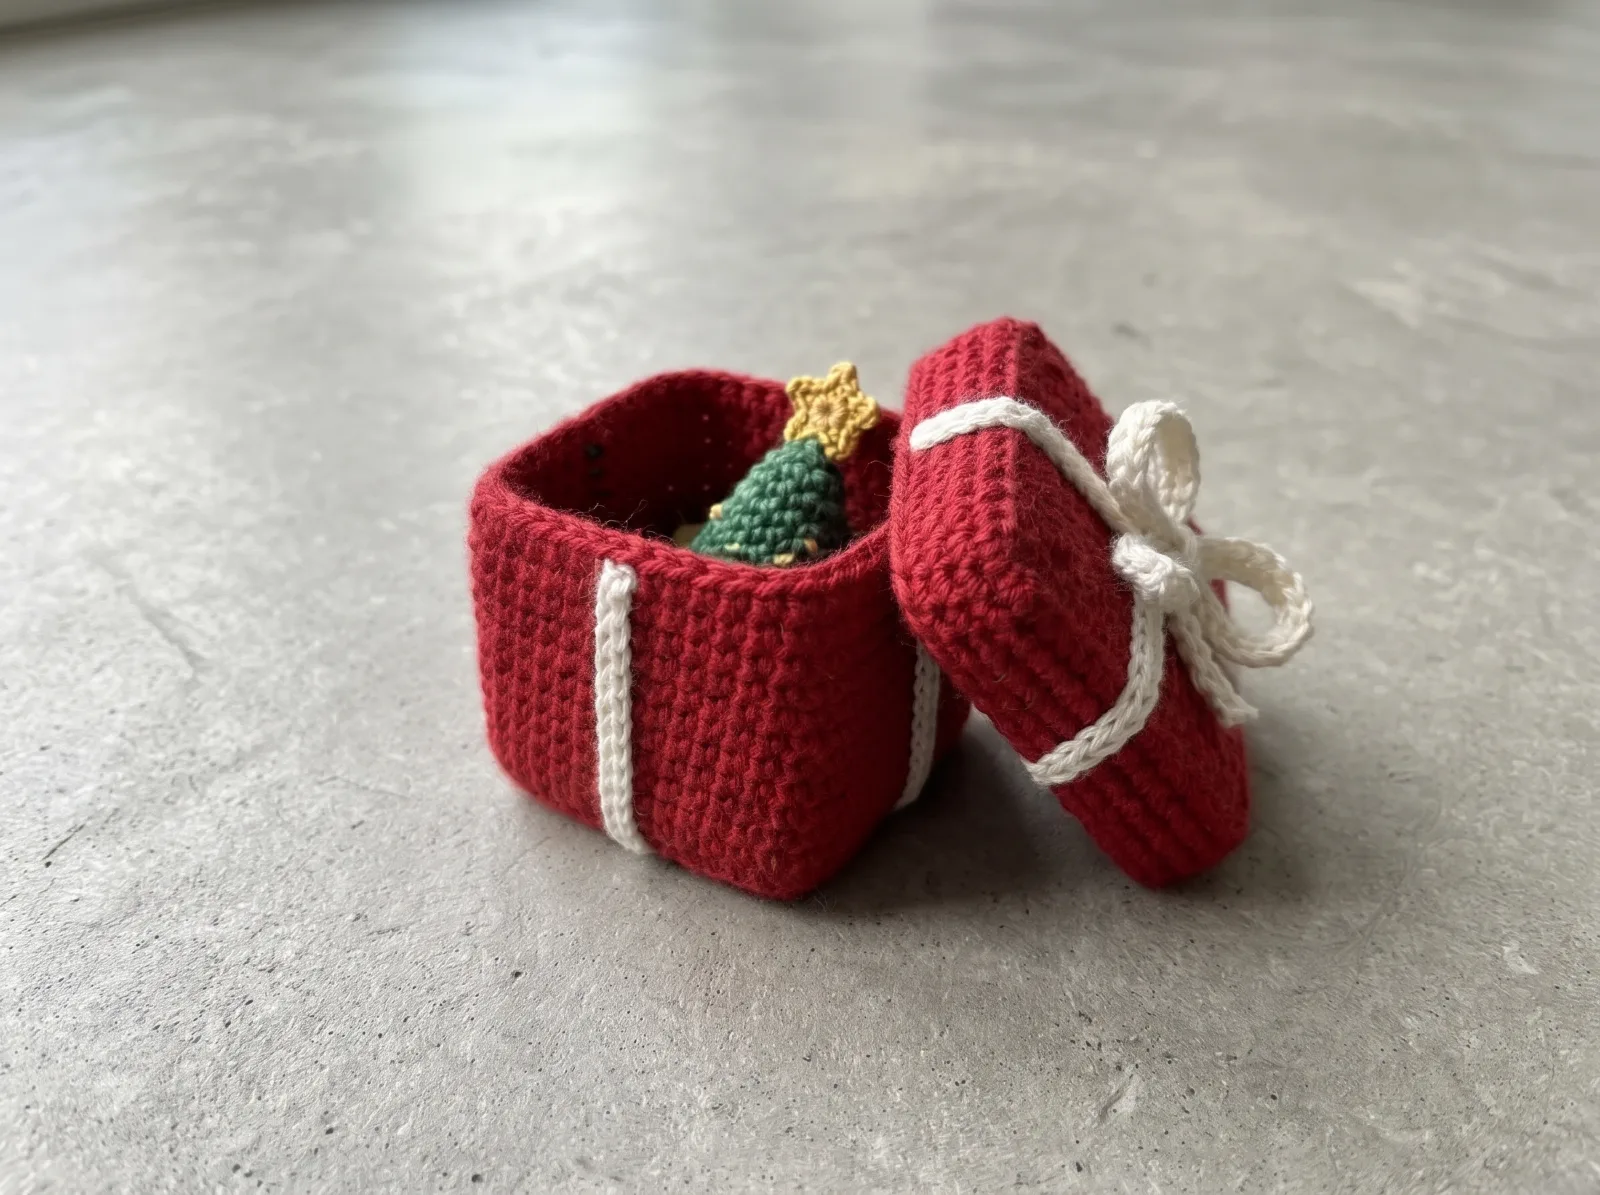
Tiny Surprise Crochet Gift Box
A tiny red crochet gift box with square upright walls, a truly removable red lid, sewn-on cream gift ribbons and a crocheted bow. An optional mini Christmas tree fits inside as the surprise. The photographs show the red box and blue/green gift-wrap color variations; this is a working construction intended for hands-on gauge and lid-fit checks.
Make this project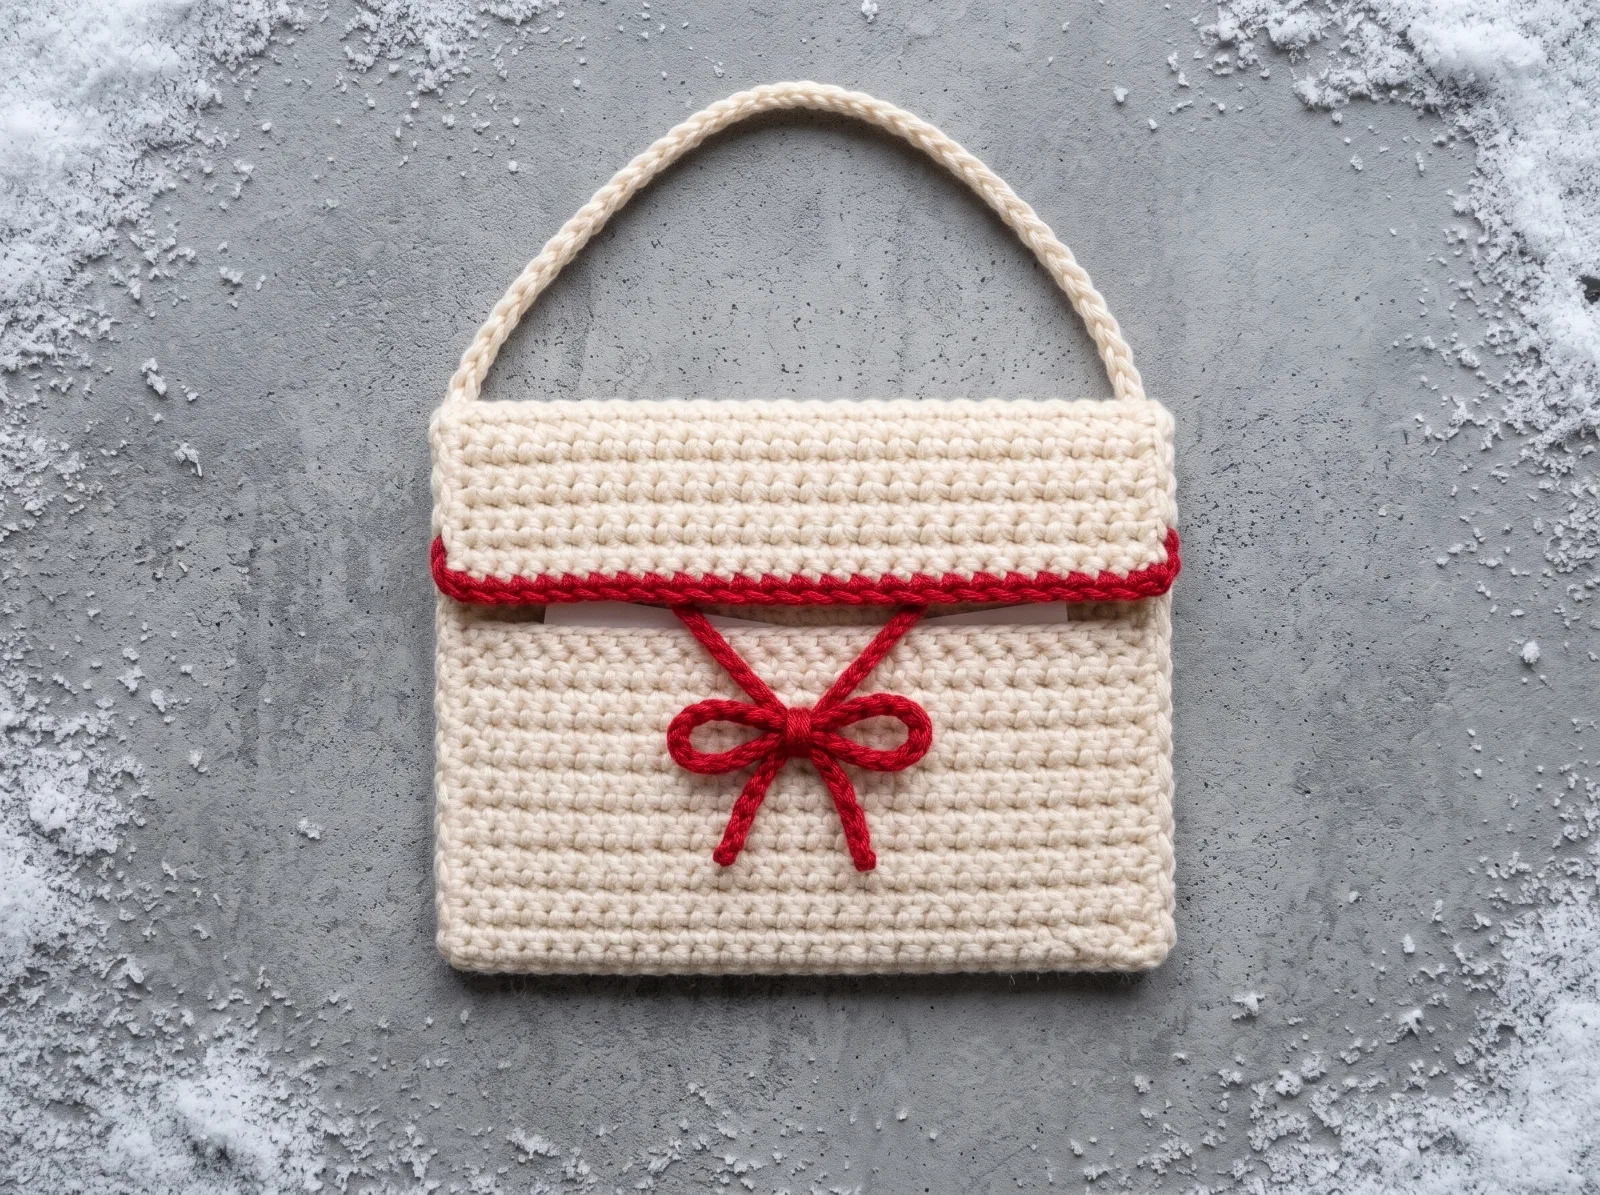
North Pole Letter-Pocket Ornament
Make one flat, cream-colored crochet envelope ornament with an 18-stitch-wide front pocket, a taller back that folds forward as a five-row rectangular flap, red crochet chain-tie closure and a cream hanging loop. It holds a tiny folded note sized to the actual finished pocket.
Make this project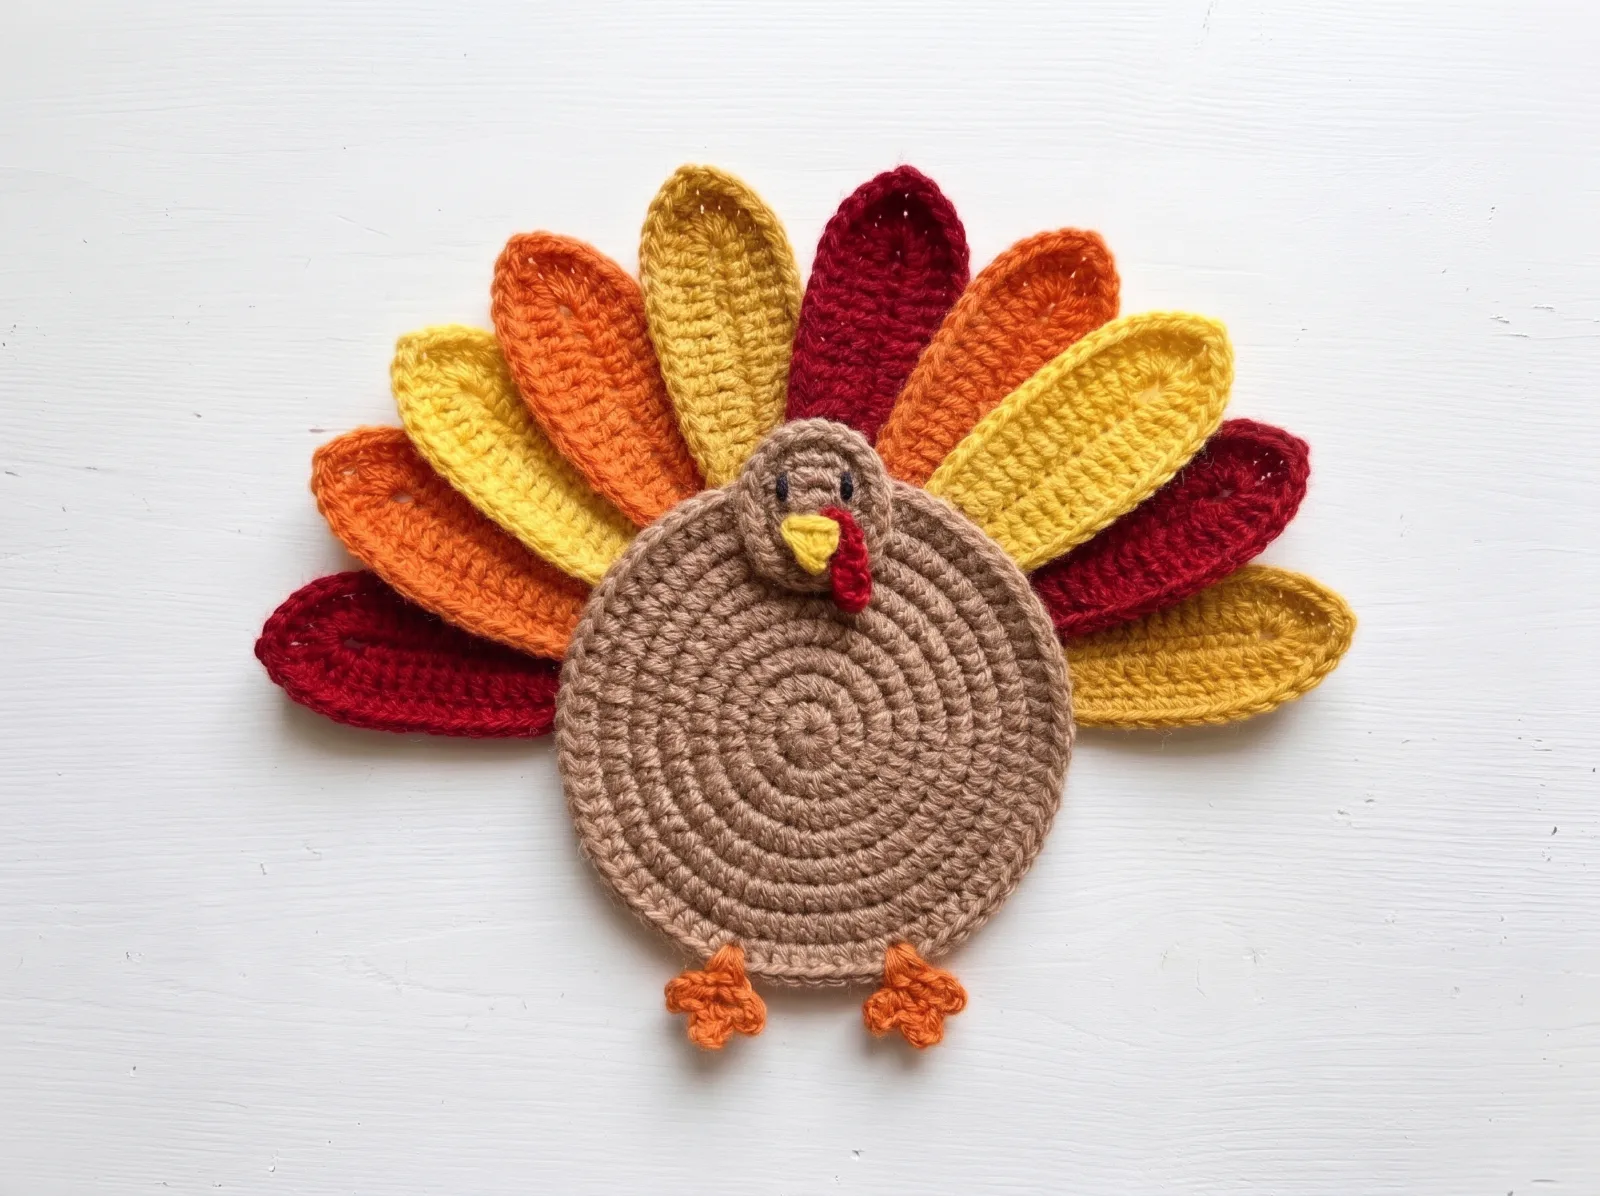
Turkey Gratitude Place Setting
Crochet a flat, round turkey decoration with a tan spiral body, ten separate red-orange-yellow feathers, a small raised head, yellow beak, red wattle and orange feet. Display it with a gratitude card at a place setting; an optional rear card loop or magnetic backing can be added for note holding.
Make this project