
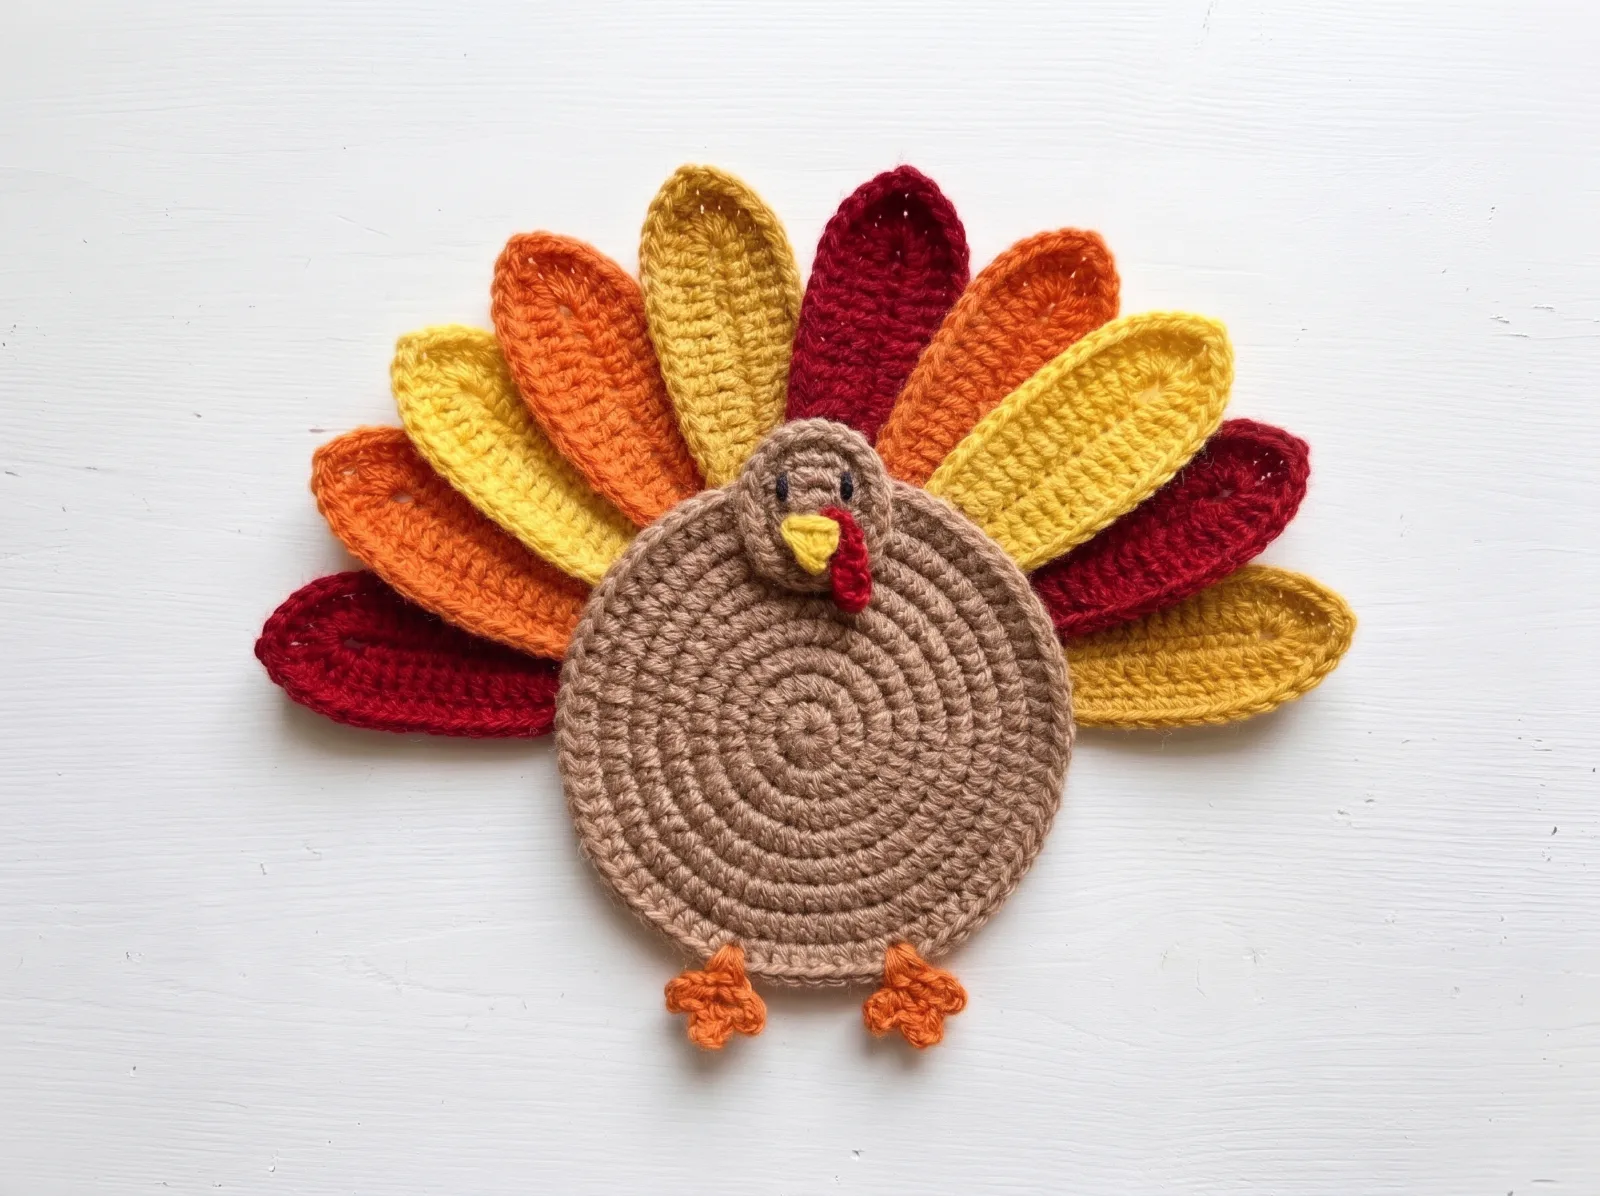
Turkey Gratitude Place Setting — Flat Crochet Turkey
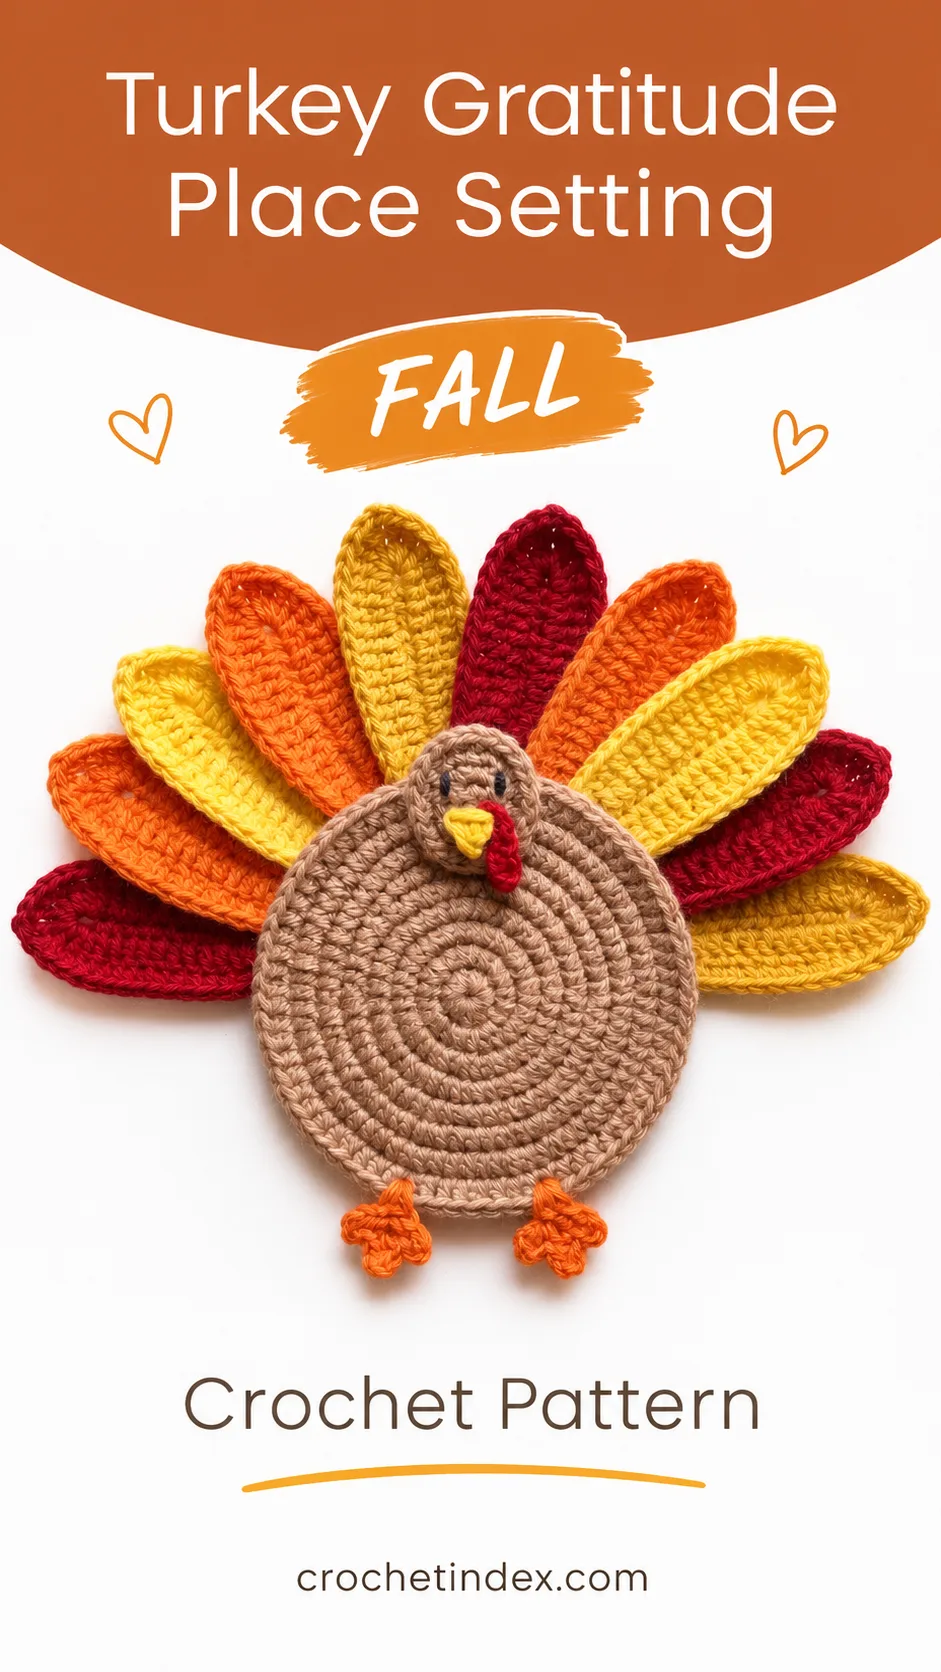
Crochet a flat, round turkey decoration with a tan spiral body, ten separate red-orange-yellow feathers, a small raised head, yellow beak, red wattle and orange feet. Display it with a gratitude card at a place setting; an optional rear card loop or magnetic backing can be added for note holding.
What you'll make
Crochet a flat turkey with ten colorful tail feathers, orange feet and a small head. Working pattern and assembly notes for Thanksgiving décor.
Quick answer: Turkey Gratitude Place Setting is a confident beginner crochet project with an estimated making time of ~2–4 hours (estimated; varies with gauge and finishing). Materials include DK/light-worsted cotton yarn: warm tan or brown (flat body and head), DK/light-worsted yarn in burgundy/deep red, pumpkin orange and yellow/gold (ten tail feathers), Small amounts of orange yarn (feet), yellow (beak), red (wattle) and black embroidery yarn (eyes). See the full written instructions and construction steps below.
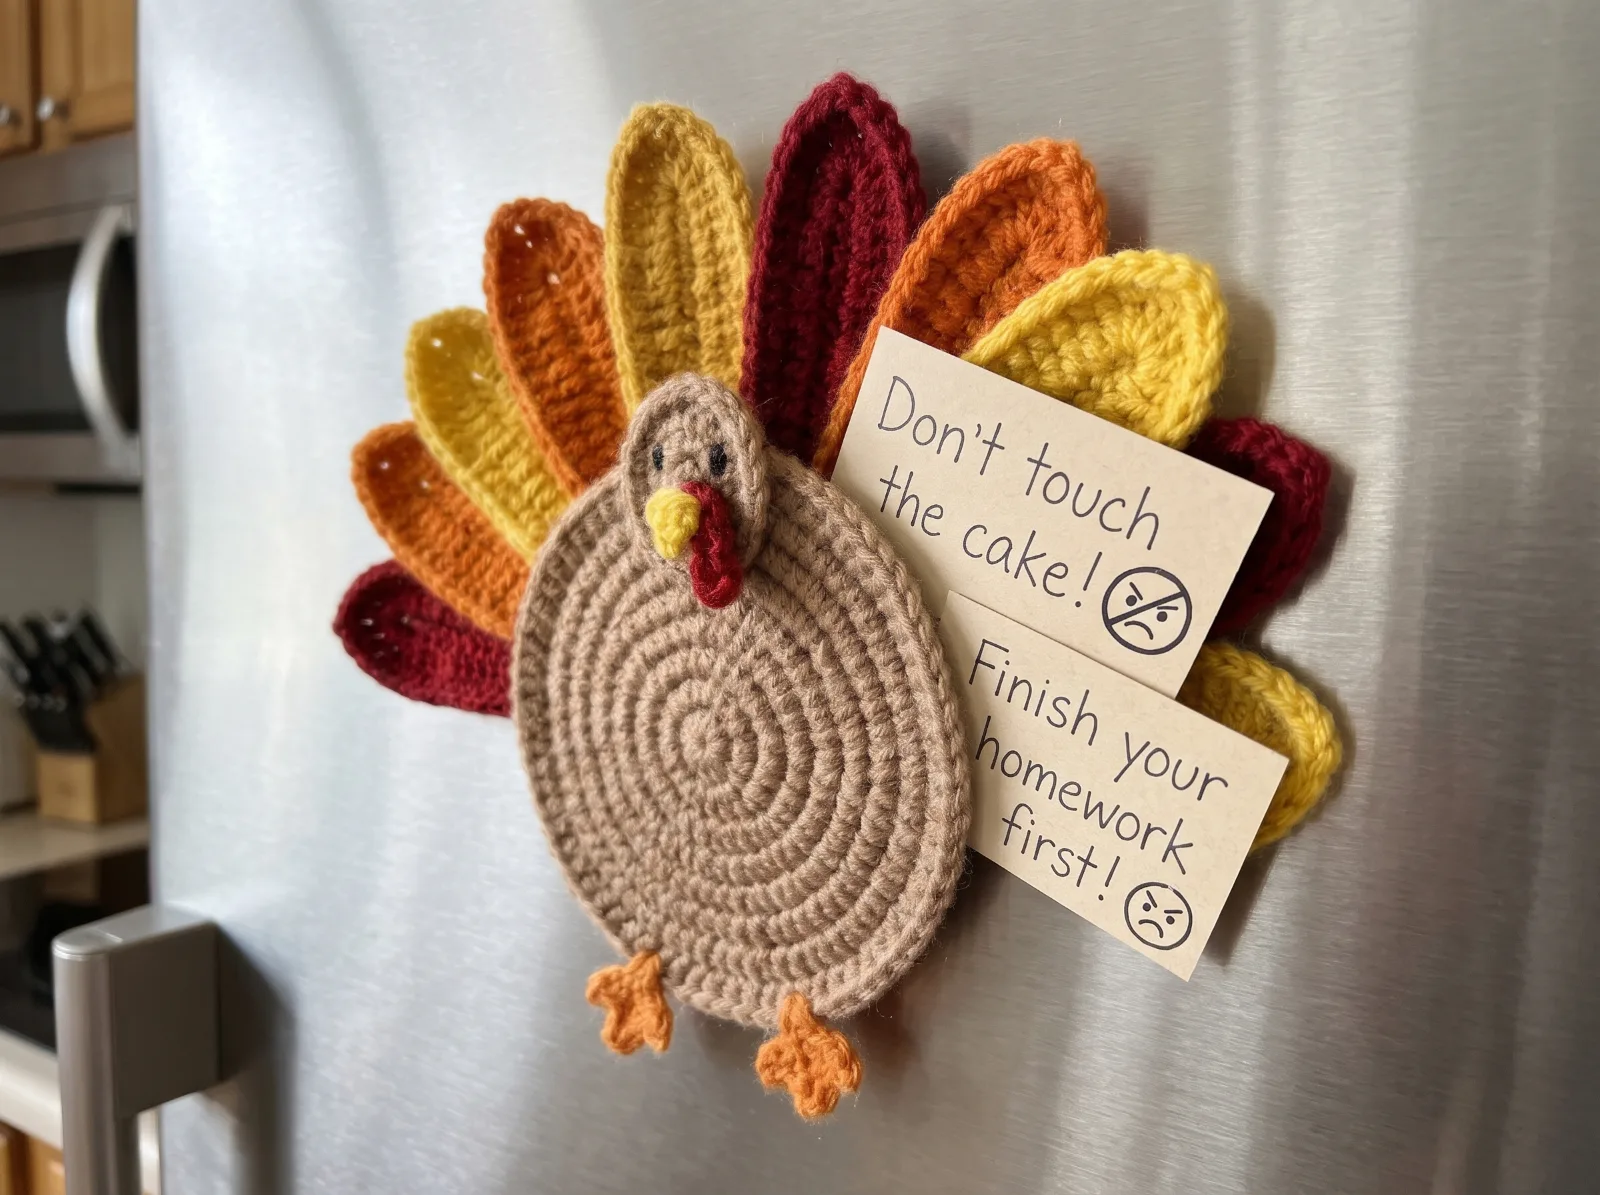
A closer look
Crochet a flat, round turkey decoration with a tan spiral body, ten separate red-orange-yellow feathers, a small raised head, yellow beak, red wattle and orange feet. Display it with a gratitude card at a place setting; an optional rear card loop or magnetic backing can be added for note holding.
- Pin all ten tail feathers in a semicircle before sewing; stagger colors and overlap their narrow bases so the body conceals the joins.
- Use the same hook and yarn weight for all feathers. If the brown disk cups or ruffles, adjust tension or hook size before continuing.
- Keep the raised head lightly stuffed and sew it at 12 o’clock; place the feet evenly at the lower edge.
What you'll need
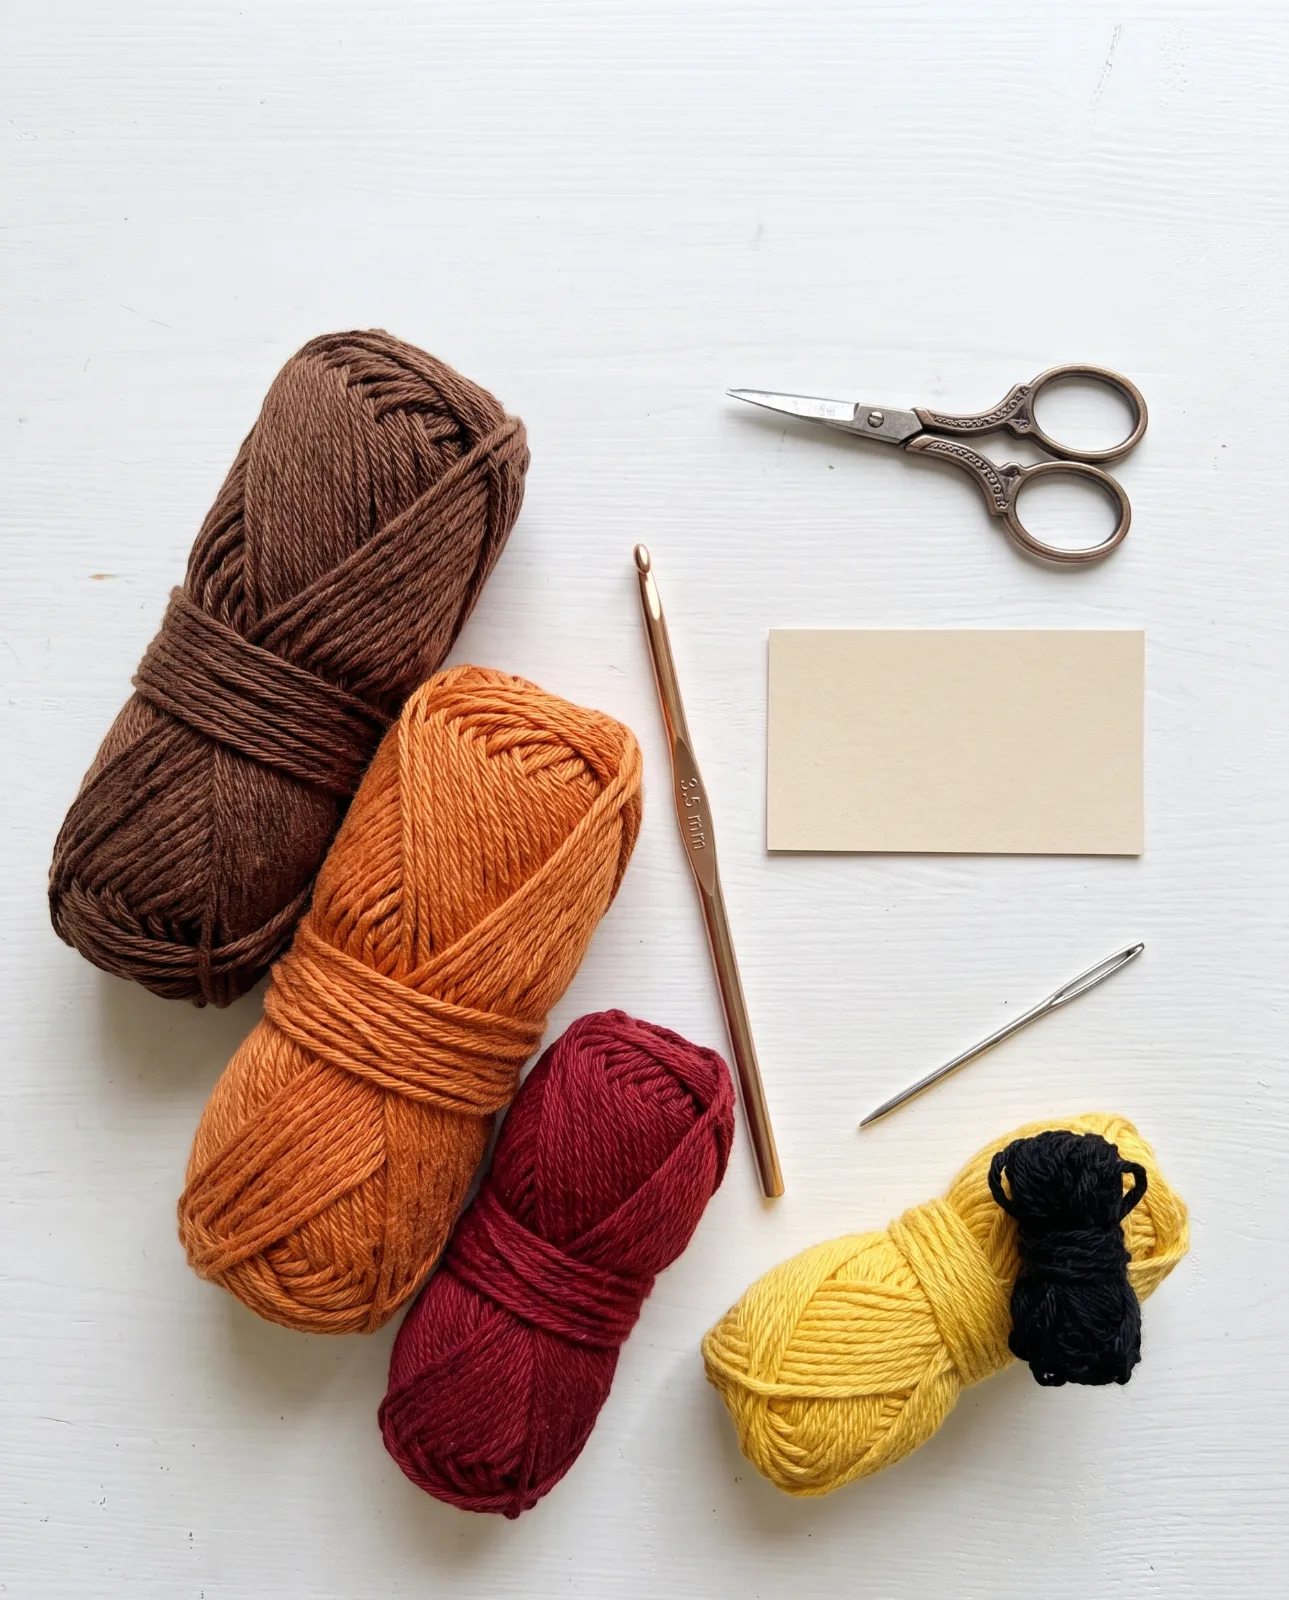
- DK/light-worsted cotton yarn: warm tan or brown (flat body and head)
- DK/light-worsted yarn in burgundy/deep red, pumpkin orange and yellow/gold (ten tail feathers)
- Small amounts of orange yarn (feet), yellow (beak), red (wattle) and black embroidery yarn (eyes)
- 3.5 mm crochet hook, or size needed for a flat fabric
- Yarn needle, stitch marker and scissors; pins are helpful for arranging feathers
- Small removable gratitude or note card
- Optional: small secure magnetic backing for refrigerator display (not required for the table version)
Written crochet instructions and construction notes
Read the abbreviations first, check the notes, then work through the pattern in order. Detailed steps summarize the construction; the ordered written pattern below is the source for individual rounds and rows.
Original CrochetIndex visual-match working draft based on the pictured flat turkey; not a verified reconstruction of a hand-crocheted sample.
US terms: MR magic ring; ch chain; sc single crochet; hdc half double crochet; dc double crochet; sl st slip stitch; inc 2 sc in one stitch; dec sc2tog; rnd round; sts stitches.
The main body increases by six stitches per round from 6 (Rnd 1) through 72 (Rnd 12). It remains a FLAT disc without stuffing.
Each long feather has 33 / 38 / 38 stitches across its three oval rounds; each short feather has 27 / 32 / 32. The six long + four short pieces make ten feathers total.
Feather arrangement and optional card loop are approximate until gauge, physical dimensions and note retention have been independently tested.
The finished turkey is a flat table decoration and optional refrigerator note holder, NOT a wearable napkin ring; a magnet is optional hardware rather than a crochet stitch.
Keep loose magnetic parts, pins and note cards away from young children; test and secure all optional hardware before hanging on a refrigerator.
Construction overview
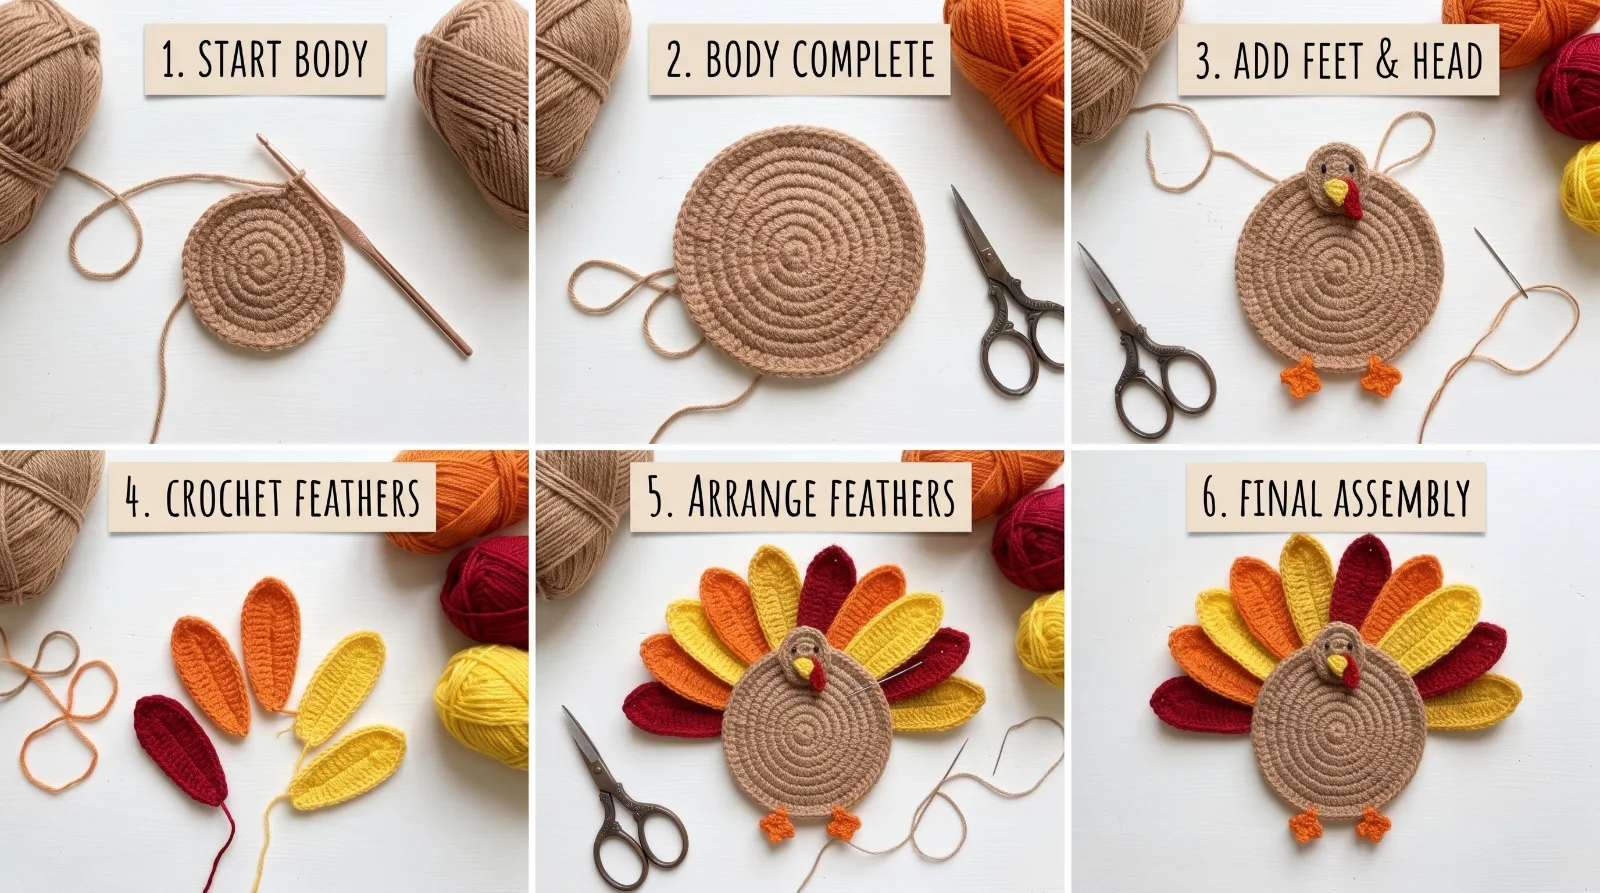
Turkey Gratitude Place Setting — round-by-round crochet and assembly
Follow these six stages alongside the full US-terms written pattern: start and finish the large flat disc, make the head and feet, crochet ten elongated feathers, fan them out on the back, and add a paper card. The stitch arithmetic has been checked, but this visual-match pattern has NOT been physically test-crocheted.
1. Start the flat circular body
Rnd 1: With warm tan/brown, 6 sc in a magic ring. (6 sts) Rnd 2: Inc in each stitch. (12 sts) Rnd 3: (1 sc, inc) × 6. (18 sts) Rnd 4: (2 sc, inc) × 6. (24 sts) Rnd 5: (3 sc, inc) × 6. (30 sts) Rnd 6: (4 sc, inc) × 6. (36 sts)
2. Finish the large round body
Rnd 7: (5 sc, inc) × 6. (42 sts) Rnd 8: (6 sc, inc) × 6. (48 sts) Rnd 9: (7 sc, inc) × 6. (54 sts) Rnd 10: (8 sc, inc) × 6. (60 sts) Rnd 11: (9 sc, inc) × 6. (66 sts) Rnd 12: (10 sc, inc) × 6. (72 sts) Fasten off, flatten and block lightly as needed. Make ONE flat disc; do not stuff it or join it into a napkin ring.
3. Add the little head, beak and feet
Small head, tan — Rnd 1: 6 sc in MR. (6 sts) Head Rnd 2: Inc × 6. (12 sts) Head Rnd 3: (1 sc, inc) × 6. (18 sts) Head Rnds 4–5: Sc around. (18 sts in each rnd) Head Rnd 6: (1 sc, dec) × 6. (12 sts); add only a pinch of stuffing, flatten the opening, and leave a sewing tail. Yellow beak — Row 1: Ch 2, sc in second ch from hook. (1 st) Beak Row 2: Ch 1, turn, work 3 sc into the single stitch. (3 sts); fasten off, sew the wide edge under the front of the head with the point facing down. Red wattle — Ch 5; sl st in second ch from hook and each of next 3 chains. (4 sl st); attach beside the beak. Eyes — Embroider two short black vertical stitches, spaced evenly on the head; secure all ends on the back. Orange feet, make 2 — Ch 4, sc in second ch from hook and in next 2 ch. (3 sc stem). At the end of the stem, make three toes: [ch 3, sl st in second ch from hook and next ch, sl st into the same end of the stem] × 3. Fasten off; sew stems to the disc bottom at approximately 5 and 7 o’clock.
4. Crochet ten colorful tail feathers
Make TEN separate tail feathers in fall colors: six LONG and four SHORT. Use approximately 3 burgundy/red, 3 pumpkin orange and 4 yellow/gold feathers in total. LONG feather (make 6), Rnd 1: Ch 16; sc in second ch from hook, hdc in next 2 ch, dc in next 11 ch, 5 dc in final ch; rotate around the tip and work into the other side of the foundation chain: dc in next 11 loops, hdc in next 2, sc in last; sl st to first sc. (33 sts, not counting join) LONG feather Rnd 2: Sc in next 14 sts, inc in each of the next 5 rounded-tip sts, sc in remaining 14 sts; sl st to join. (38 sts) LONG feather Rnd 3: Sc around; sl st to join. (38 sts) Fasten off with a long tail at the narrow base. SHORT feather (make 4), Rnd 1: Ch 13; sc in second ch from hook, hdc in next 2 ch, dc in next 8 ch, 5 dc in final ch; rotate and work the other side: dc in next 8 loops, hdc in next 2, sc in last; sl st to first sc. (27 sts, not counting join) SHORT feather Rnd 2: Sc in next 11 sts, inc in each of the 5 rounded-tip sts, sc in remaining 11 sts; sl st to join. (32 sts) SHORT feather Rnd 3: Sc around; sl st to join. (32 sts) Fasten off with a long tail at the narrow base. Feathers are made as two-sided elongated ovals worked around a foundation chain, NOT as three tiny chain loops. Their exact visual length depends on gauge.
5. Arrange and sew the feather fan
Lay the tan body face down. Fan all TEN feathers behind the UPPER half of the disc, reaching approximately from 9 o’clock to 3 o’clock; keep the bottom third and feet clear. Working left to right, use this approximate visible sequence: short burgundy, short orange, long yellow, long orange, long gold, long burgundy, long orange, long yellow, short burgundy, short gold. Overlap neighboring bases so no gaps show above the head. Pin and check the fan shape from the front before sewing. Secure each narrow feather base to the BACK of the disc through several stitches, then weave in tails. Do not sew across the center of the front disc.
6. Final assembly and gratitude card
Attach the lightly padded head at the top center of the disc in front of the feather bases. Sew on two orange feet at the bottom and check their spacing. Use a small removable paper gratitude card at a table setting. To hold a card more securely, optionally make a rear paper loop: Ch 17; Row 1 sc in second ch and across (16); Rows 2–4 ch 1, turn, sc 16 (16 each). Sew the TWO SHORT ENDS of this strip to the back-right of the body, keeping its long edges open to slide a small card under the strip. For the optional refrigerator note-holder presentation, add a suitable commercially made magnetic backing on the REAR, following the hardware manufacturer’s mounting instructions. Keep the magnet separate from the slip loop and test the finished hold before use; no magnet is visible in the crochet stitch pattern. Weave in all ends, check every sewn part is secure, and adjust the feather fan. The written construction is a visually aligned original draft; the pictured item was not physically made/tested from these exact rounds.
Small details that make the finish better
- Pin all ten tail feathers in a semicircle before sewing; stagger colors and overlap their narrow bases so the body conceals the joins.
- Use the same hook and yarn weight for all feathers. If the brown disk cups or ruffles, adjust tension or hook size before continuing.
- Keep the raised head lightly stuffed and sew it at 12 o’clock; place the feet evenly at the lower edge.
- A removable paper card may be tucked into an OPTIONAL rear loop. The loop, magnet and their holding strength have not been physically verified.
Ways to adapt the project
Change the yarn color, finishing touches, or small embellishments while keeping the same core construction.
Common questions before you start
Is this the same as a turkey napkin ring?
How many feathers should I crochet?
Does it hold a gratitude card?
Can I attach it to a refrigerator?
Are the stitch counts tested against a finished sample?
Save this crochet project for later
Save this project so you can come back to the pattern, materials list, and steps later.
Explore related project collections
Pick the next thing to make
Tiny Surprise Crochet Gift Box
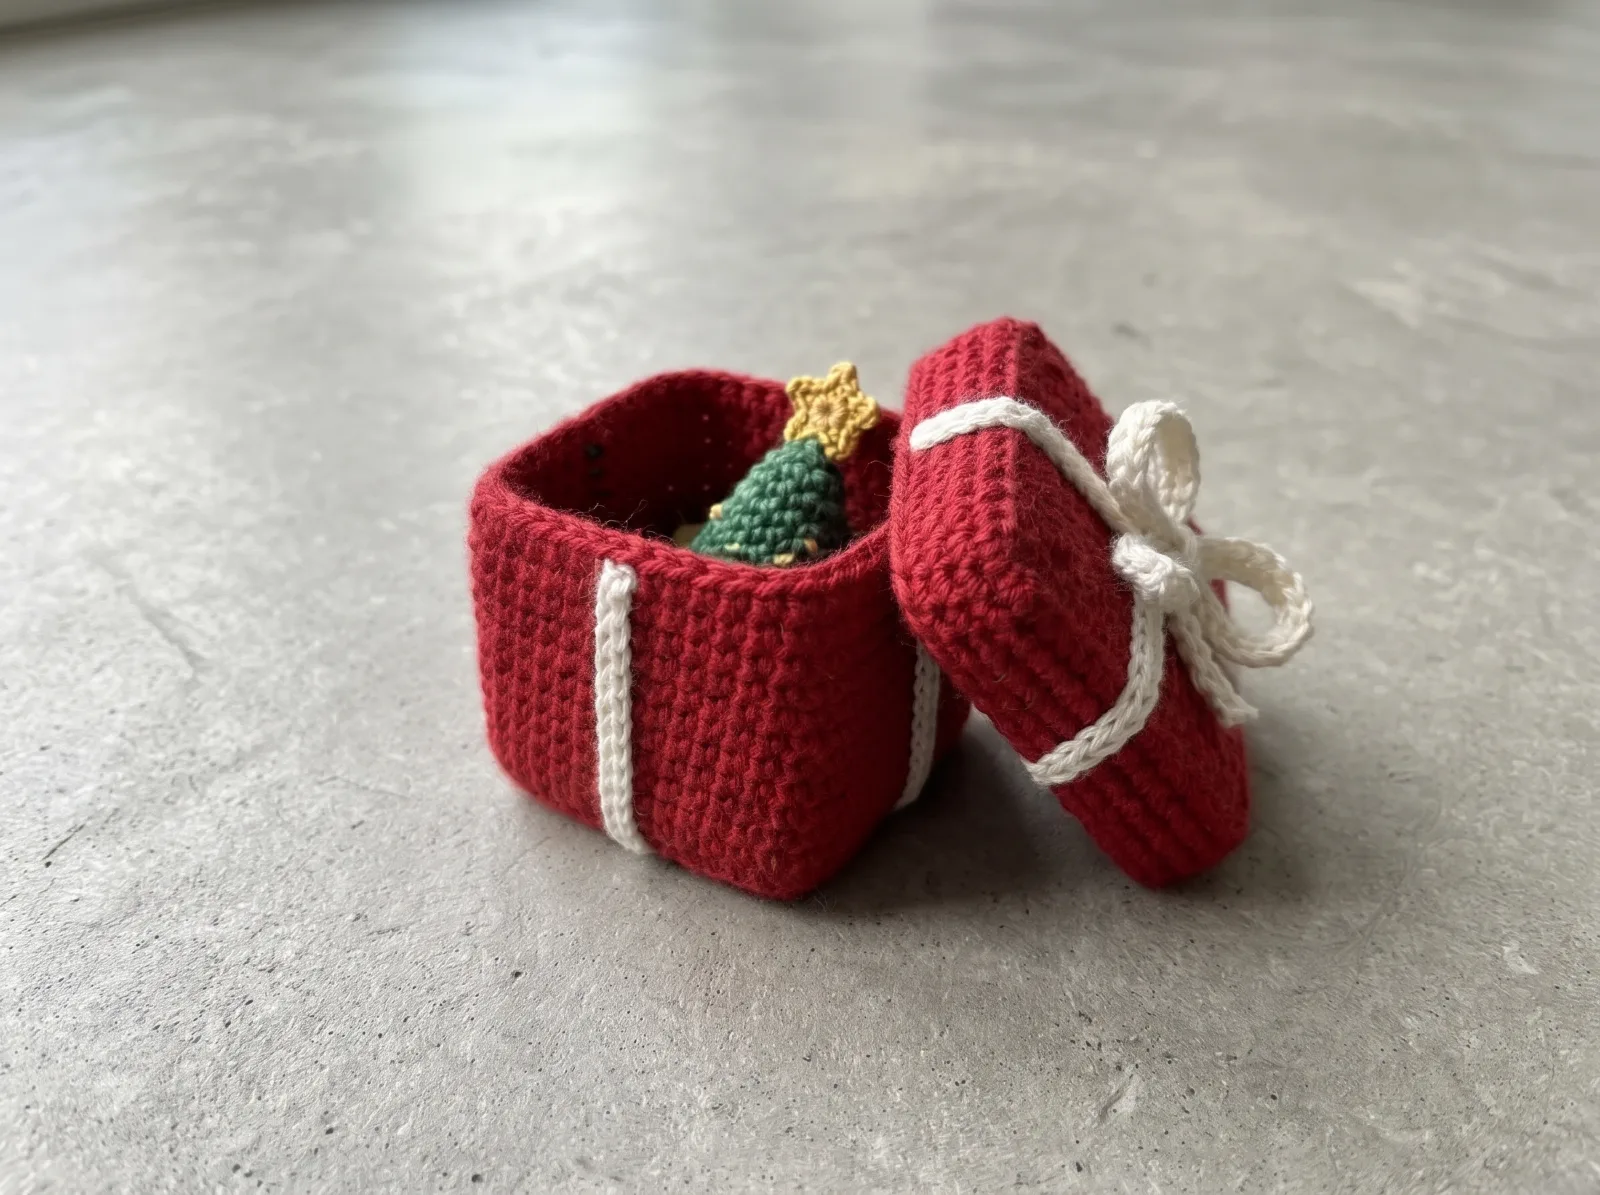
A tiny red crochet gift box with square upright walls, a truly removable red lid, sewn-on cream gift ribbons and a crocheted bow. An optional mini Christmas tree fits inside as the surprise. The photographs show the red box and blue/green gift-wrap color variations; this is a working construction intended for hands-on gauge and lid-fit checks.
Make this project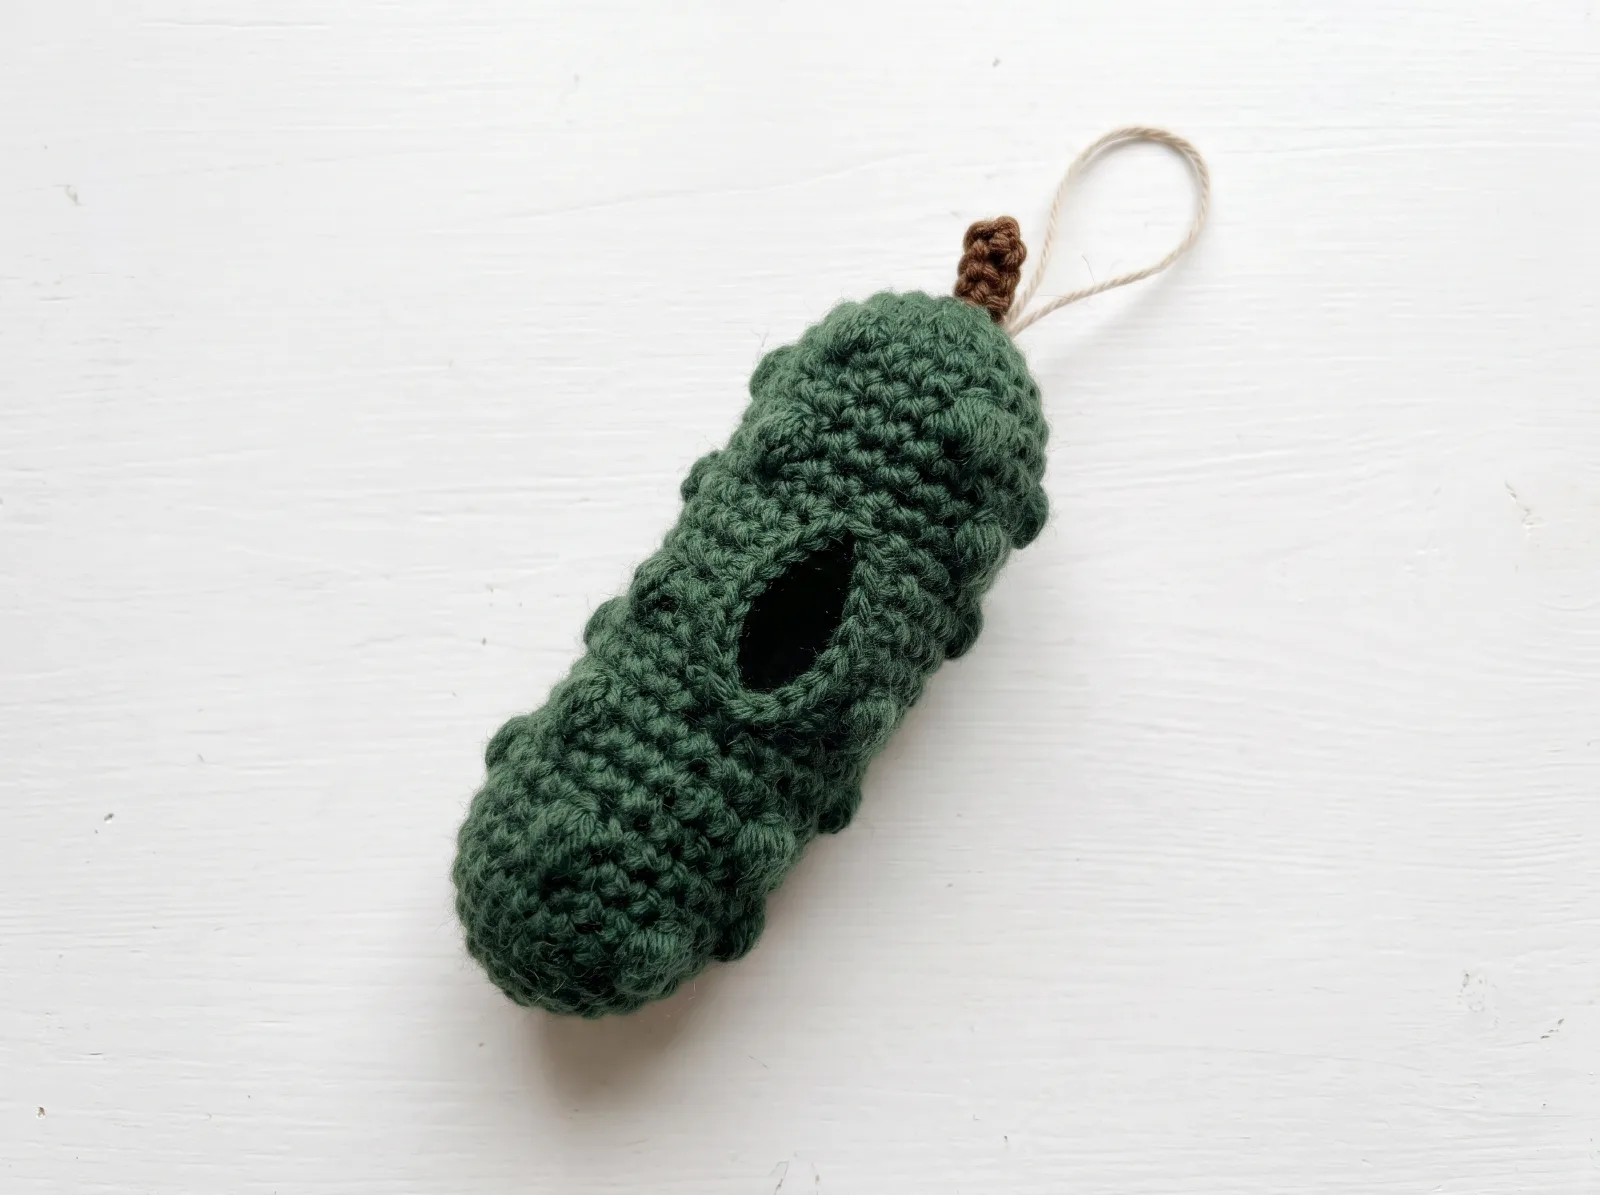
Secret-Wish Christmas Pickle Ornament
A crocheted elongated Christmas pickle ornament with a bobble-textured green body, a genuine side opening for a removable rolled wish, a separate inner sleeve, brown stem and hanging loop. The stitch arrangement is a working design interpretation of the uploaded concept photographs; gauge and shape remain to be checked in a yarn sample.
Make this project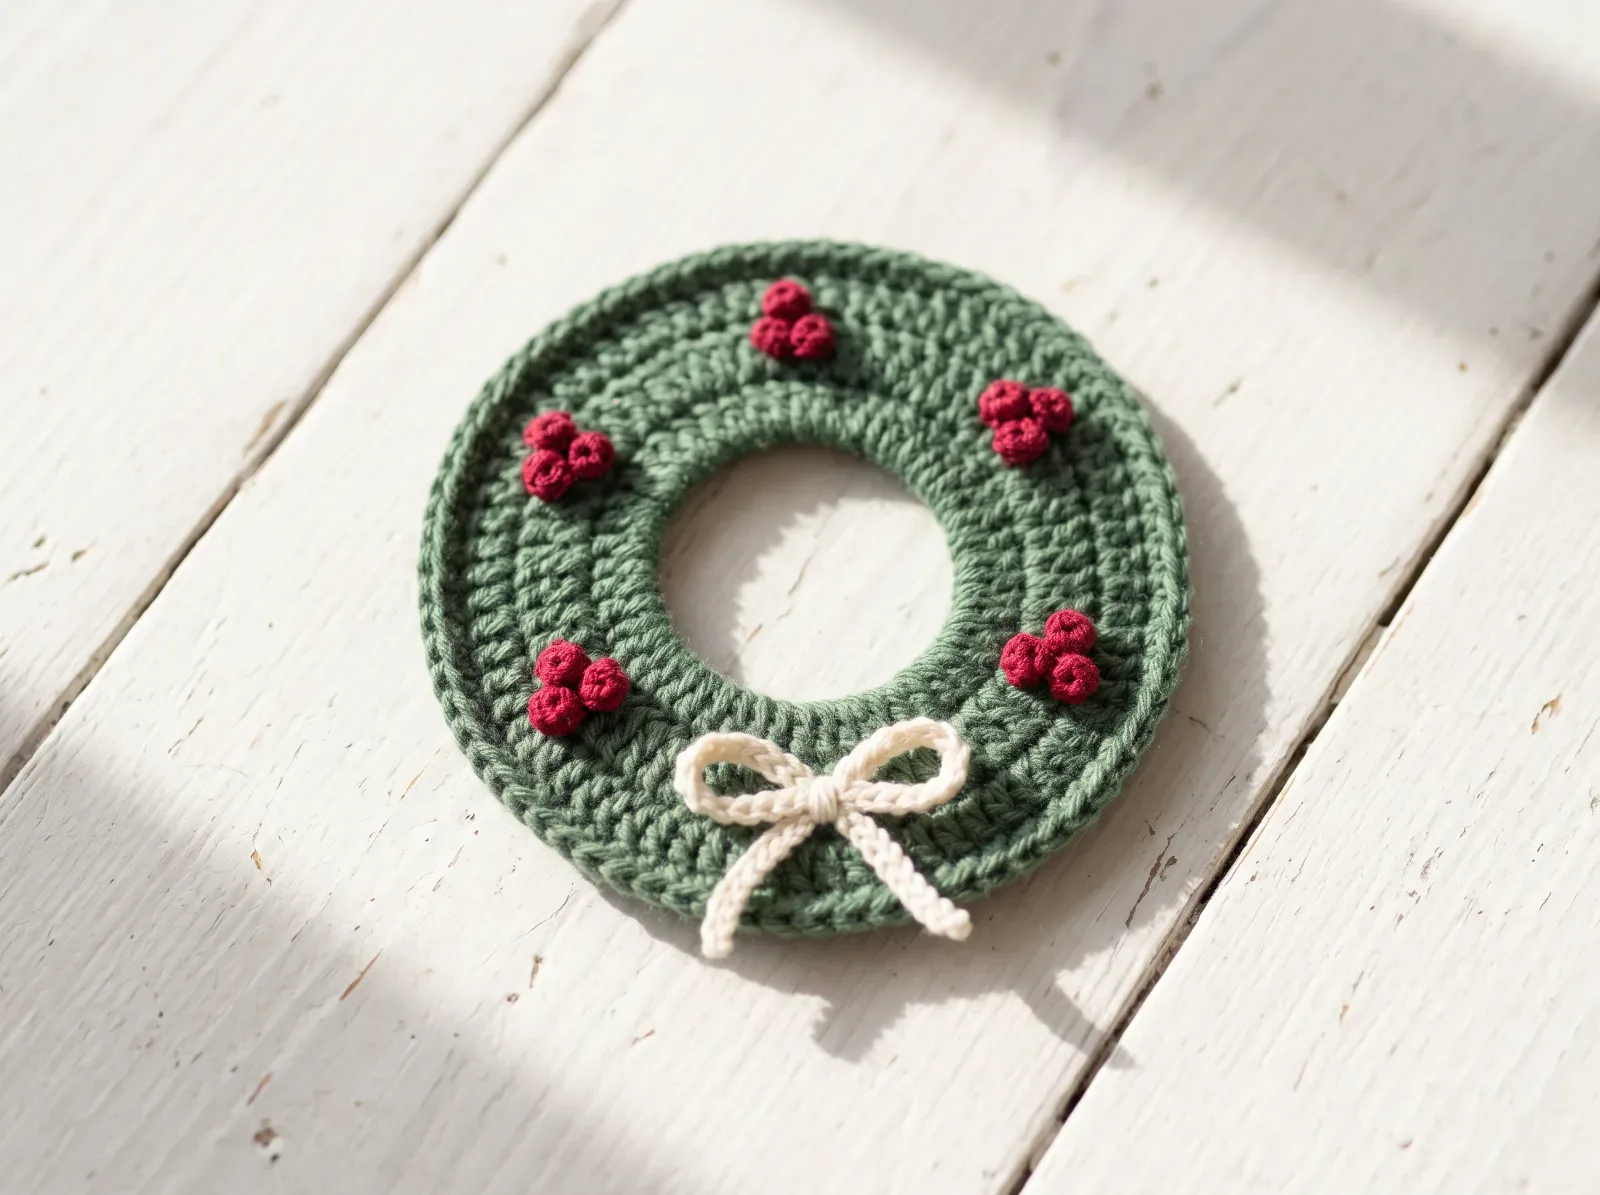
Holly Berry Crochet Wreath Coaster
Make a small holiday wreath-shaped coaster with an open center, neatly increasing green ring, red crochet berries, and a simple contrasting bow. Unlike existing flat spiderweb and snowflake coasters, this one has a true wreath hole.
Make this project